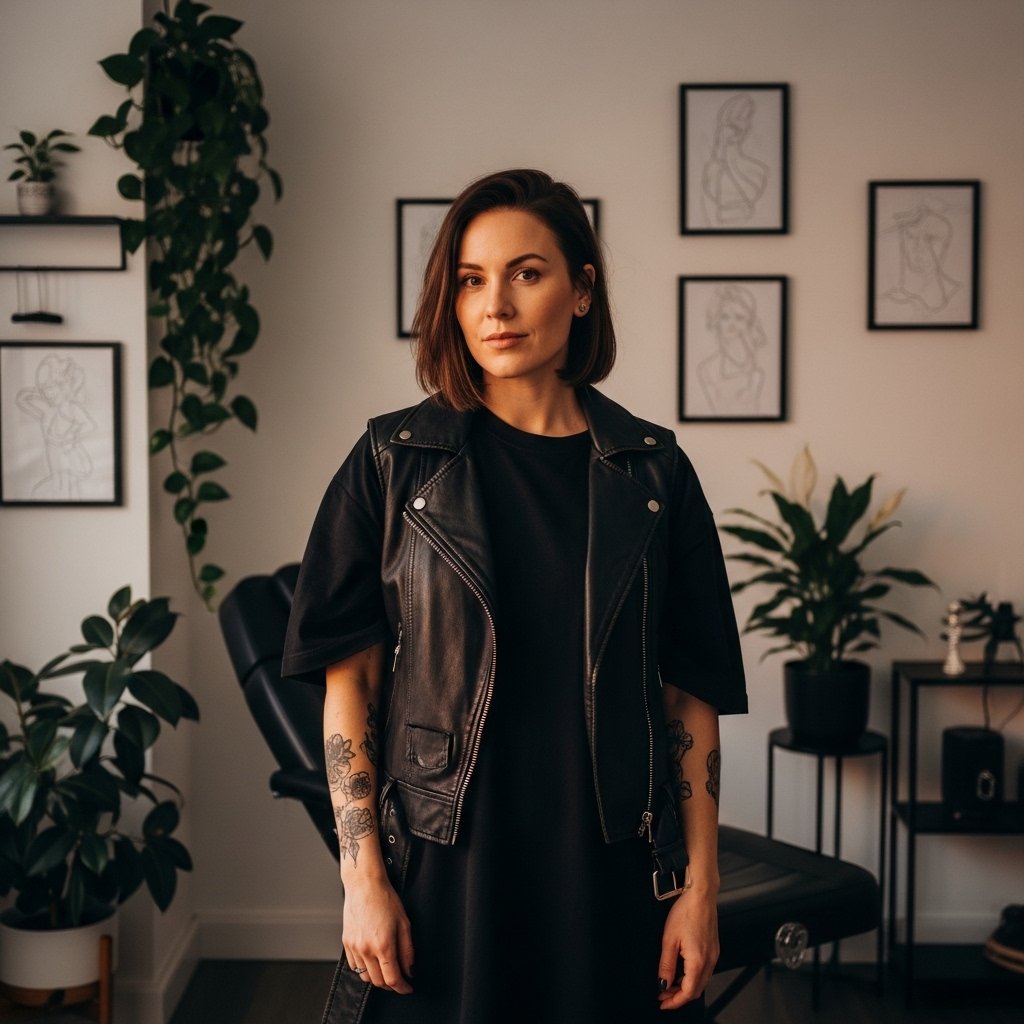
Starting a tattoo sleeve is exciting—and a little intimidating. A sleeve isn’t just one tattoo; it’s a long-term project that lives on your arm for life. The way you start matters more than most people realize. A strong beginning sets the foundation for flow, style, and future additions. A rushed start can lead to awkward gaps and design regrets. This guide walks you through how to start a tattoo sleeve the right way, step by step.
Start With a Clear Vision (Even If It’s Not Perfect)
You don’t need every detail figured out, but you do need direction.
Before your first session, think about:
- Whether you want a full sleeve or half sleeve
- The overall vibe (dark, soft, bold, minimal)
- Black and grey or color
- Themes you’re drawn to (nature, mythology, abstract, realism)
Helpful tip:
Pick 3–5 reference images that feel connected. Matching style and mood matters more than matching subjects.
A sleeve with a loose but clear vision always ages better than one built randomly.
Choose the Right Spot for Your First Tattoo
Where you start your sleeve affects everything that comes after.
Most artists recommend starting with:
- The upper arm or shoulder
- A large focal piece
- A design that can anchor future tattoos
Why the upper arm works best:
- More space to work with
- Easier to hide if needed
- Less painful than inner arm or elbow
Avoid starting with small, isolated tattoos in random spots. They can limit your options later.
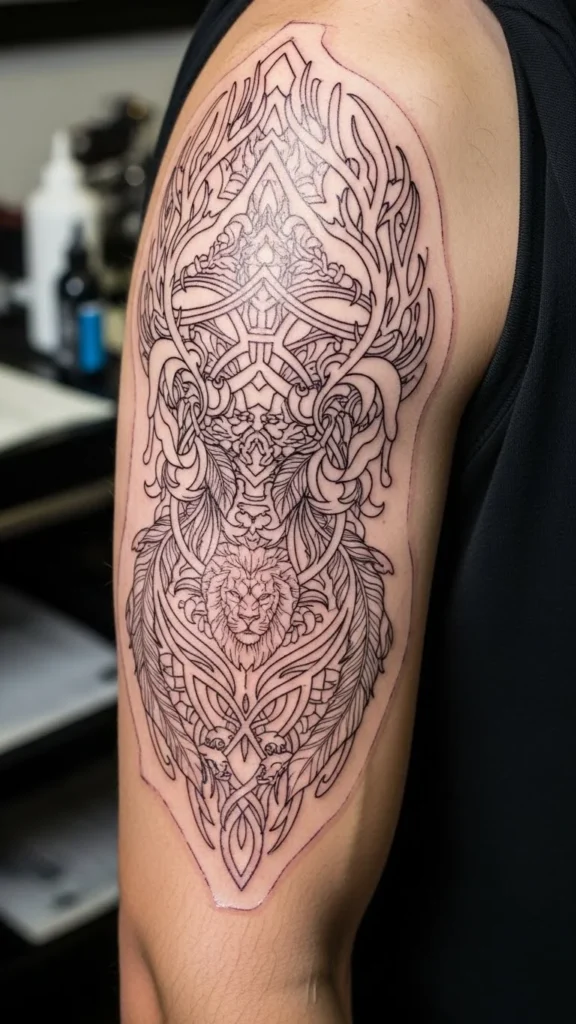
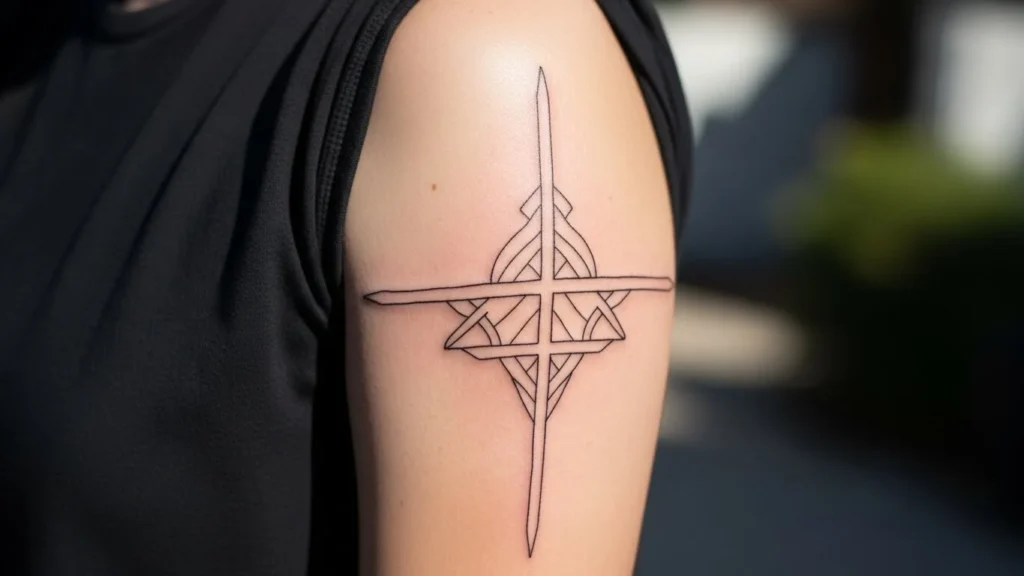
Pick a Design That Sets the Tone
Your first sleeve tattoo defines the style of the entire arm.
Strong starter designs:
- Large florals
- Portraits or animals
- Mythological figures
- Bold traditional pieces
- Flowing abstract shapes
What to avoid early on:
- Tiny designs with no flow
- Trend-only imagery
- Styles you’re unsure about long-term
Ask yourself:
“Would I be okay building my entire sleeve around this design?”
If yes, you’re on the right track.
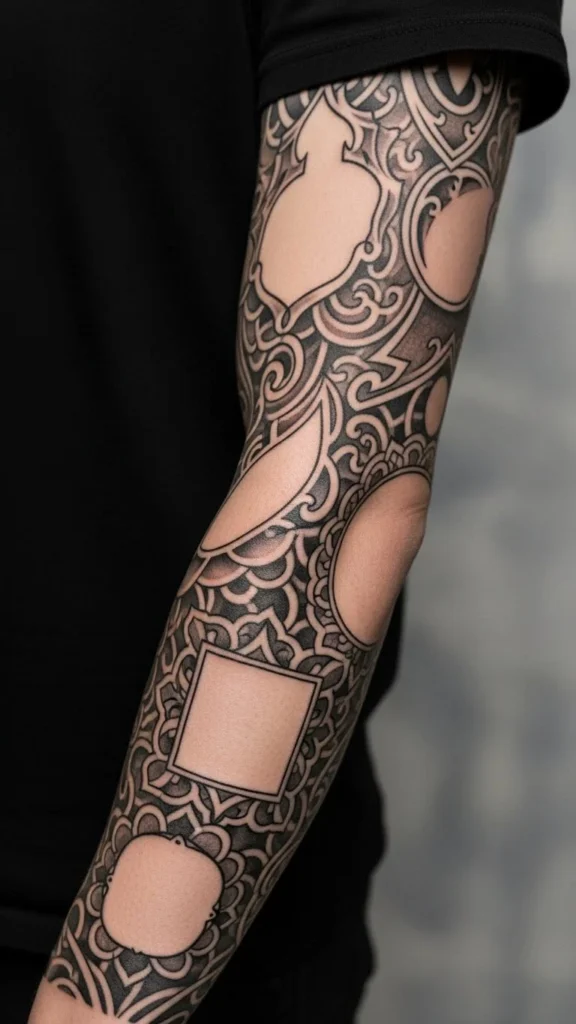
Think About Flow From Day One
Flow is what makes a sleeve look intentional instead of patchy.
Good flow means:
- Designs wrap naturally around the arm
- No harsh edges or dead zones
- Visual movement from shoulder to wrist
Ways artists create flow:
- Background shading (smoke, clouds, patterns)
- Repeating shapes or textures
- Gradual size changes
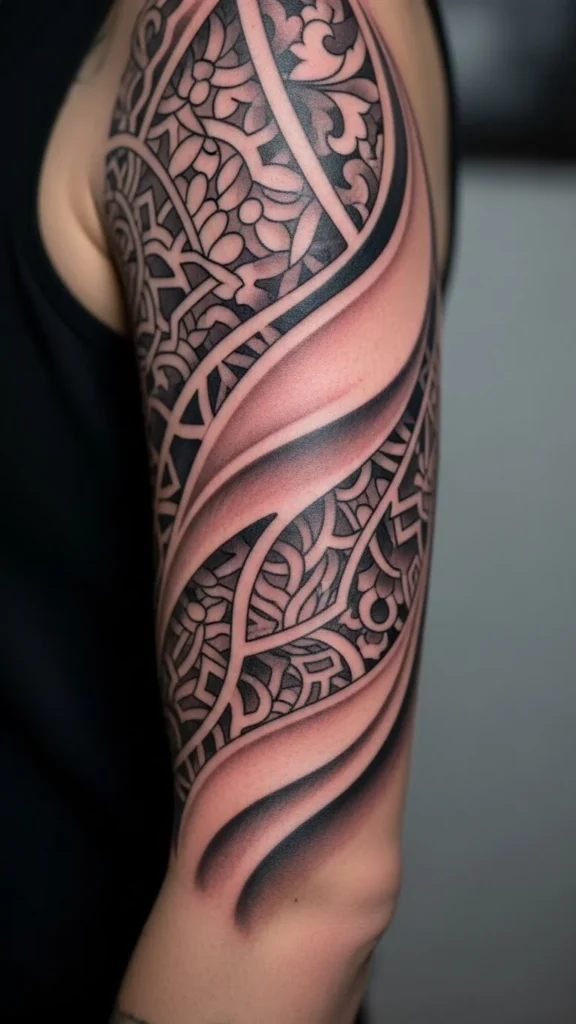
Even if you’re only doing one tattoo now, it should leave room for smooth expansion later.
Choose an Artist Who Specializes in Sleeves
This is not the time to “just try someone out.”
Look for an artist who:
- Has multiple complete sleeves in their portfolio
- Shows healed work
- Talks about long-term planning
- Is honest about what will or won’t work
A good sleeve artist will:
- Suggest starting big
- Adjust designs to your arm shape
- Help plan future sessions
If an artist isn’t asking about your long-term plan, that’s a red flag.
Be Realistic About Time, Pain, and Budget
Sleeves take patience.
Things to plan for:
- Multiple sessions over months (or longer)
- Healing time between sessions
- Budget for quality work
Helpful planning tips:
- Space sessions 3–6 weeks apart
- Avoid booking sessions before travel or events
- Don’t rush through pain—quality matters more
Starting slow often leads to a better final result.
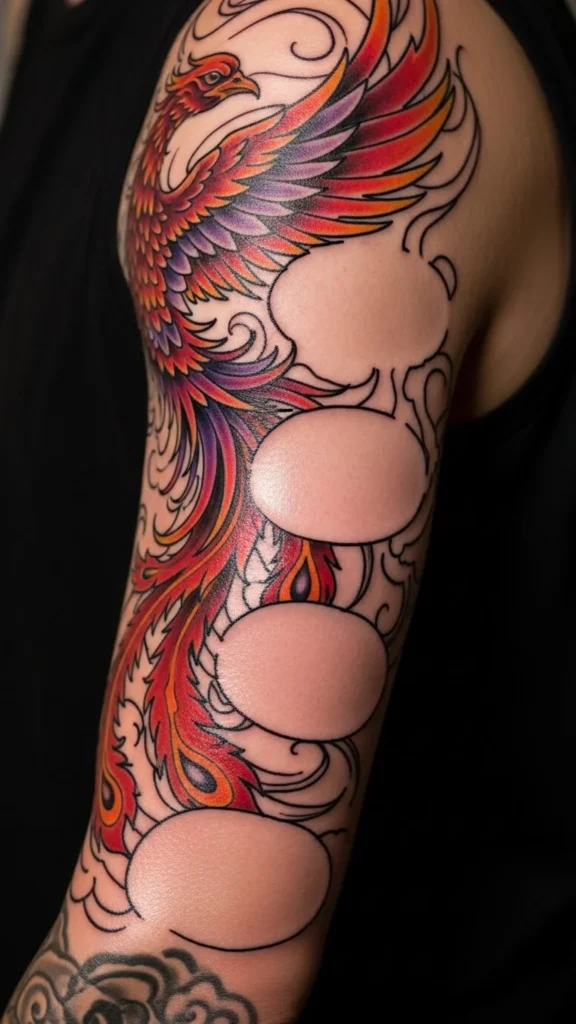
Leave Space for Future Ideas
Your taste may evolve—and that’s okay.
Smart ways to stay flexible:
- Avoid filling every inch too fast
- Leave intentional open spaces
- Trust your artist to add fillers later
Some of the best sleeves grow naturally over time instead of being forced all at once.
Final Takeaway
Starting a tattoo sleeve the right way is all about planning, patience, and partnership with the right artist. Begin with a strong focal piece, think about flow early, and don’t rush the process. A well-started sleeve is easier to finish—and far more satisfying in the long run.