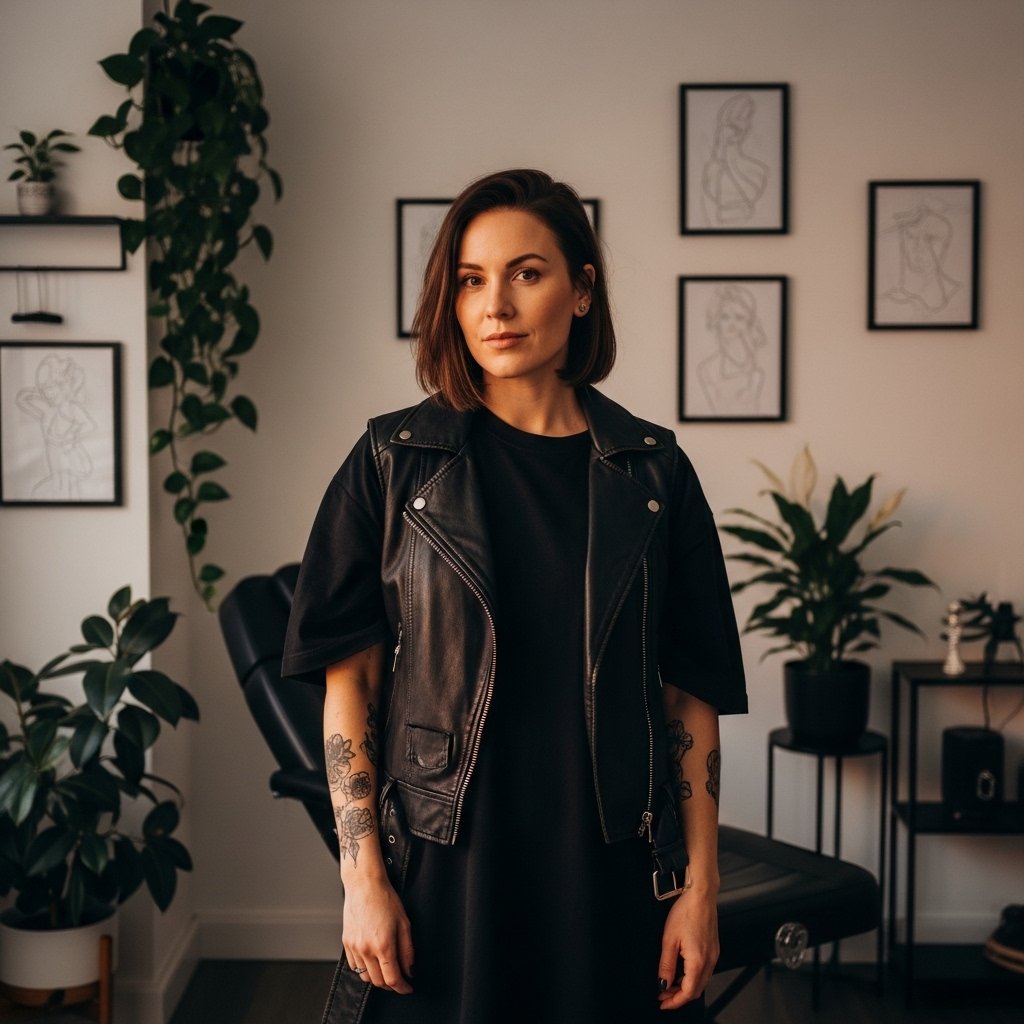
Your back gives you unmatched space to create something big, bold, and meaningful. You can tell a story across your entire canvas or keep it clean and centered along the spine. It’s easy to hide at work and reveal when you want. That’s why full back tattoos, spine designs, and large back pieces stay popular. Below are practical ideas with simple, budget-friendly tips so you can start small, plan smart, and build your design over time without overspending.
1. Full-Back Warrior Scene
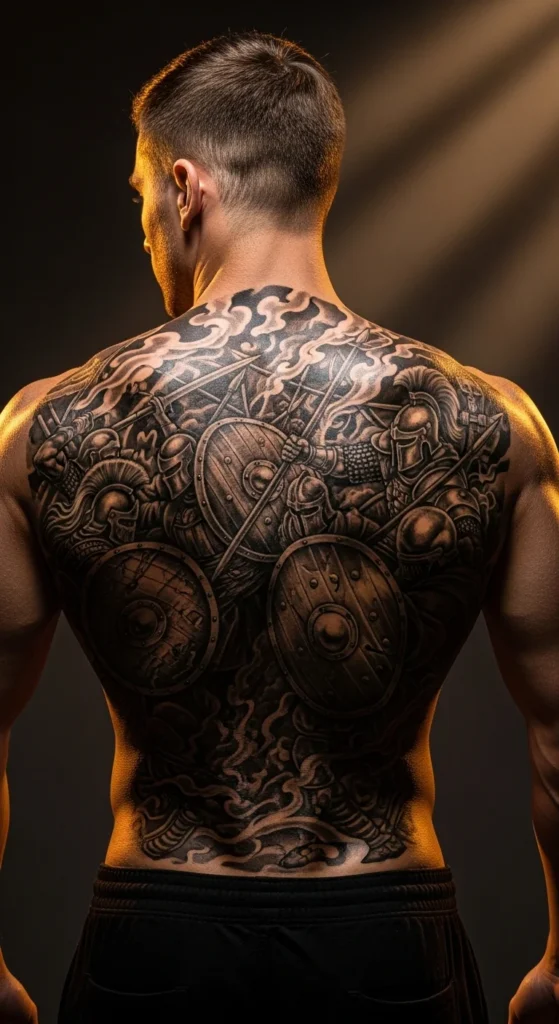
A warrior scene turns your back into a movie poster. It feels strong and bold. Think Vikings, Spartans, or samurai figures in motion.
Start with the main character first. Add background later. This cuts early costs and spreads sessions out.
Stick to black and gray. It takes less time than color and heals cleaner. You can add highlights later.
Place the face near the shoulder blades. It keeps proportions natural when you move.
Break the design into upper and lower halves if your budget is tight. Finish it step by step.
Bring references. Clear direction saves studio time and money.
Big stories belong on big space. Your back handles it perfectly.
2. Spine-Aligned Lotus Mandala
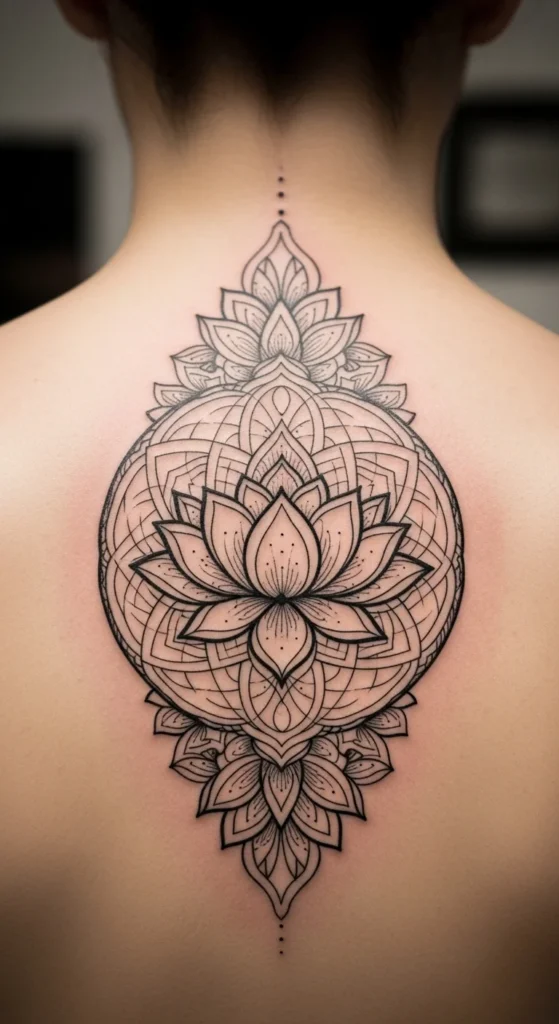
A lotus mandala looks calm and balanced. The spine gives you a natural center line.
It’s clean and easy to hide under clothing. Great for daily life.
Choose fine line blackwork. It heals faster and costs less than heavy shading.
Stencil placement matters. Double-check alignment before the needle starts.
Begin small. Expand petals outward later if you want more coverage.
Work in short sessions if pain worries you. The spine is sensitive.
Simple geometry ages well and needs fewer touch-ups.
Minimal design. Strong impact.
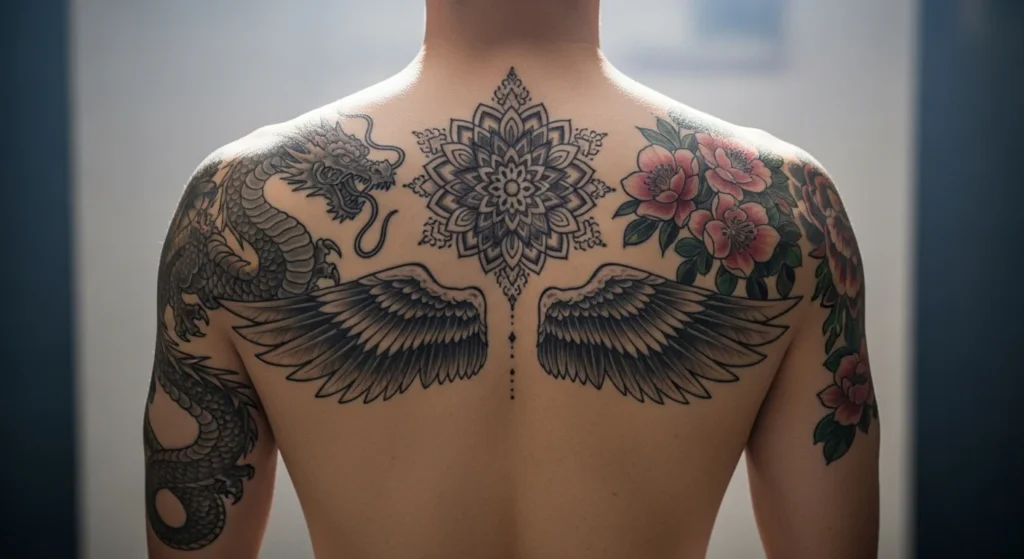
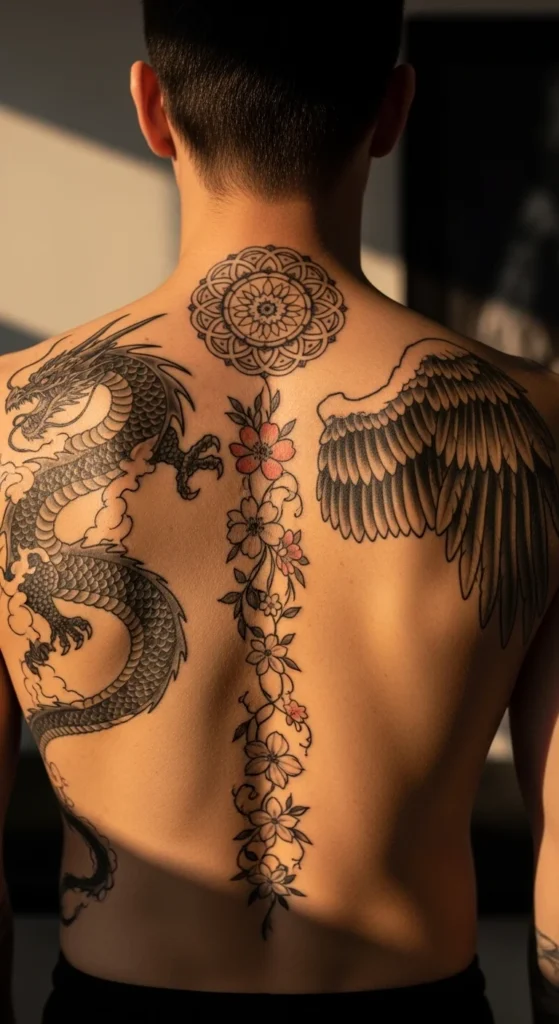
3. Angel Wings Shoulder Spread
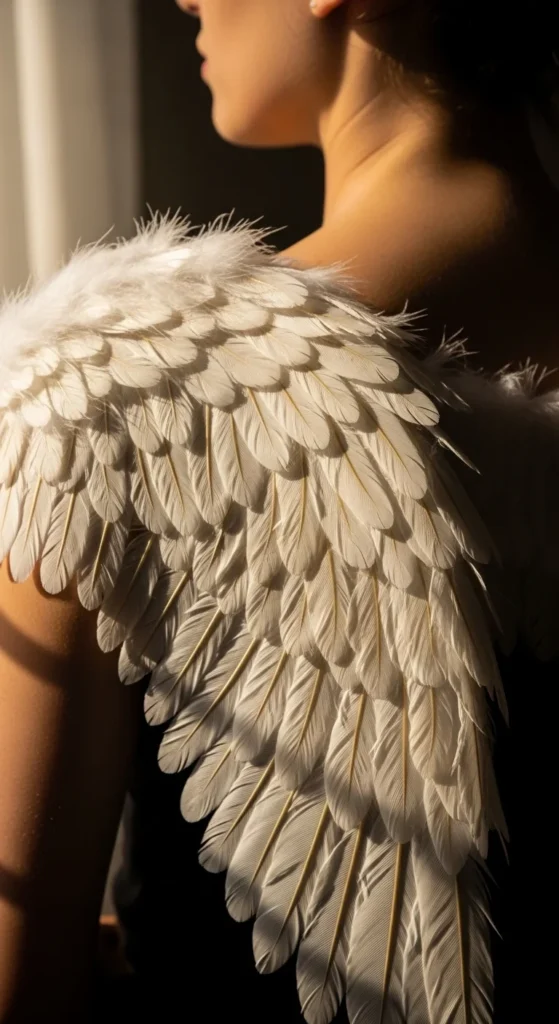
Angel wings stretch naturally across the shoulders. They follow your body shape.
They can feel spiritual, protective, or personal.
Use feather layering with soft gray shading for depth. Full color isn’t needed.
Start with the center back gap. Add feathers outward later to control cost.
Ask for medium detail instead of hyper-realism. It shortens sessions.
Keep wings slightly curved to match muscle flow. Straight wings look stiff.
This design hides well under a shirt but looks huge when revealed.
Classic and meaningful.
4. Japanese Dragon Back Piece
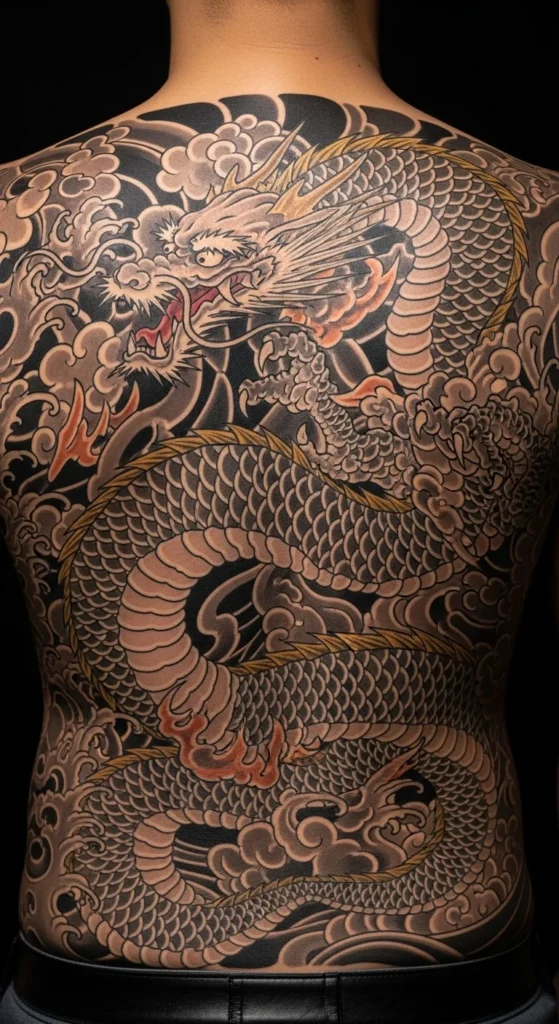
Dragons flow beautifully across a large canvas. Curves fit your back shape.
They symbolize strength and protection.
Use black and gray first. Add red or blue later if you want color pops.
Let the body curve diagonally. It creates movement and fills space naturally.
Do the dragon head first. Finish clouds later.
Keep scales medium detail. Tiny scales take longer and cost more.
This design looks bold even from far away.
Timeless style. Always strong.
5. Tribal Muscle Flow Pattern
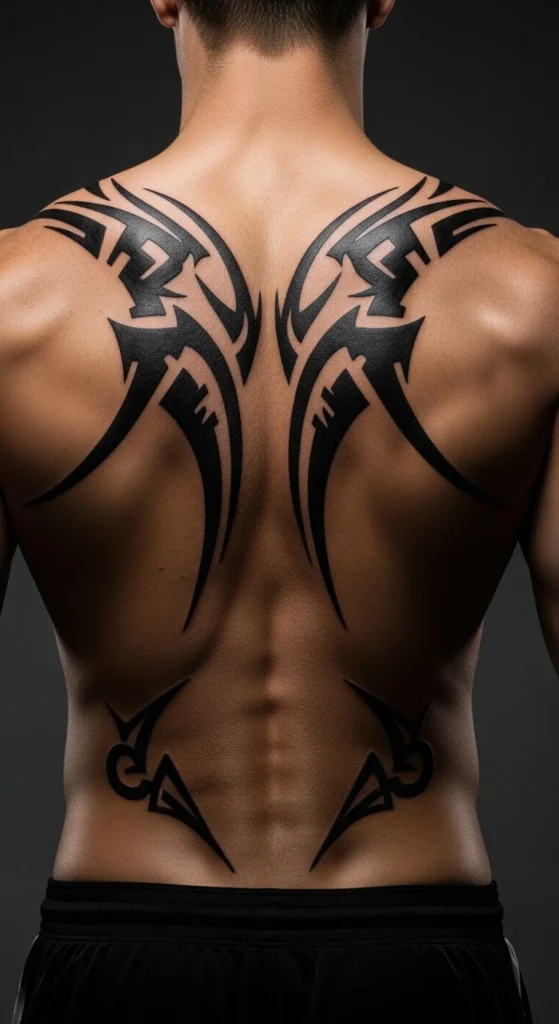
Tribal patterns follow muscle lines. They highlight shape and strength.
Great for people who like bold black ink.
Solid fills are faster to tattoo. That keeps sessions short.
Sketch lines that wrap around shoulders and taper at the waist.
Avoid too many tiny cuts. Thick lines age better.
You can add sections later if you want more coverage.
Simple. Strong. Low maintenance.
6. Biomechanical Gears and Pistons
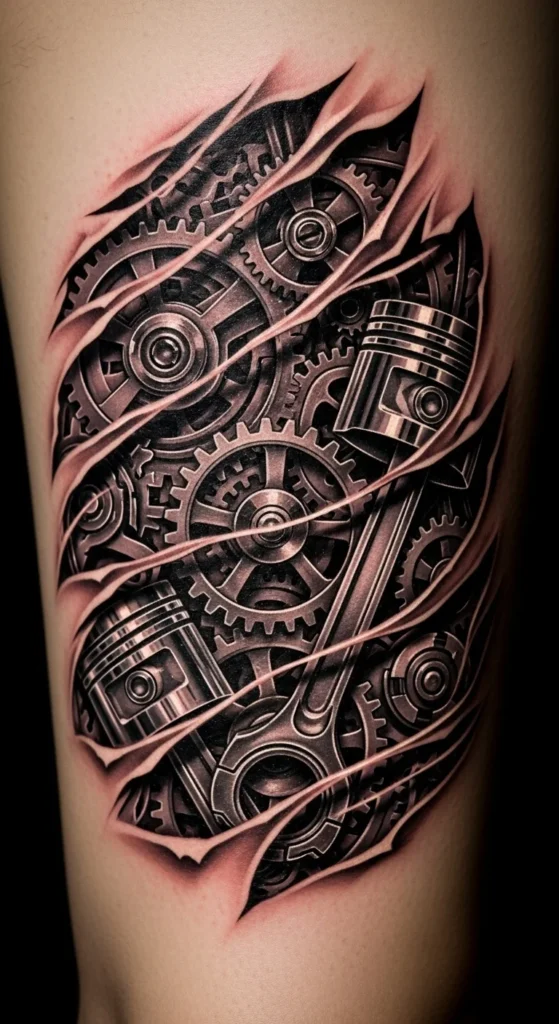
Biomechanical tattoos create a “machine under skin” look. Very eye-catching.
Perfect for tech lovers.
Focus on one gear cluster first. Expand outward later.
Black and gray metal shading works best.
Use fake tears or ripped skin edges for depth.
Avoid too much micro-detail. It increases time and price.
Looks three-dimensional without color.
7. Predator Lion Portrait
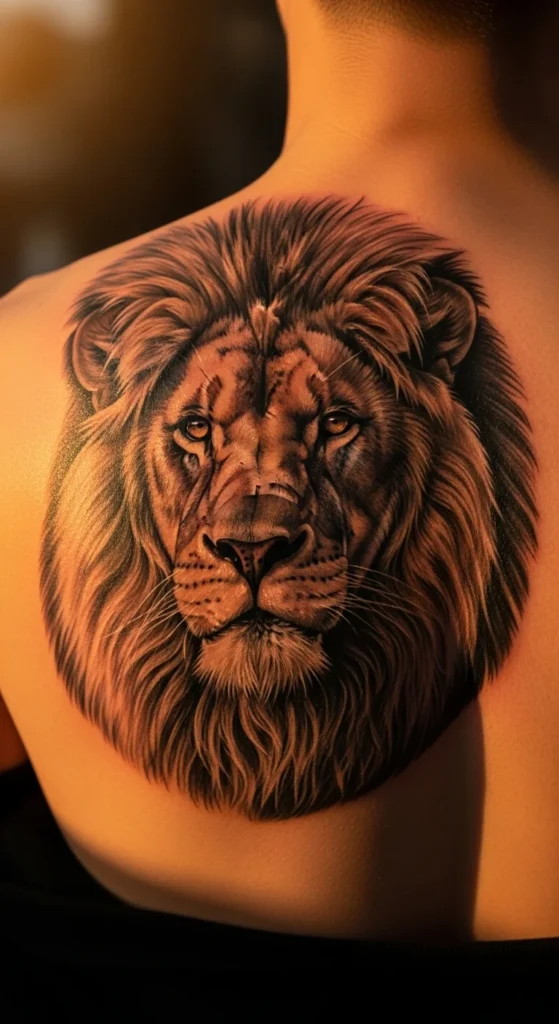
A lion makes a bold statement. It symbolizes courage.
Place it between the shoulder blades for symmetry.
Realism costs more. Try semi-realistic shading to save money.
Start with the face only. Add mane later.
Keep the background simple.
Large head. Clear details. Strong presence.
8. Watercolor Koi Fish Pair

Koi fish feel calm and graceful. They work well diagonally.
Watercolor splashes add movement.
Use light color areas instead of full saturation to reduce time.
Start with one fish. Add the second later.
Keep outlines soft.
Fun and modern look.
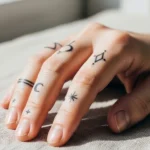
9. Moon Phase Spine Trail

Moon phases look clean and minimal.
Great for small budgets.
Each moon is quick to tattoo.
Add phases over time like milestones.
Use thin lines for a delicate feel.
Simple. Personal. Easy to expand.
10. Floral Spine Stem Design

Flowers using the spine as a stem look natural.
Perfect for soft, elegant style.
Start with one large bloom.
Add leaves later.
Fine lines save money and heal faster.
Light and graceful.
11. Gothic Skull and Roses
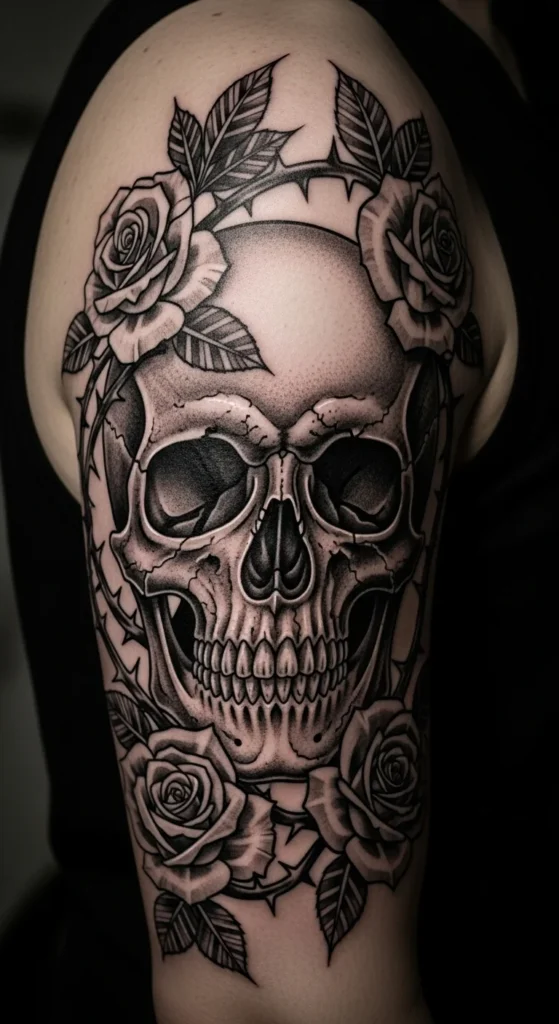
Skulls with roses balance life and death themes.
Black and gray keeps it affordable.
Begin with the skull center.
Add flowers later.
Strong contrast makes it pop.
Classic dark look.
12. Phoenix Rising Flames
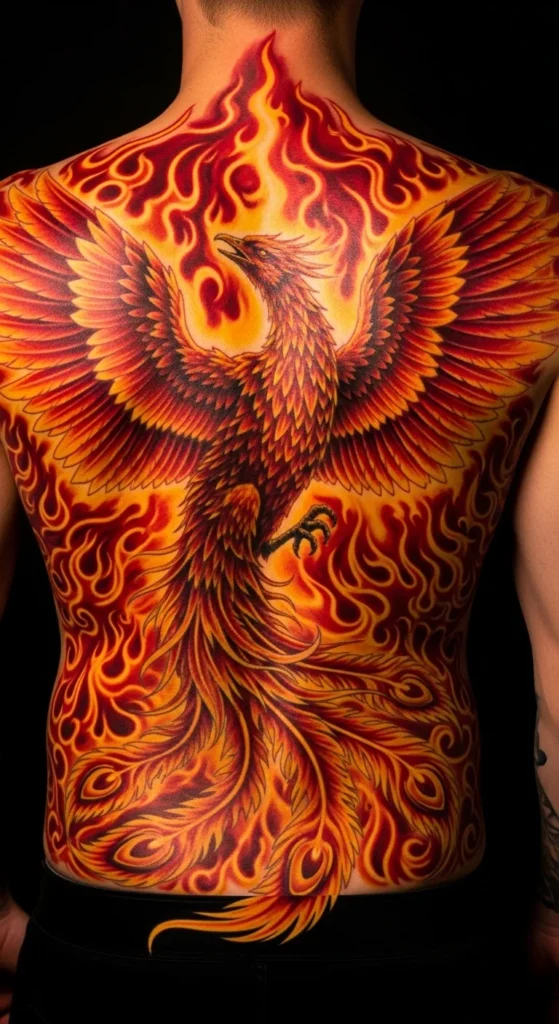
A phoenix symbolizes rebirth.
The upward motion fits the back perfectly.
Start with the chest-level wings.
Add tail flames later.
Red accents can be added anytime.
Bold and energetic.
13. Mountain and Forest Landscape
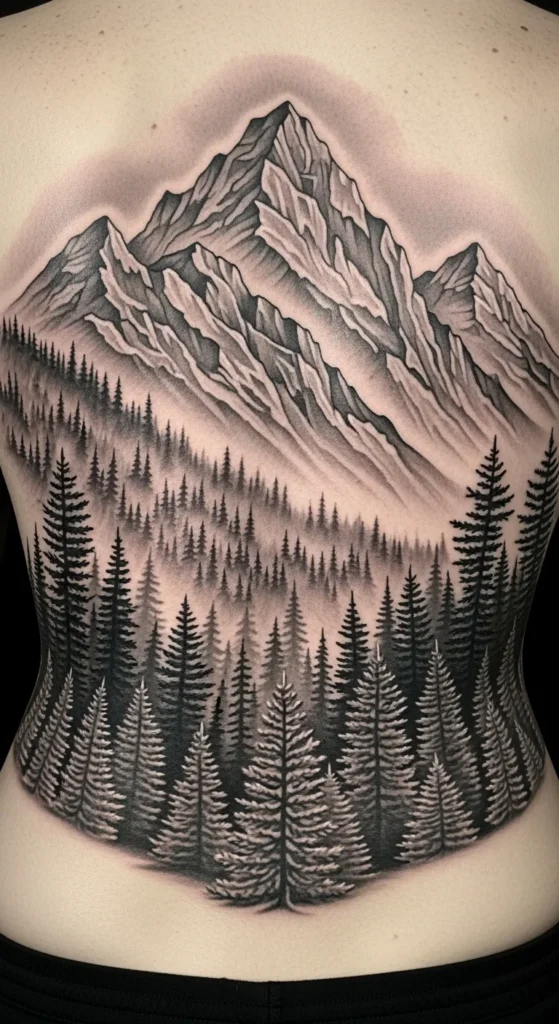
Nature scenes feel peaceful.
Great for outdoor lovers.
Use silhouettes to save time.
Keep details simple.
Add sky or trees later.
Clean and calming look.
14. Compass and Travel Map Lines
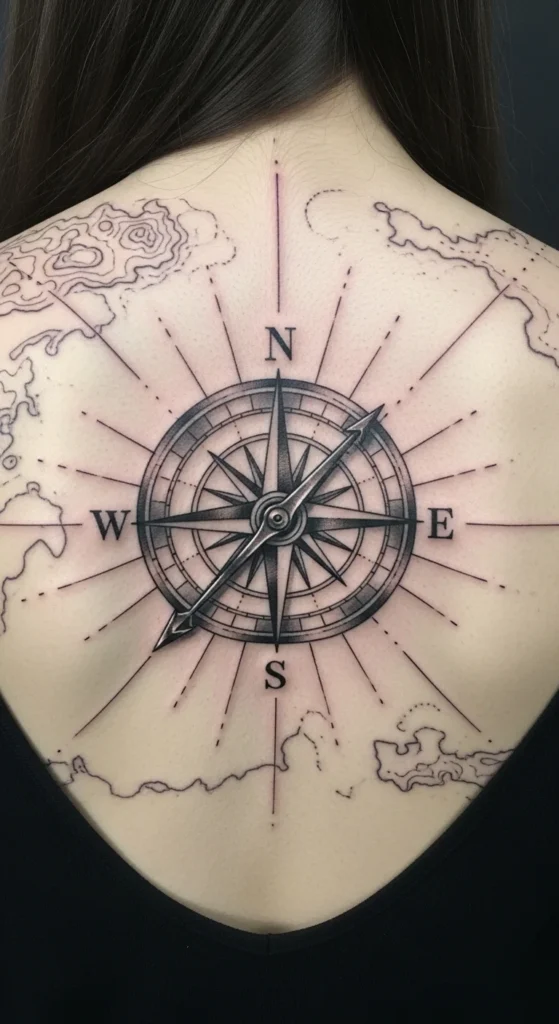
Compass designs represent direction.
Add map lines for storytelling.
Start small at center.
Extend lines outward later.
Minimal shading keeps cost low.
Great for travelers.
15. Humpback Whale Geometric
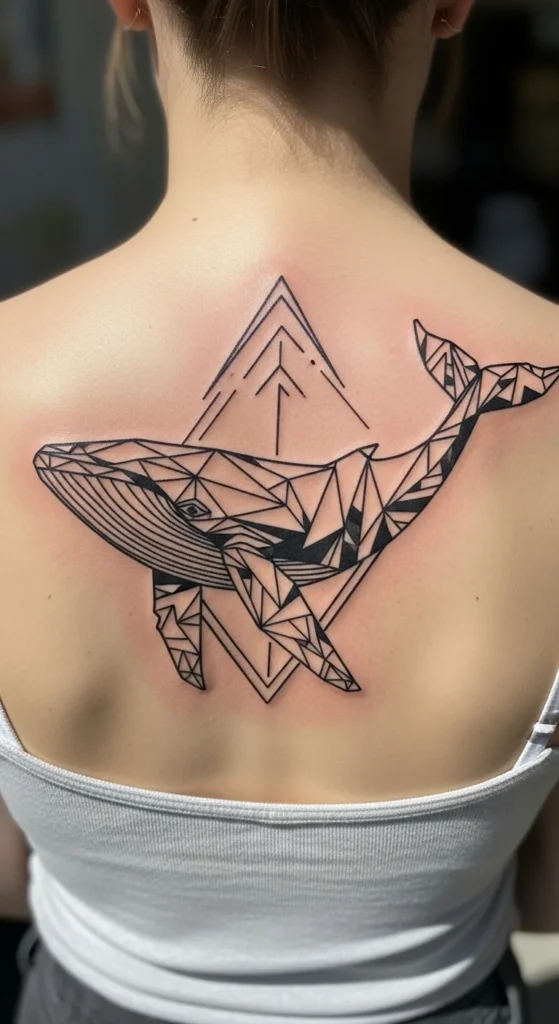
A whale mixed with shapes looks modern.
Works well across shoulder width.
Use linework first.
Add fills later.
Simple geometry keeps sessions short.
Unique ocean theme.
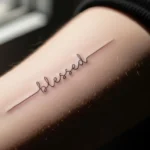
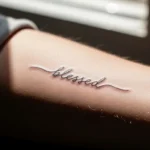
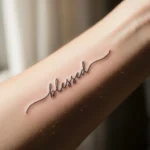
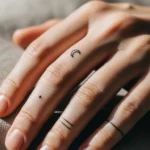
16. Minimal Script Quote Across Shoulders
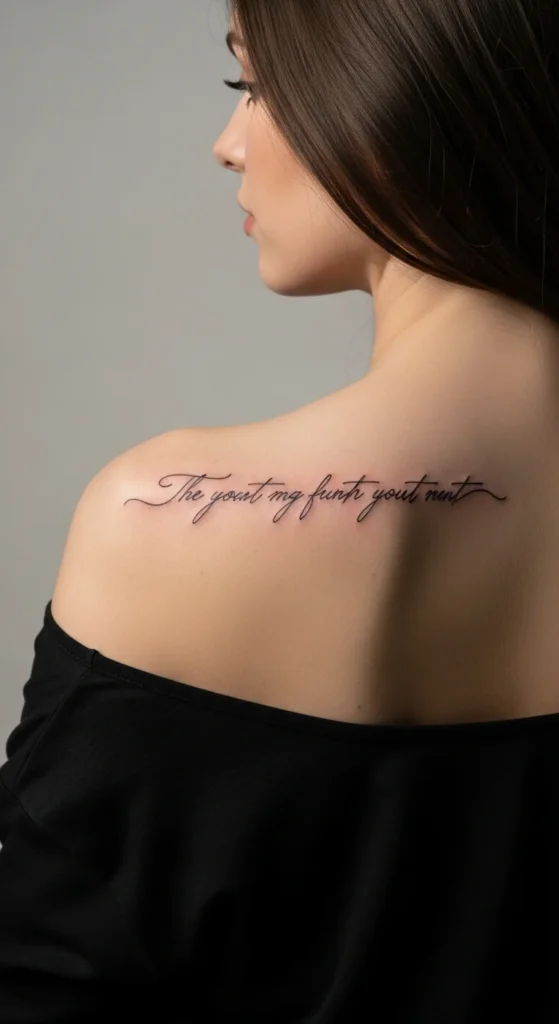
Quotes feel personal and meaningful.
Thin script is quick and affordable.
Choose short text.
Check spelling carefully.
Keep size medium for readability.
Simple and timeless.
17. Dreamcatcher Centerpiece
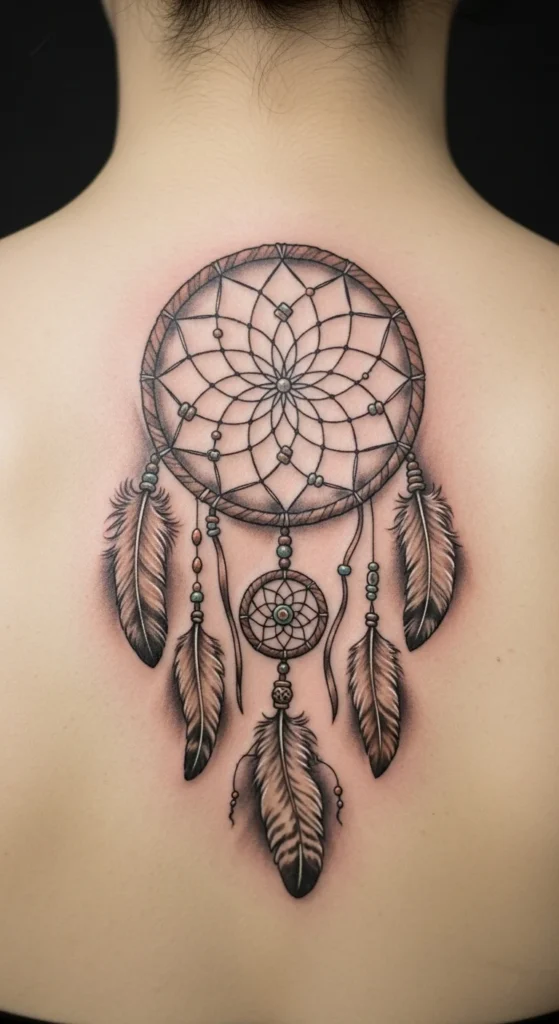
Dreamcatchers look decorative and symbolic.
Start with the hoop only.
Add feathers later.
Fine line style reduces cost.
Soft shading works best.
Great middle-back piece.
18. Tiger Face Upper Back
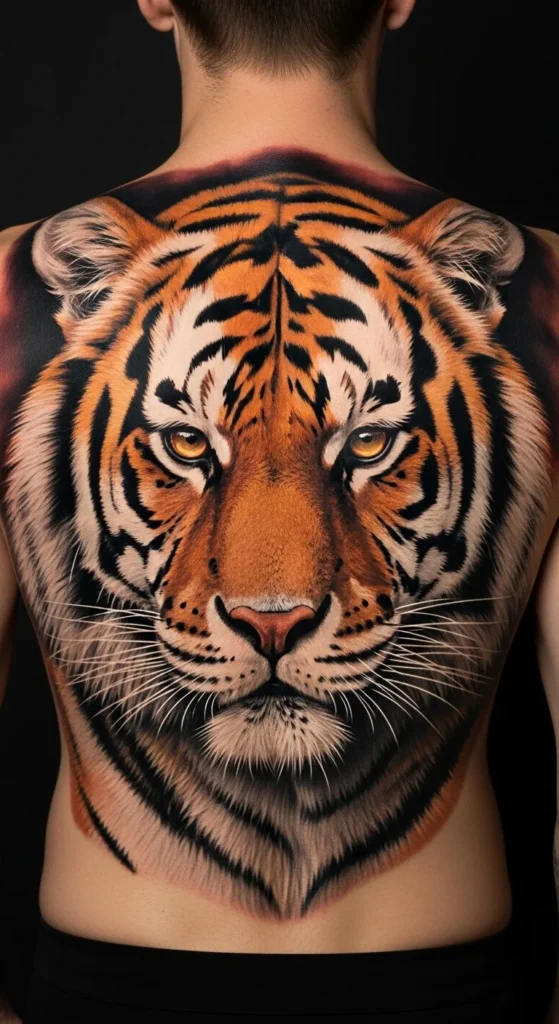
A tiger shows strength and focus.
Place between shoulders.
Medium detail saves time.
Add stripes slowly.
Keep background empty.
Strong and clean look.
19. Ornamental Lace Back Panel
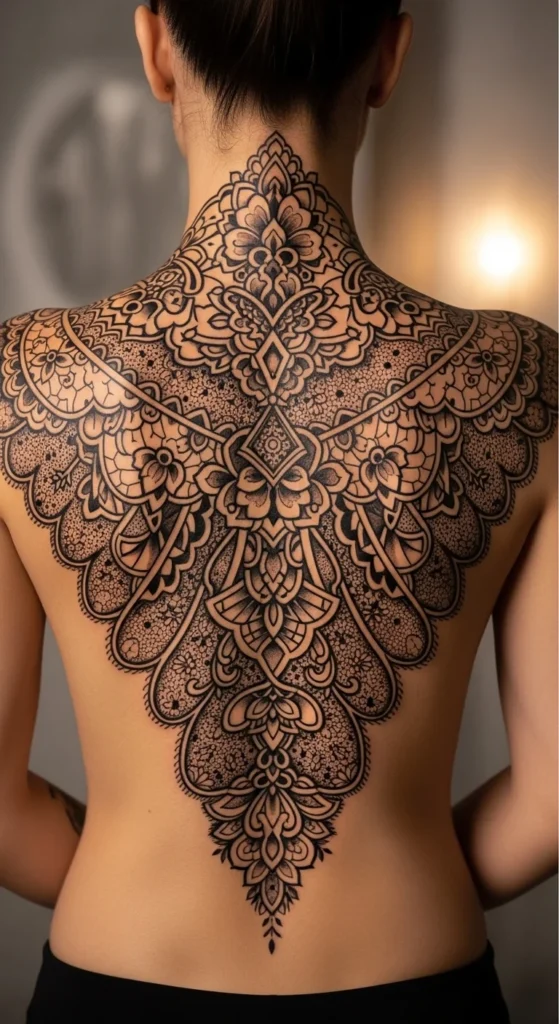
Lace patterns feel decorative and classy.
Use stencil symmetry.
Stick with linework first.
Add dots later.
Great for partial coverage.
Looks like jewelry on skin.
20. Tree of Life Circle
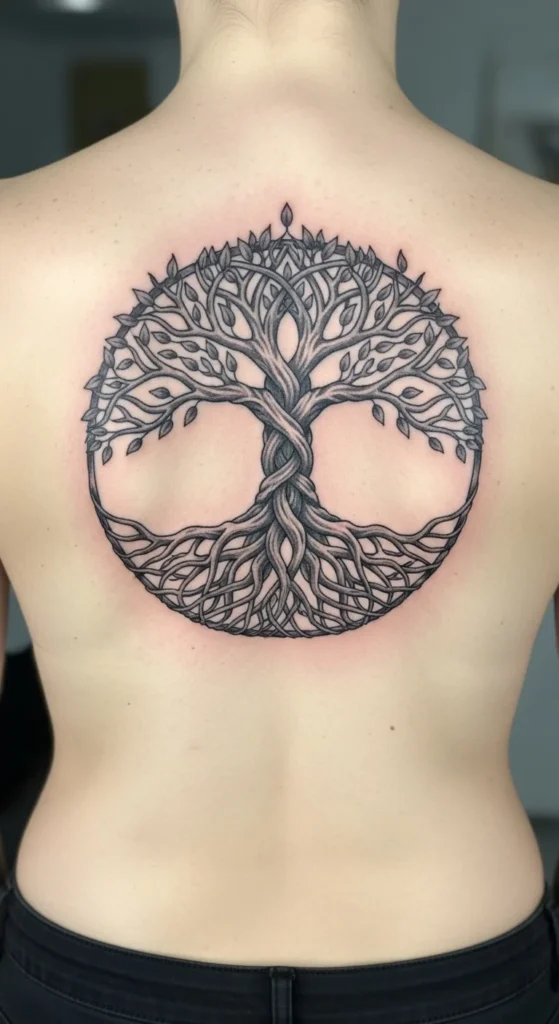
Tree of life symbolizes growth.
Circular shape fits center back.
Start with trunk.
Add branches slowly.
Black ink only keeps it affordable.
Clean and meaningful.
21. Snake and Dagger Wrap
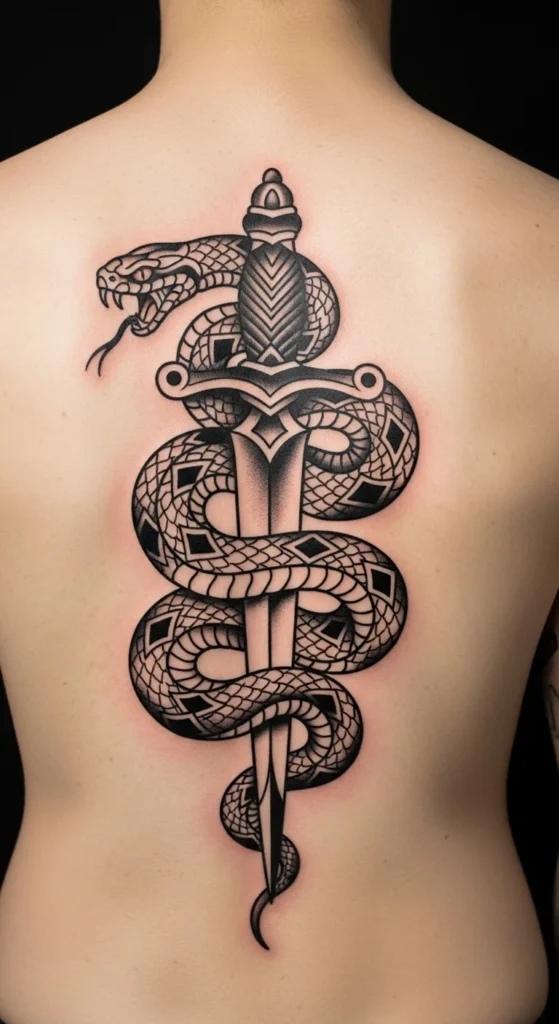
Snake and dagger feels edgy.
Diagonal placement adds motion.
Bold lines save time.
Color optional.
Works well medium size.
Classic old-school vibe.
22. Butterfly Cluster Trail

Butterflies look light and airy.
Add one at a time.
Cheap and flexible.
Fine lines keep it soft.
Easy to expand later.
Pretty and personal.
23. Sacred Geometry Grid
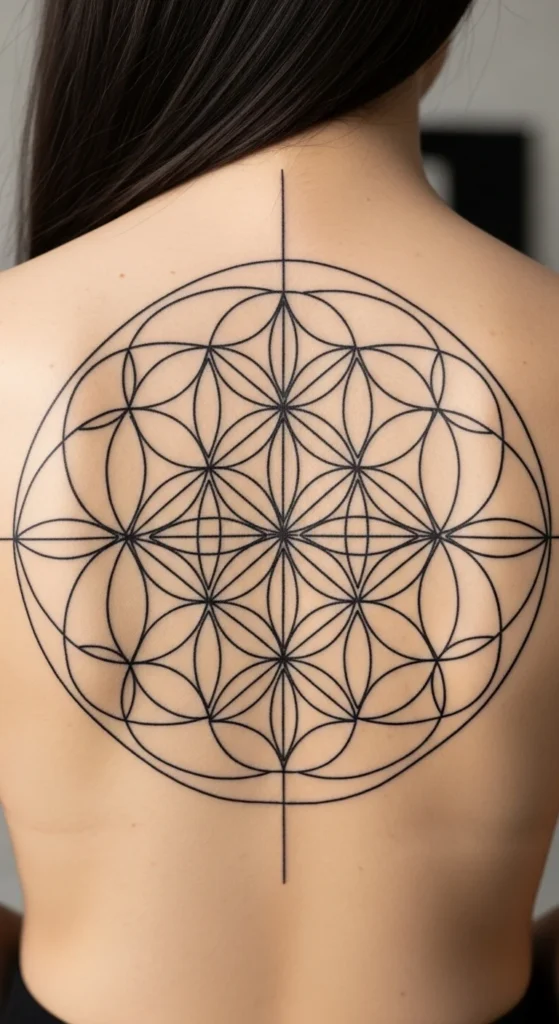
Sacred geometry looks precise.
Great for symmetry lovers.
Stencil accuracy matters.
Use thin lines.
Work section by section.
Low shading keeps costs down.
Modern and sharp.
24. Custom Story Collage Back Piece
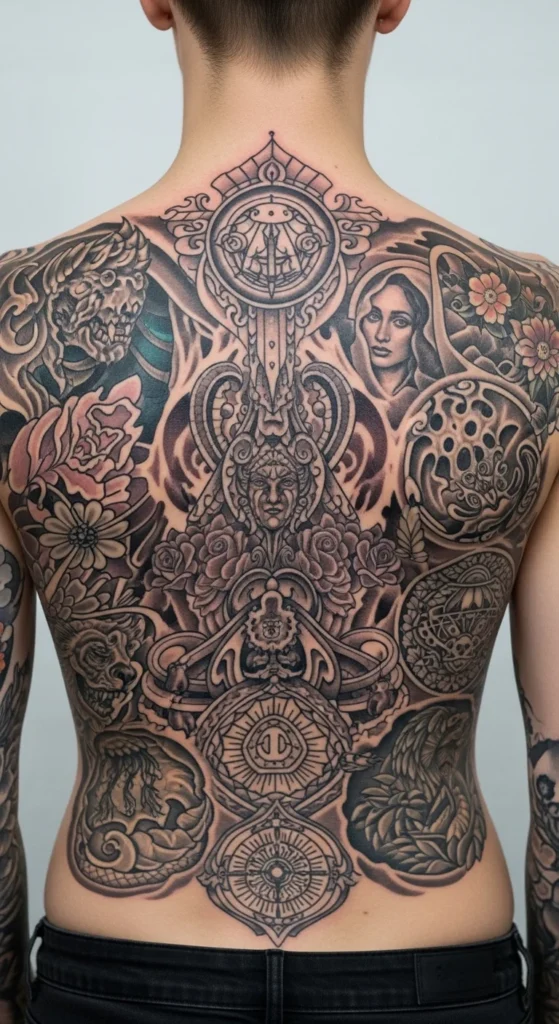
A collage lets you combine many ideas.
Perfect for personal storytelling.
Add small elements over time.
Each session stays affordable.
Start with one symbol.
Fill gaps later.
No rush. Build it slowly.
It becomes your life story on skin.
Conclusion
Back tattoos give you space, privacy, and freedom to create something bold or subtle. Start small, plan sessions, and build step by step to keep costs manageable. Pick a design that feels personal, not trendy. When you move at your own pace, the final piece feels meaningful and worth every session.