A sleeve tattoo is more than just ink—it’s a long-term project that tells a story across your arm. That’s what makes it exciting… and a little overwhelming. Jumping in without a plan can lead to gaps, mismatched styles, or designs you outgrow fast. Planning step by step helps you save money, reduce regret, and end up with a sleeve that actually flows.
Step 1: Decide Full Sleeve, Half Sleeve, or Something in Between
Before picking designs, decide how far you want to go.
Common sleeve options:
- Full sleeve: shoulder to wrist, bold and cohesive
- Half sleeve: shoulder to elbow or elbow to wrist
- Three-quarter sleeve: dramatic but still flexible
Ask yourself:
- Do I want this visible all the time?
- Am I okay committing to multiple sessions?
- Do I want room for future expansion?
Even if you’re unsure, planning as if it could become a full sleeve helps avoid awkward dead space later.
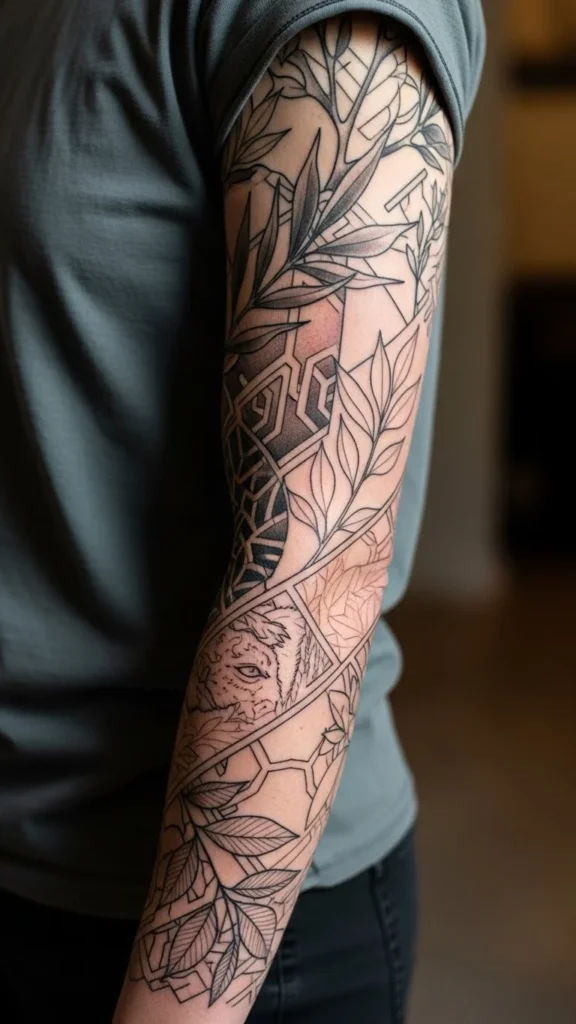
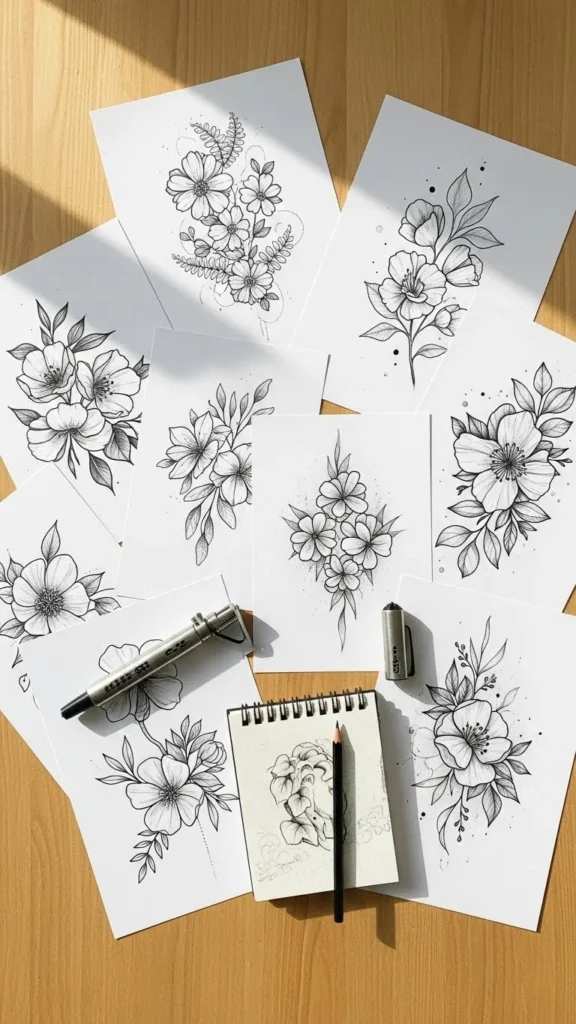
Step 2: Choose a Theme or Visual Direction
Great sleeves feel intentional. That usually comes from a clear theme.
Popular sleeve themes:
- Nature (flowers, animals, landscapes)
- Mythology or spiritual symbols
- Black and grey realism
- Traditional or neo-traditional
- Abstract or geometric flow
You don’t need one single idea—but you do need a shared vibe.
Helpful tip:
Pick 3–5 reference images that feel connected. Similar line weight, mood, or detail level matters more than exact subject.
Step 3: Decide on Black & Grey or Color Early
Color choice affects everything—from artist selection to aging.
Black & grey:
- Ages more predictably
- Easier to expand later
- Often faster to tattoo
Color sleeves:
- Visually bold and expressive
- Require strong color harmony
- May need more touch-ups over time
Switching mid-sleeve can be tricky. Decide early so the entire piece stays cohesive.
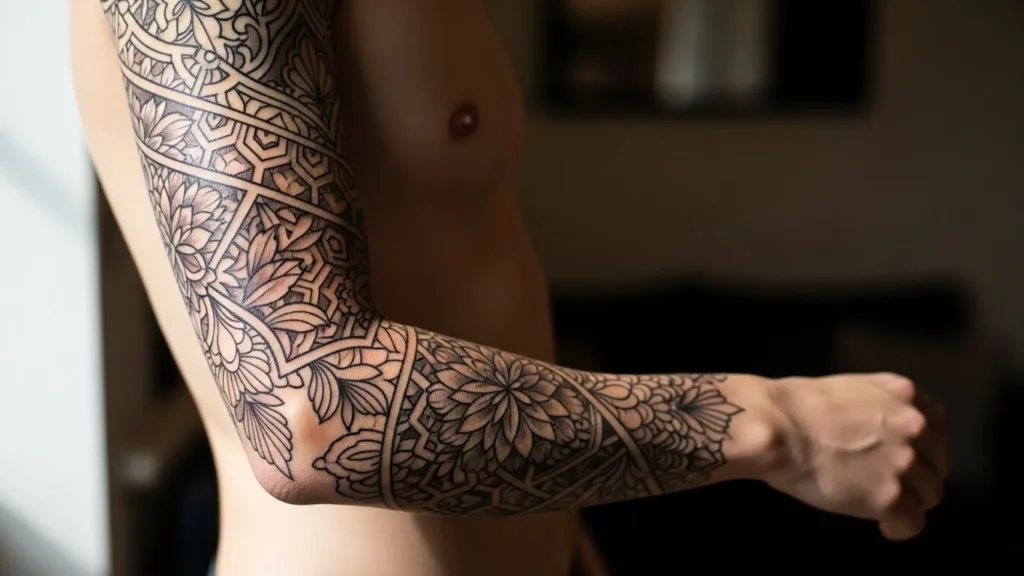
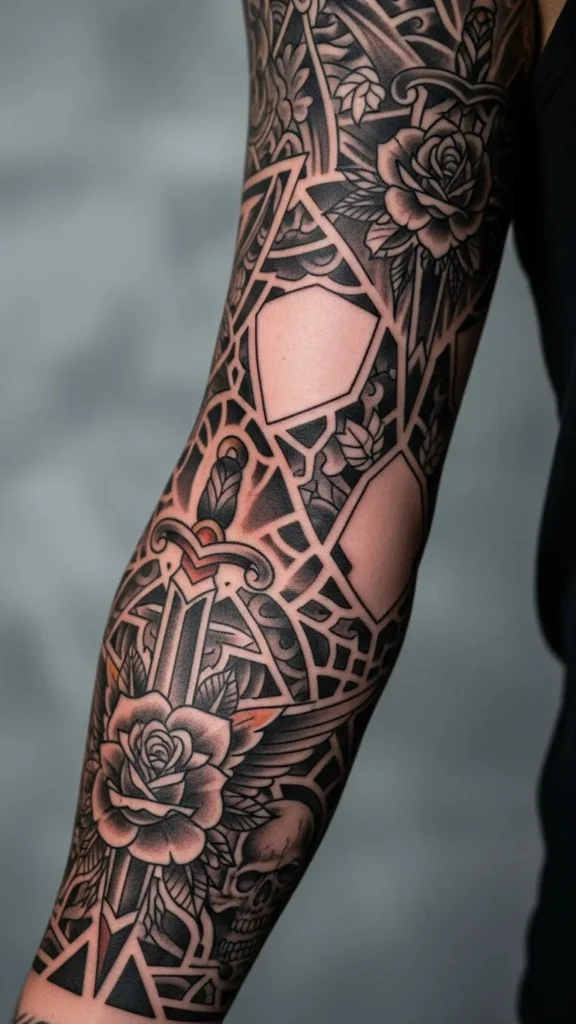
Step 4: Think About Flow Before Individual Designs
Flow is what separates a “bunch of tattoos” from a true sleeve.
Good sleeve flow means:
- Designs wrap naturally around the arm
- No harsh stop-and-start edges
- Smooth transitions between elements
Ways artists create flow:
- Smoke, clouds, or background shading
- Repeating shapes or patterns
- Gradual size changes from shoulder to wrist
Tip: Let your artist design the whole arm, even if you’re tattooing it in stages.
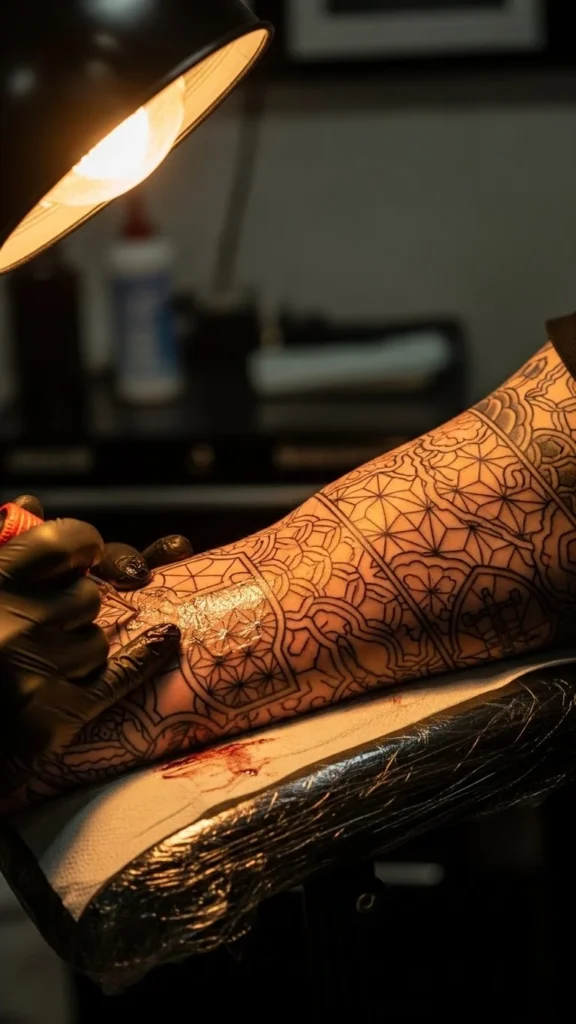
Step 5: Plan the Order of Tattoo Sessions
Sleeves are rarely done in one go. Planning session order saves stress.
Most artists start with:
- Upper arm or shoulder (larger canvas)
- Main focal pieces first
- Background and fillers later
Why this works:
- Big pieces set the tone
- Smaller details can adapt around them
- It prevents running out of space
Ask your artist for a rough session roadmap so you know what to expect.
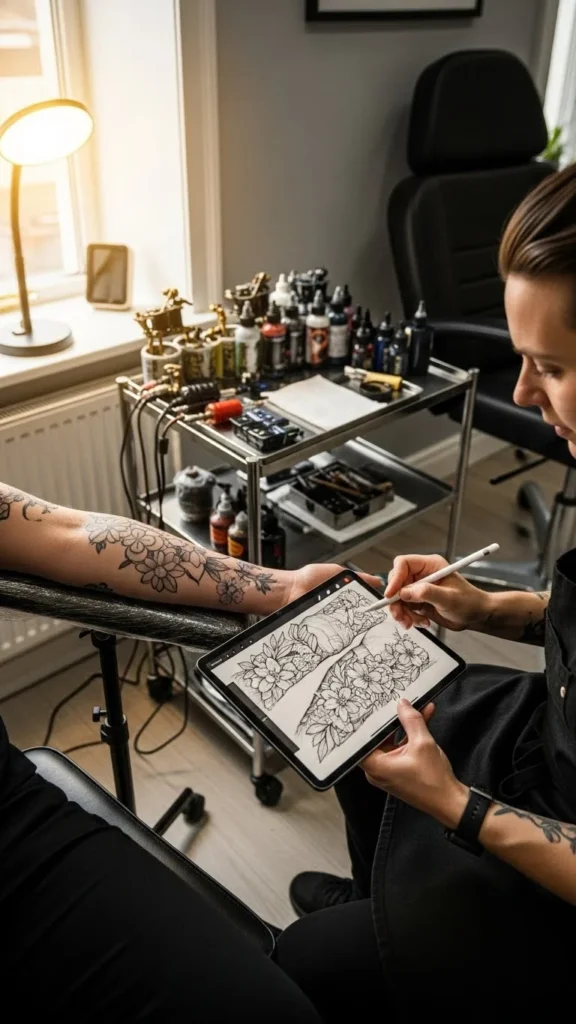
Step 6: Choose the Right Artist (This Is Critical)
Not every tattoo artist is a sleeve artist.
Look for someone who:
- Shows complete sleeves in their portfolio
- Has healed photos, not just fresh ink
- Understands anatomy and arm movement
- Is comfortable planning long-term projects
A good sleeve artist will:
- Suggest design changes for flow
- Help you pace sessions
- Care about the final result, not just today’s tattoo
Step 7: Budget Time, Money, and Healing
Sleeves are an investment.
Be realistic about:
- Total cost (often spread over months)
- Healing time between sessions
- Aftercare commitment
Helpful planning tips:
- Space sessions 3–6 weeks apart
- Avoid booking before major travel or events
- Follow aftercare strictly to keep lines clean
Rushing sessions can affect healing and final quality.
Step 8: Leave Room for Growth and Change
You don’t have to plan every tiny detail on day one.
Smart flexibility:
- Leave some open areas for fillers
- Allow designs to evolve as the sleeve grows
- Trust your artist’s long-term vision
The best sleeves often develop naturally, not rigidly.
Final Takeaway
Planning a sleeve tattoo step by step turns a big idea into a smooth, rewarding journey. Decide your coverage, lock in a style, focus on flow, and work with an artist who thinks long-term. Take your time—great sleeves aren’t rushed.