A small tattoo can look effortlessly chic… or slightly off — and the difference usually comes down to placement. The right spot makes fine lines look crisp, balanced, and intentional. The wrong spot? It can distort, fade faster, or just feel awkward on your body.
If you want that polished, Pinterest-worthy result, placement isn’t an afterthought — it’s the strategy. Let’s walk through exactly how to choose the cleanest, smartest spot for your small tattoo.
Step 1: Decide Your Visibility Level First
Before you even think about pain or trends, ask yourself one key question:
👉 Do I want this tattoo seen daily — or kept private?
Your lifestyle should drive this decision.
High-visibility placements
Best if you want to enjoy your tattoo every day:
- Wrist
- Forearm
- Collarbone
- Back of arm
Discreet placements
Perfect for subtle, personal ink:
- Behind the ear
- Inner arm
- Ribcage
- Ankle
✨ 2026 trend note: Micro tattoos are increasingly moving toward intimate, selectively revealed spots.
Quick lifestyle check:
- Work dress code strict? → choose coverable
- Love accessorizing? → choose visible
- Want something personal? → go hidden
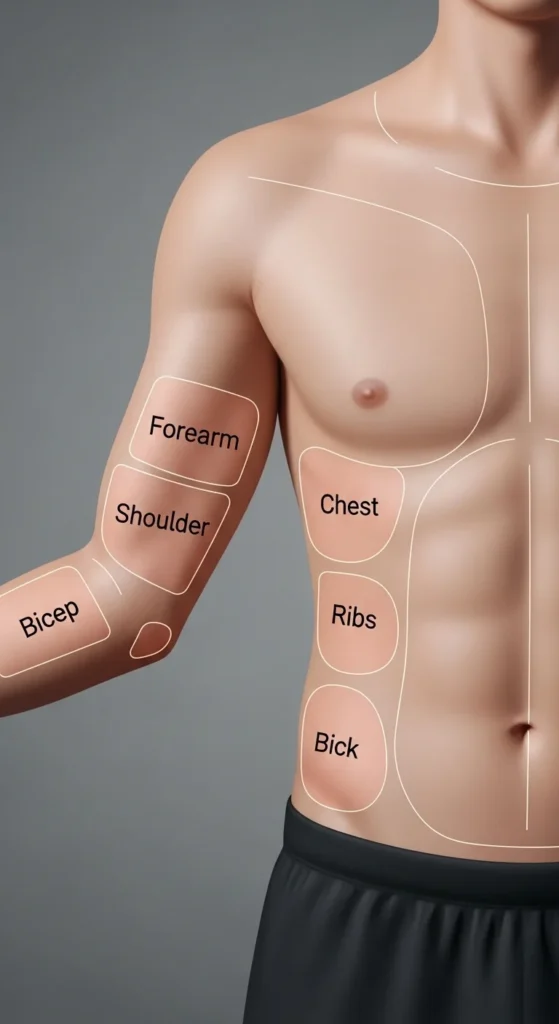
Step 2: Understand the Pain Map (Before You Commit)
Pain isn’t everything — but it definitely matters, especially for first-timers.
Lower-pain beginner zones (≈ 3–4/10)
These areas have more muscle cushion:
- Outer upper arm
- Thigh
- Calf
- Forearm
Moderate to high pain zones (≈ 6–9/10)
More bone and nerve density:
- Ribcage
- Spine
- Ankle
- Collarbone
Extreme sensitivity (≈ 9–10/10)
Usually not ideal for first small tattoo:
- Groin/private areas
- Fingers
- Side of hand
💡 Reality check: Small tattoos are quick, but bony areas can still feel intense.
Step 3: Choose Skin That Keeps Lines Sharp
Here’s the secret many beginners miss:
👉 Flat, stable skin = cleaner healed tattoos
Minimalist and fine line designs especially need calm skin.
Best “clean line” surfaces
- Outer forearm
- Inner arm
- Shoulder blade
- Upper arm
- Collarbone (relatively stable)
Trickier areas (more movement/stretch)
- Fingers
- Side of wrist crease
- Elbows
- Feet
- Areas with frequent friction
Why this matters:
- Movement can blur fine lines
- Friction accelerates fading
- Curves can distort tiny designs
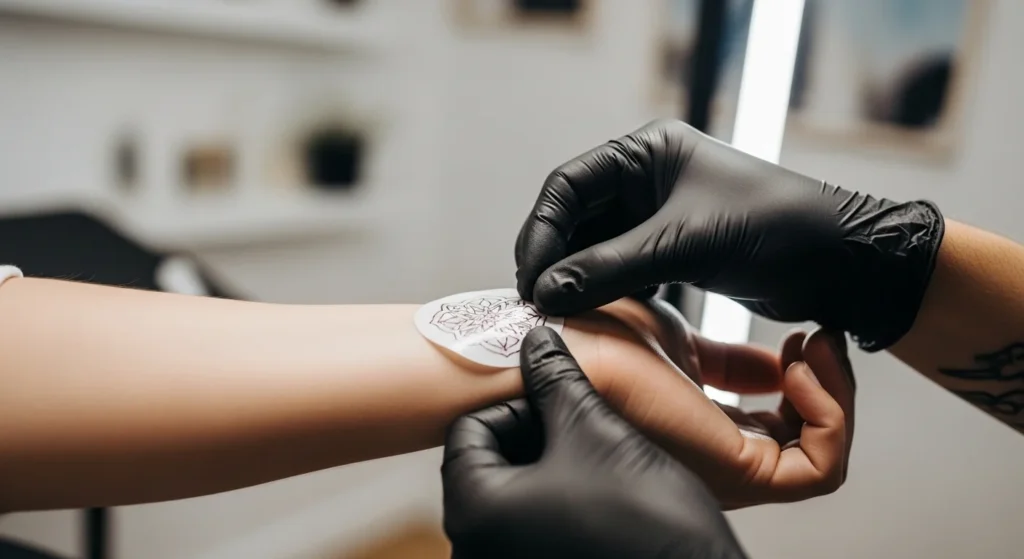
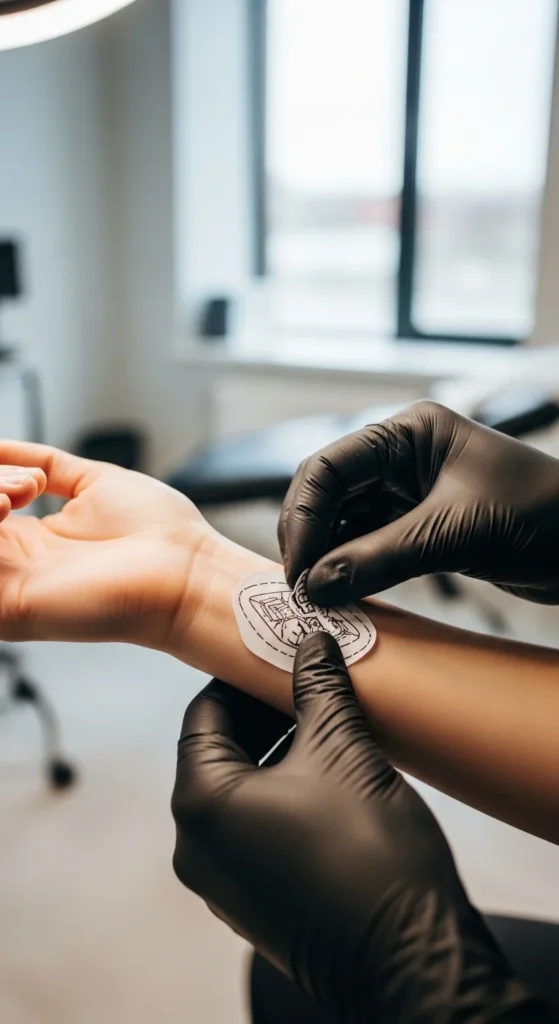
✨ Think of your tattoo like a sticker — it sticks best on smooth surfaces.
Step 4: Match the Design to the Body Flow
A tattoo looks most professional when it follows the natural lines of your body.
This is where many small tattoos go wrong.
Design-fit examples
- 🌿 Vertical designs (lavender, stems) → forearm, spine, calf
- ❤️ Tiny hearts → wrist, collarbone, ankle
- 🌙 Crescent moon → behind ear, inner wrist
- 🔺 Geometric shapes → forearm, upper arm
- ✨ Script words → along forearm or rib curve
Pro tip: Hold your stencil in the mirror from multiple angles before committing.

Step 5: Think About Fade Risk (Future You Will Care)
Not all placements age equally — especially for fine line tattoos.
Higher fade-risk zones
- Fingers
- Hands
- Feet
- Areas with heavy sun exposure
- High-friction spots
More fade-resistant zones
- Inner arm
- Upper arm
- Shoulder blade
- Thigh
- Rib side (protected by clothing)
☀️ Biggest enemy: sun exposure
🔁 Second enemy: constant rubbing
If you want that crisp minimalist look long-term, choose a low-friction, low-sun zone.
Step 6: Consider Your Lifestyle (The Regret Filter)
This is the step most people skip — and later regret.
Ask yourself honestly:
- Will my job require covering this?
- Do I work out heavily (skin stretching)?
- Will shoes/clothes rub this area daily?
- Am I okay with potential touch-ups?
Smart placement by lifestyle
Office or corporate:
- Inner arm
- Ribcage
- Upper thigh
- Behind ear
Active lifestyle:
- Upper arm
- Shoulder blade
- Outer forearm
Fashion-forward / visible lovers:
- Wrist
- Forearm
- Collarbone
✨ Placement is basically permanent accessorizing — treat it that way.

Step 7: Always Get Your Artist’s Input
Even if you’ve done all the research, your tattoo artist sees things you don’t.
They’ll evaluate:
- Skin texture
- Stretch and movement
- Design size limits
- Long-term aging
Questions to ask your artist
- “Will this placement heal clean?”
- “Is this size safe for this spot?”
- “Would you adjust the position slightly?”
- “How will this age in 3–5 years?”
A good artist will guide, not just agree.
Final Thoughts: Clean Placement = Clean Tattoo
If you remember nothing else, remember this:
✔ Pick visibility based on lifestyle
✔ Choose low-movement skin
✔ Respect the pain map
✔ Match design to body flow
✔ Think long-term fading
✔ Trust your artist’s eye
Small tattoos may be tiny — but smart placement is what makes them look truly high-end.