Fine line tattoos have a special kind of magic: one tiny line can say a lot. They’re clean, modern, and quietly powerful — the kind of tattoo people notice up close and then can’t stop staring at.
But designing one isn’t just “pick a cute minimal idea and go.” Fine line work is all about precision, spacing, and longevity. A design that looks perfect on paper can blur on skin if it’s too tiny, too crowded, or placed in the wrong spot.
Let’s design yours the smart way — so it’s beautiful now and years from now.

Start With a Concept That Actually Feels Like You
Before you open Pinterest, start with meaning — even if your tattoo is abstract.
Ask yourself:
- What do I want this tattoo to represent? (growth, freedom, love, resilience, memory)
- Do I want it obvious or subtle?
- Do I want it personal (symbol/quote) or aesthetic (pattern/shape)?
Easy concept starters:
- A personal symbol: a tiny icon tied to your story (arrow, wave, star, key)
- A short quote: 1–4 words that still make sense when small
- A motif you love: wildflowers, moon phases, butterflies, constellations
- A clean shape: triangles, circles, mandalas, line geometry
Tip: If you can describe your idea in one sentence, you’re on the right track.
Choose a Fine Line Style (So Your Design Has a “Lane”)
Fine line isn’t one look — it’s a whole family of styles. Pick the “lane” first, then design inside it.
Popular fine line directions:
- Geometric minimalism: triangles, mandalas, dot accents, symmetry
- Botanical linework: stems, wildflowers, herbs, vines
- Single-line art: continuous line faces, bodies, abstract forms
- Micro-realism: tiny animals/portraits with whisper-soft shading
- Celestial: star maps, moon phases, planets, constellations
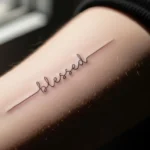
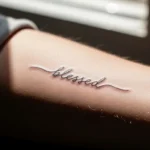
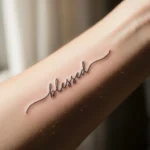
- Script: delicate handwriting, coordinates, dates, names (kept readable)
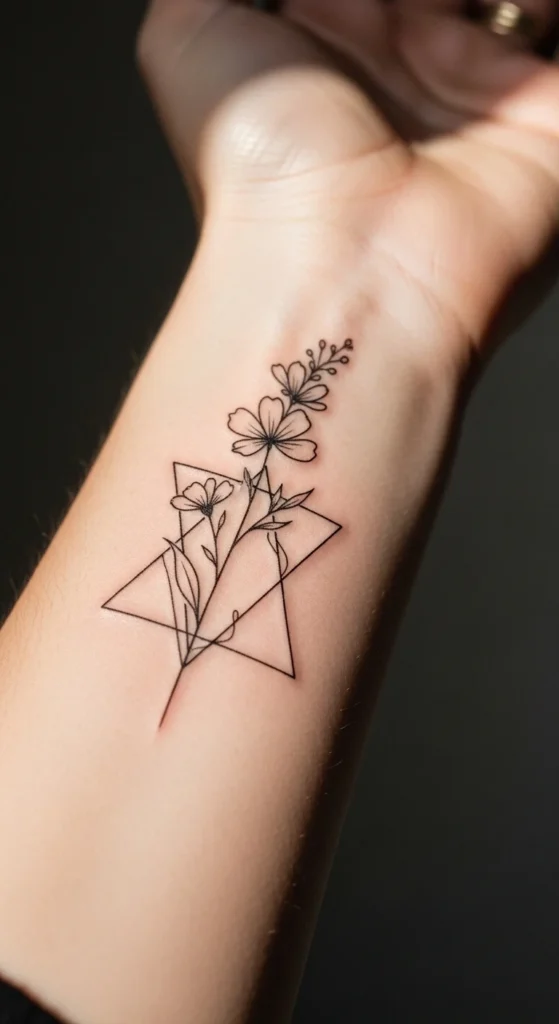
If you’re unsure, a safe combo that looks expensive:
geometric + nature (example: a rose framed inside a thin triangle).
Design With Negative Space (That’s the Secret Sauce)
Negative space is what makes fine line tattoos look airy and elegant. It’s also what helps them age better.
Use negative space by:
- Leaving breathing room between petals, lines, or letters
- Avoiding heavy fill in tiny areas
- Choosing outline-first designs over dense shading
- Keeping “tiny details” to a minimum
A quick rule that saves tattoos:
- If two lines are too close together, they can blur into one over time.
So when you’re sketching, always ask:
“Will this still look distinct if it softens slightly?”
Get Line Weight and Scale Right (This Is Where Most Designs Fail)
Fine line tattoos look delicate, but they still need structure.
Keep your line weight consistent
- Choose one primary thickness for most of the design
- Add a slightly thicker line only where needed (outline, anchor point, focal edge)
Scale for skin, not paper
A design that’s too small can:
- lose detail during healing
- fade faster
- look like a smudge from far away
Try this test:
- Draw it at the exact size you want
- Step back 6 feet
- If it disappears, scale up slightly or simplify.
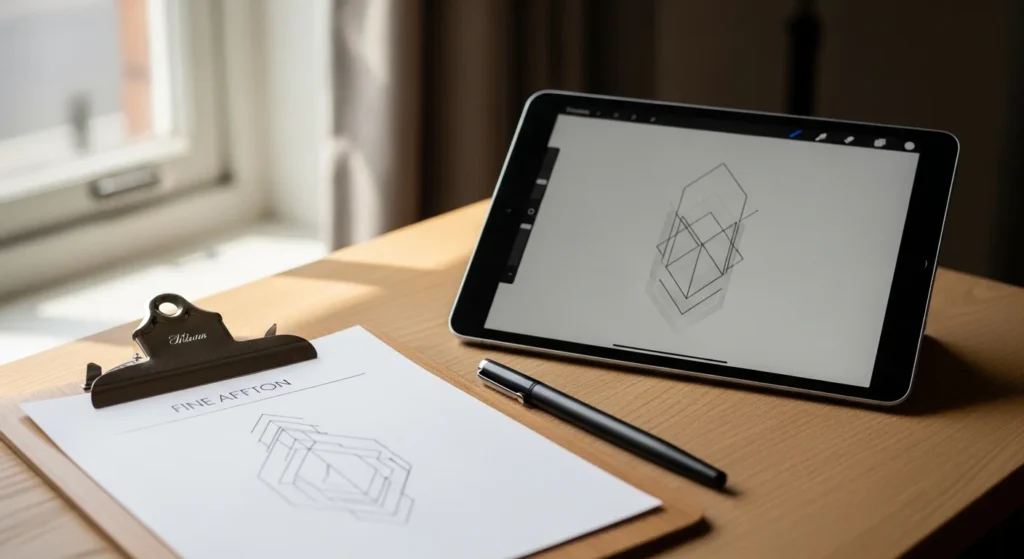
Use a Simple DIY Workflow (Even If You’re Not an Artist)
You don’t have to be a pro illustrator to create a strong fine line concept. Use tools to clean up your idea.
Easy workflow:
- Step 1: Collect references (3–6 images max)
- Step 2: Sketch the base shape (triangle, circle, vine curve, face outline)
- Step 3: Simplify details (remove anything tiny or crowded)
- Step 4: Digitize it (optional) in an app like Procreate or any drawing app
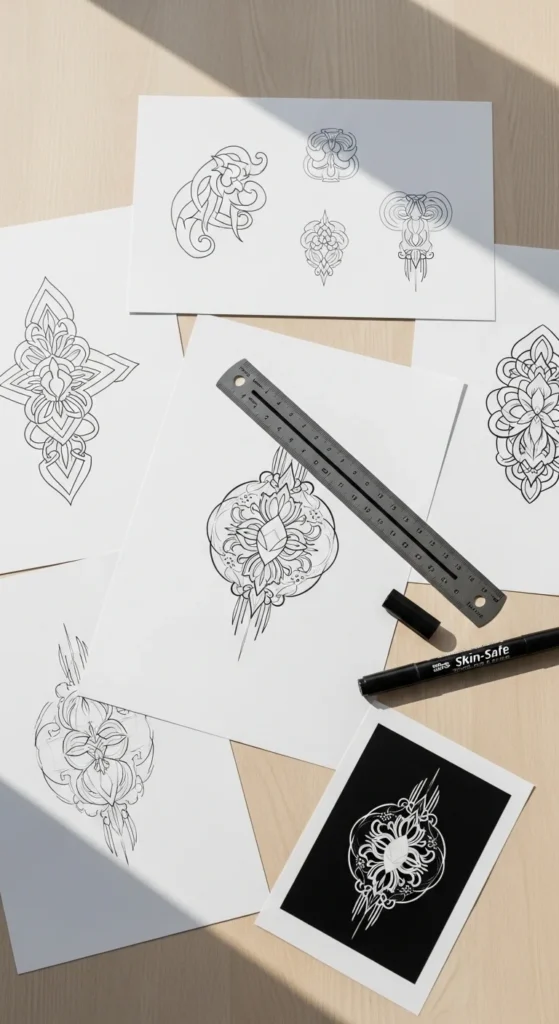
- Step 5: Create a stencil-style version (clean black lines, no shading)
Helpful tool ideas:
- Stencil apps or stencil filters (great for clean line previews)
- “Streamline/smoothing” settings in drawing apps for steady curves
- AI idea generators for fast variations (then you edit and personalize)
Best tip: Use tools for clarity, not for copying. Your artist will appreciate a clean reference, not a complicated collage.
Customize for Placement (Because Placement Changes the Design)
Fine line tattoos need the right canvas.
Better low-friction placements:
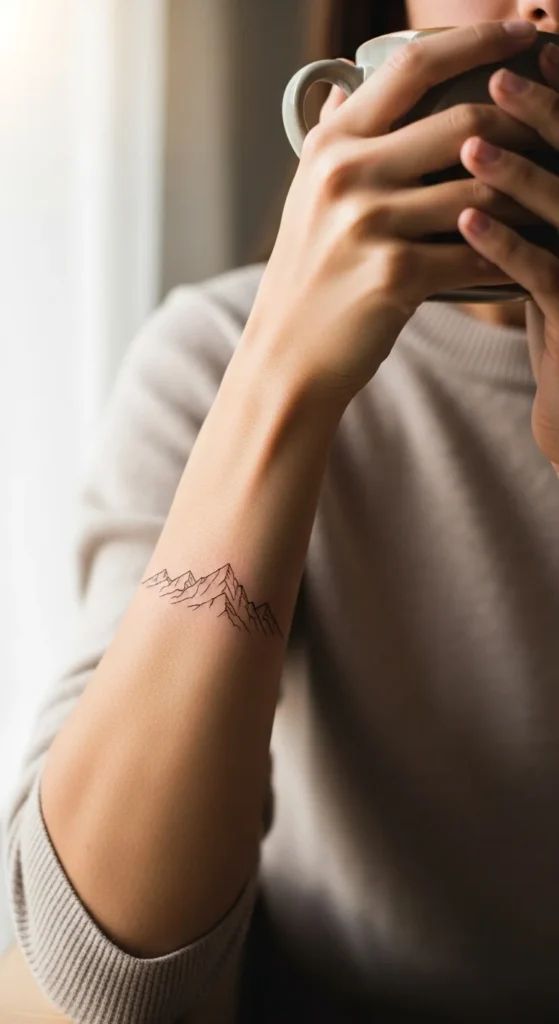
- inner forearm
- upper arm
- collarbone
- shoulder blade
- outer calf/ankle area
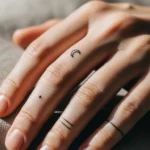
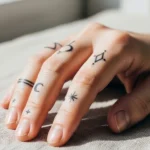
High-wear placements (design must be simplified):
- fingers, hands, feet
- inner elbow, wrist crease
- areas that rub clothing constantly
Placement-based tweaks that work:
- Wrist: shorter, cleaner shapes (tiny symbols, simple florals)
- Forearm: elongated designs (vines, quotes, single-line faces)
- Collarbone: airy, symmetrical pieces (botanical sprigs, moons, script)
Add Subtle Depth (Without Losing the Fine Line Look)
If you want a little “wow” without heavy shading, keep it whisper-light.
Options that stay delicate:
- tiny dot accents (dotwork)
- minimal whip shading (very soft)
- micro gradients only where there’s enough space
- a single shadow line behind the main element
Avoid:
- dense shading in tiny zones
- too many texture lines packed together
- ultra-detailed micro patterns in small sizes
The goal is clean first, fancy second.
Final Check: Longevity-Friendly Design Checklist
Before you book, run your design through this quick checklist:
- ✅ Simple shapes, not crowded detail
- ✅ Enough negative space between lines
- ✅ Readable at a distance
- ✅ Works in your chosen placement
- ✅ Artist can execute it cleanly
- ✅ Meaning (or timeless aesthetic) you won’t outgrow
If you can confidently say “yes” to most of these, you’re ready.