Rib tattoos have a reputation — and honestly, it’s earned. A fine line rib tattoo can look stunning: delicate florals that climb your side, a quote that curves perfectly with your body, or a minimal “skin jewelry” chain that feels elegant and private. But ribs are also a high-movement, high-pain placement, so the secret isn’t just choosing a pretty design… it’s choosing a rib-smart design and planning for the session like a pro.
Why Ribs Are a Dream Placement (And a Challenge)
The ribcage is a gorgeous canvas because it naturally creates flow. Vertical designs especially can look long, graceful, and flattering.
Why ribs work so well for fine line
- The curve of the torso enhances vertical florals and scripts
- It’s easy to keep discreet (hello, hidden masterpiece)
- Fine line looks extra elegant in this placement
Why ribs can be tricky
- Pain is high (bone + thin skin + constant movement)
- The skin shifts with breathing, twisting, and posture
- Tight clothing can cause friction during healing
Translation: ribs can look incredible, but they reward planning.
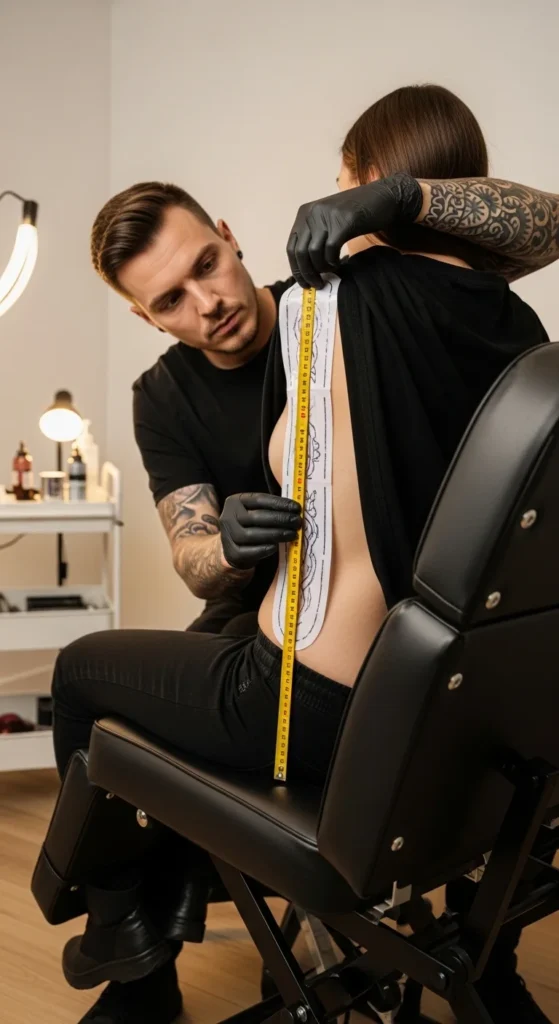
Step 1: Pick a Rib Placement That Matches Your Lifestyle
Not all rib placements behave the same. Your exact spot affects pain, visibility, and how often the tattoo gets rubbed.
Common rib placement options
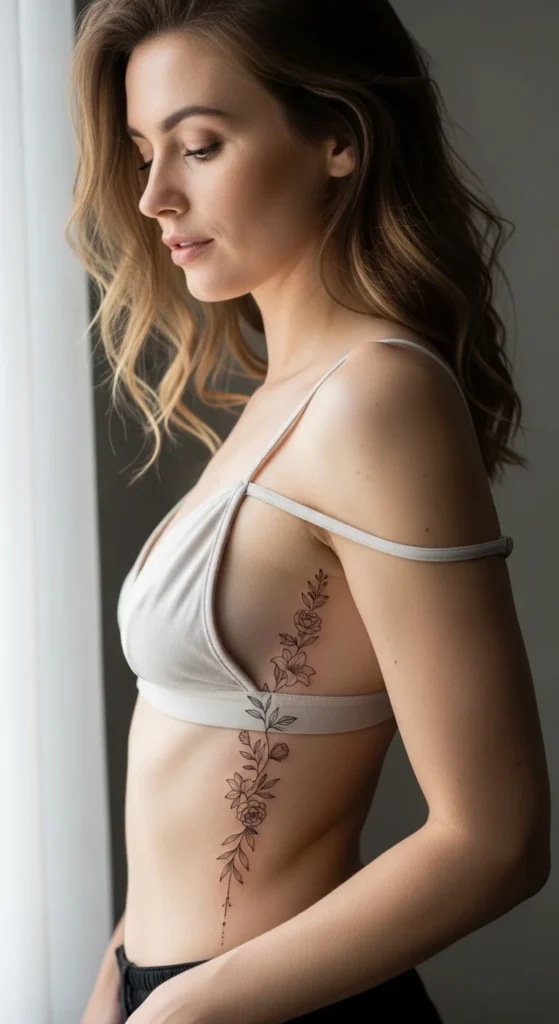
Side ribs (classic “under bra line” area)
- Beautiful for vertical florals and quotes
- More movement from breathing
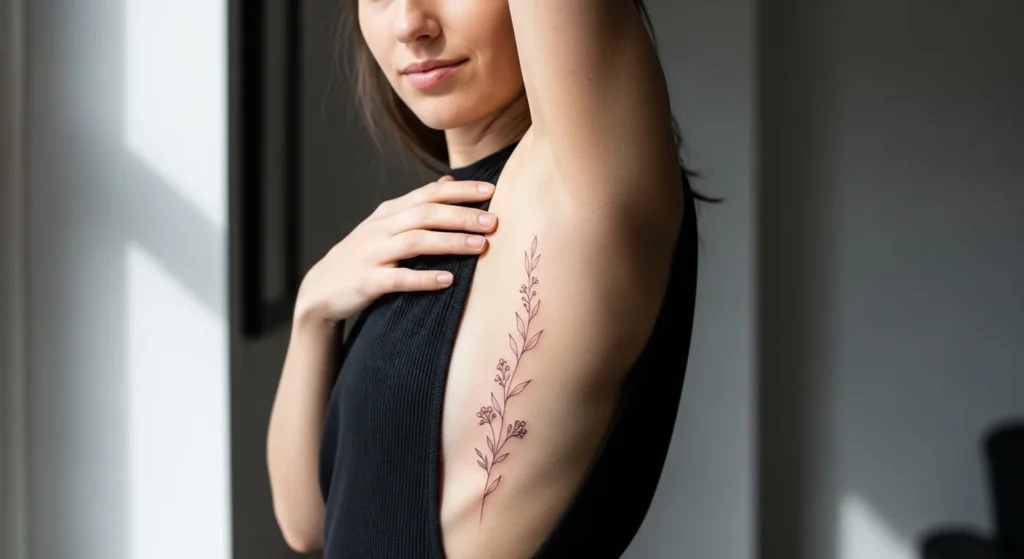
Upper ribs (closer to the underarm)
- Can be more sensitive
- More friction risk from arm movement and bra straps
Lower ribs (closer to waistline)
- Often gets rubbed by waistbands
- Can be easier to hide
Quick placement check
Ask yourself:
- Do I wear tight tops often?
- Do bra straps sit exactly where the tattoo would heal?
- Will I need to work out or do core-heavy movement soon?
If the answer is “yes,” consider placing the tattoo slightly away from your most common friction zones.
Step 2: Choose a “Stretch-Resistant” Design
Ribs move. A lot. So your design needs to be built for movement — not against it.
Designs that age best on ribs
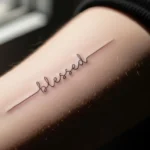
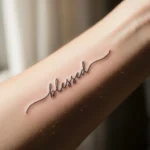
- Vertical scripts (quotes that run up/down)
- Vertical botanical vines and wildflowers
- Single-line abstracts that flow with the curve
- Minimal ornamental chains (“skin jewelry” vibe)
Designs to be cautious with
- Very horizontal text (more stretching with twisting)
- Tiny dense micro-details (can soften faster)
- Heavy shading (easy to blur on a moving area)
Design tip: If you want script, go slightly larger than “micro.” Thin, tiny lettering can soften quickly on ribs.
Step 3: Pick the Right Artist (Ribs Reveal Skill Fast)
Fine line ribs are not the place for “good enough.” Curves + movement + delicate lines demand an artist with real control.
What to look for in a rib fine line artist
- Healed photos of rib or torso tattoos
- Clean, consistent line weight (no wobble)
- Experience with single needle or tight liners
- Light, controlled shading (whip or stipple)
Rib-specific questions to ask
- “Do you have healed rib tattoos I can see?”
- “How do you handle breathing and skin movement?”
- “Would you recommend vertical layout for longevity?”
A great artist will guide you toward a design that looks amazing and holds up.
Step 4: Master Rib Pain With Breathing (This Actually Helps)
Yes, rib tattoos can hit 8/10 on the pain scale for many people. But pain management isn’t just “be tough.” It’s technique.
Breathing strategy that helps with ribs
- Inhale gently before a line starts
- Exhale slowly as the needle touches down
- Try to keep your belly and chest relaxed (less sudden movement)
Why it matters: controlled breathing can make the skin feel more stable and can help you tolerate the session better.
Extra pain helpers (simple but effective)
- Eat a real meal beforehand
- Hydrate (dry skin can feel more sensitive)
- Avoid alcohol the day before
- Plan breaks for longer designs
- If using numbing cream, follow your artist’s preference (some studios have specific rules)
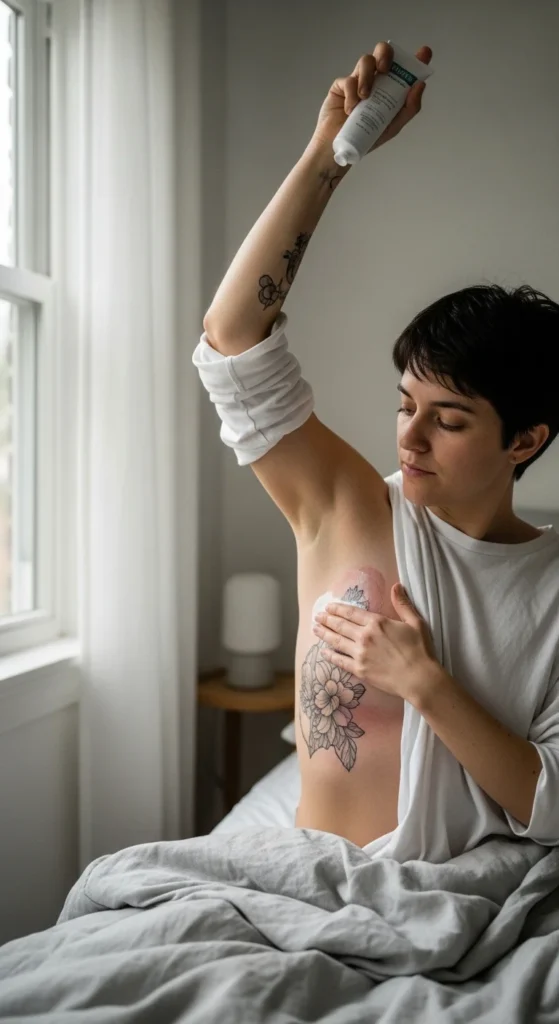
Step 5: Rib Aftercare Is Mostly About Friction Control
Ribs can heal beautifully, but aftercare matters because clothing constantly touches this area.
Healing timeline (typical)
- Surface healing: 3–5 weeks
- Full settling: up to 3 months
The rib-friendly aftercare routine
Do:
- Wash gently with a fragrance-free cleanser
- Pat dry (don’t rub)
- Apply a thin layer of fragrance-free moisturizer
- Wear loose tops for the first week
Avoid:
- Tight clothing (especially compression tops)
- Heavy ointments (too thick can clog and irritate)
- Core workouts and twisting in the first few weeks
- Picking flakes (biggest cause of patchy lines)
Pro tip: Many artists use a second-skin bandage for a few days on ribs to protect against early rubbing. If you get one, follow your artist’s timing exactly.

Step 6: Plan for Longevity (Because Ribs Move Forever)
Even after healing, ribs are a movement-heavy area. That doesn’t mean your tattoo is doomed — it just means maintenance is normal.
Keep it crisp long-term
- Moisturize regularly after healing (healthy skin = better-looking lines)
- Protect from sun if your ribs are exposed at the beach/pool
- Expect touch-ups around 2–4 years if needed (varies by skin and lifestyle)
If you choose a vertical design with breathing room and get it done by a skilled fine line artist, ribs can still age beautifully.
Final Takeaway
A fine line rib tattoo is one of the most elegant placements you can choose — but it’s also one of the most intense. If you want a rib tattoo you’ll love long-term:
- go vertical when possible
- pick an artist with healed rib work
- use breathing to manage pain and movement
- keep healing friction-free
✨ Save this guide for later — especially if you’re planning a quote or floral rib tattoo and want it to stay crisp.