A fine line spine tattoo is the definition of “quietly dramatic.” It’s elegant, vertical, and naturally flattering—like a delicate vine or meaningful quote that follows your body’s center line. And because the spine is usually low-sun and low-friction, it can be one of the best placements for longevity… as long as you’re prepared for the two big realities: bone-level sensation and slow, itchy healing.
If you want that clean Pinterest-perfect spine tattoo (without regret), here’s exactly how to plan it.
Why the Spine Is a Top-Tier Spot for Fine Line Tattoos
The spine is basically built for fine line.
What makes it ideal
- Vertical canvas that enhances long, flowing designs
- Low sun exposure compared to arms/ankles (major fade advantage)
- Low friction (no constant rubbing like waistbands or shoes)
- A natural “center line” that makes designs look intentional and balanced
What makes it challenging
- The needle vibration can feel intense over bone
- Skin is tighter along the spine, which can mean longer peeling + itching
- Posture changes (arching, slouching) can affect how the design looks day-to-day
Step 1: Choose a Spine Placement That Matches Your Vibe
“Spine tattoo” can mean a few different zones. Pick based on visibility, comfort, and how long you want the design.
Popular spine placement options
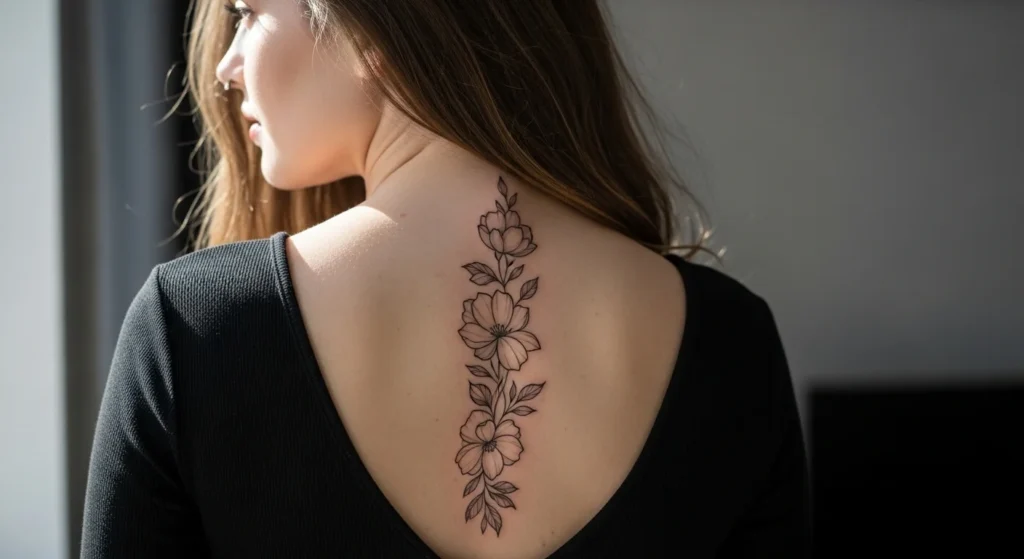
Upper spine (between shoulder blades down)
- Great for botanicals, ornamental shapes, angelic/airy pieces
- Often easiest to keep hidden day-to-day
Mid-spine (classic vertical center)
- Perfect for quotes, vines, minimalist “cascades”
- Looks clean and symmetrical
Lower spine (toward the small of back)
- Beautiful for delicate drapes and “skin jewelry” chain designs
- Consider waistband friction during healing
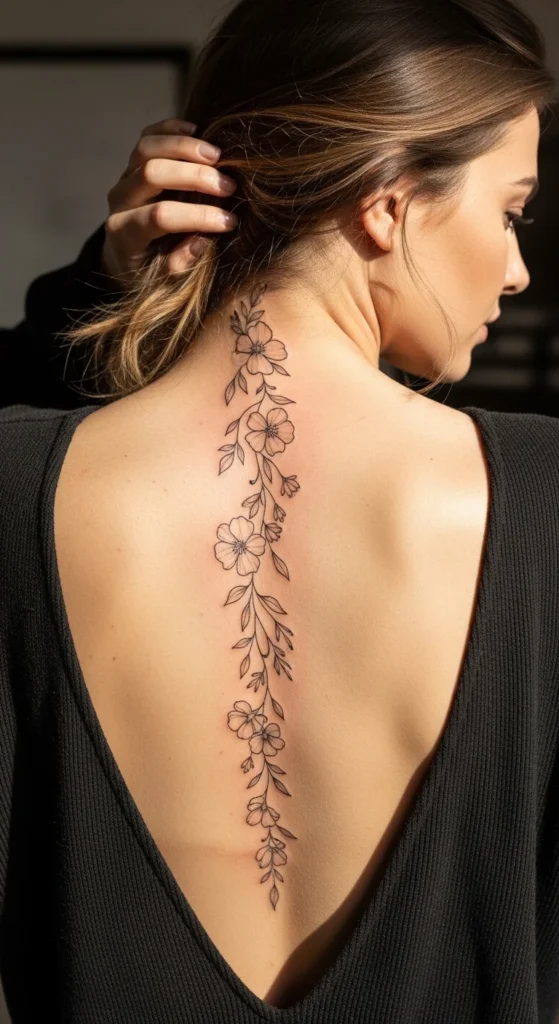
Neck-to-spine flow
- More statement-making
- Gorgeous for a full “vertical story” design
Step 2: Pick a Design That Moves Well With Your Body
The spine looks best when your design follows the body’s natural curve.
Spine designs that age well
- Cascading florals (wildflowers, leaves, vines)
- Vertical script or mantras
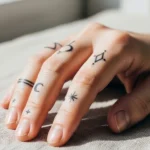
- Minimal dot-and-star “trail” accents
- Single-line abstract waves
- Ornamental spine “jewelry” drapes
Design tips for longevity
- Go vertical whenever possible (it resists distortion better than horizontal layouts)
- Leave breathing room between elements (tiny packed details soften faster)
- If using text, avoid micro-tiny cursive—slightly larger stays readable longer
Quick rule: If it looks “hair-thin and tiny” on paper, it may soften faster on skin.
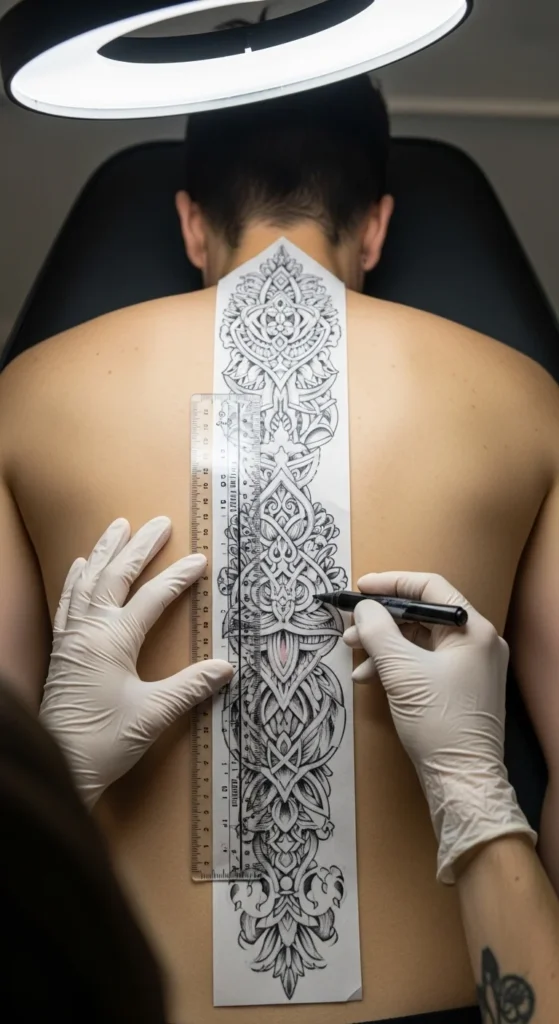
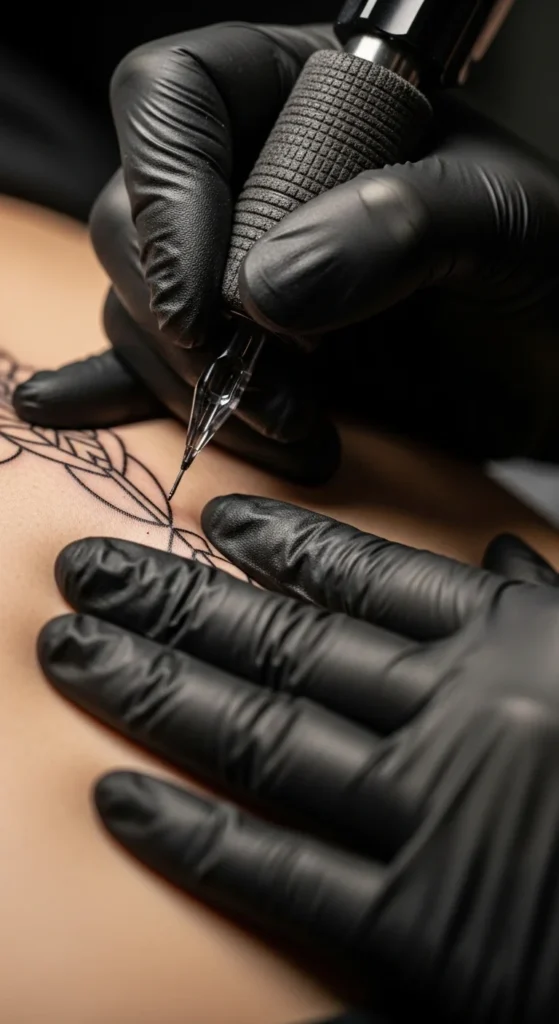
Step 3: Choose an Artist Who’s Great With Curves + Bone Zones
Spine tattoos reveal technique fast. Fine line on a bony ridge needs precision and restraint.
What to look for in a spine fine line artist
- Healed photos of back/spine fine line work
- Clean line weight with minimal wobble
- Experience with single needle or tight liners
- Light, delicate shading skills (whip or stipple—never heavy packing)
What “good technique” usually involves
- Single needle for crisp lines that hug the curve
- Lightest pressure to avoid blowouts on bone
- Slow, steady pace to keep lines even over vertebrae bumps
Step 4: Manage Spine Pain With Positioning + Breathing
Spine pain is often described as vibration-heavy—like you feel it in your bones. Many people rate it somewhere around 5–8/10, depending on sensitivity and exact placement.
Positioning that helps
Most studios place you prone (face down) with a face cradle. This can reduce tension, stabilize your back, and keep you from moving.
Breathing trick that actually works
Try this simple rhythm:
- Inhale gently before the line starts
- Exhale slowly as the needle touches down
- Keep your shoulders relaxed (tension = more discomfort)
This helps because your breathing can stabilize skin movement—especially for long vertical lines.
Bonus pain-prep checklist
- Eat a real meal before your appointment
- Hydrate well (dry skin can feel more sensitive)
- Avoid alcohol the day before
- Plan breaks for longer designs
- If you’re considering numbing, ask your artist first (studio rules vary)
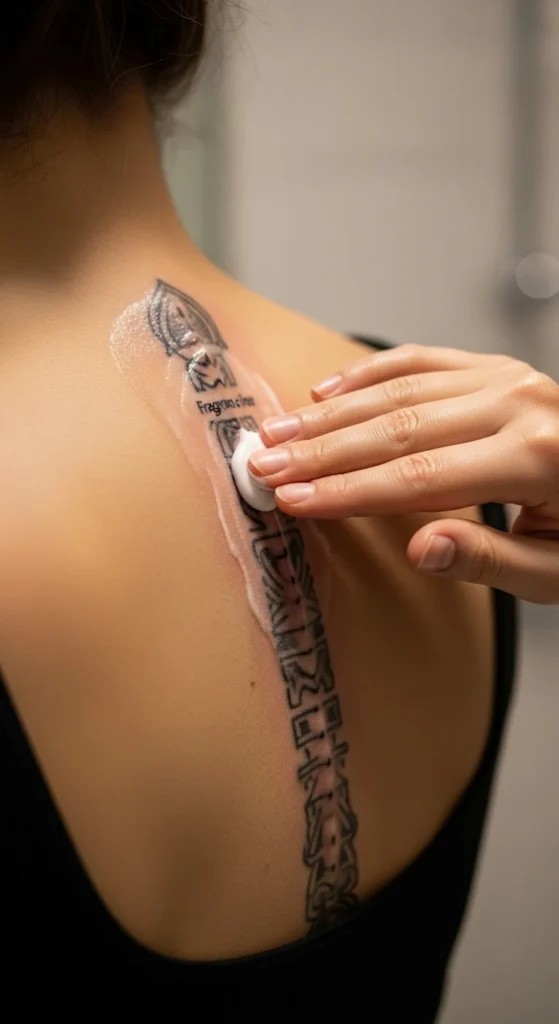
Step 5: Spine Healing Is Slow—Plan for the Itch Phase
Spine tattoos can peel and itch longer because the skin is tighter and your back moves with daily life.
Typical healing timeline
- Surface healing: 4–6 weeks
- Full settling: up to 3 months
Spine-friendly aftercare basics
Do:
- Wash gently with fragrance-free cleanser
- Pat dry (no rubbing)
- Use a thin layer of fragrance-free lotion
- Wear loose, soft clothing for the first week
Avoid:
- Heavy ointments (can clog and irritate)
- Scratching itch (tap lightly instead)
- Back sleeping in week 1 if possible (pressure can irritate fresh lines)
- Intense sweating early on (especially first 7–10 days)
If your artist uses a second-skin bandage, it can reduce early itch and protect from friction—follow their timing exactly.
Step 6: Keep It Crisp for Years (Spine Is a Longevity Winner)
One of the best parts about spine placement: it’s often lower sun + lower friction, which helps fine lines last longer.
Long-term care for sharp lines
- Moisturize regularly after healing
- Use sunscreen when your back is exposed (beach, pool, backless tops)
- Expect touch-ups far less often than high-friction zones
Many people find spine fine line tattoos can go 4–6 years before needing a touch-up—sometimes longer with good care.
Final Takeaway
A fine line spine tattoo is stunning because it works with your body’s natural curve—and it can be one of the most long-lasting placements for delicate ink. The winning formula is simple:
- Choose a vertical design with breathing room
- Book a true fine line specialist with healed spine work
- Use breathing + positioning to manage vibration pain
- Be patient through the slow, itchy healing phase
✨ Save this guide for later—especially if you’re planning a floral or quote spine tattoo and want it to stay crisp and elegant.