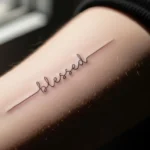
Big tattoo ideas are fun… until you realize you actually want something tiny, clean, and wearable every day. The problem is: when you shrink a design, details disappear—and sometimes the meaning feels like it disappears too.
The fix isn’t “make it smaller.” The fix is translate the idea into a small-tattoo version that still says the same thing—just in a simpler visual language.
Step 1: Identify the “Meaning Core” (One Sentence Only)
Before you simplify anything, write your idea as one sentence:
- “This tattoo represents my new beginning.”
- “This reminds me of my mother.”
- “This symbol stands for direction and courage.”
- “This marks a place that changed me.”
Now underline the one word that matters most (beginning, mother, courage, place). That’s your meaning core—and it will guide every design decision.
Quick trick: separate meaning from decoration
Most large tattoos have:
- Meaning elements (the core symbol)
- Decorative elements (extra flowers, shading, backgrounds, texture)
Small tattoos keep the meaning elements and ditch most decoration.
Step 2: Do the 5-Step Silhouette Test (Instant Simplifier)
Here’s the simplest way to “shrink-proof” any concept: reduce it to an outline that still reads instantly.
The Silhouette Test
- Convert the idea into a single outline
- Remove all inner texture (no tiny shading)
- Keep only the most recognizable shape
- Make it readable at arm’s length
- If it’s unclear, simplify again
If your tattoo can be recognized as a clean silhouette, it will usually look better at 1–2 inches.
Step 3: Replace Details With Symbol Swaps (Same Meaning, Less Mess)
Sometimes a big idea is too complex to shrink without losing clarity. That’s when you use a symbol swap—a simpler symbol that still carries the same emotional message.
Easy symbol swaps by theme
- Love → heart outline, tiny knot, two dots + line
- Growth → sprout, leaf, fern sprig
- Strength → triangle, mountain outline, small shield icon
- Freedom → tiny bird silhouette, open circle, wave
- Time/memory → small star, date dots, minimal hourglass outline
- Direction → arrow, compass point, North star
The meaning stays. The design becomes small-tattoo friendly.
Rule: don’t shrink the whole story—shrink it into a symbol that stands for the story.
Step 4: Use Negative Space to “Say More” With Less Ink
Negative space is basically the secret sauce of clean tiny tattoos. Instead of adding more ink to show detail, you let skin create the shape.
Tiny tattoo negative-space ideas
- A heart with a small open gap that creates a highlight
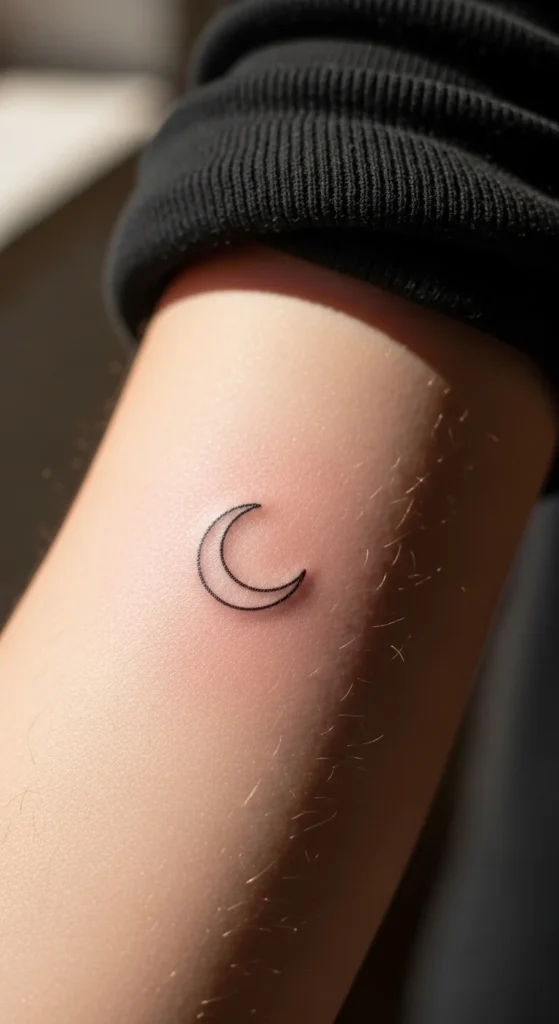
- A crescent moon made from two thin arcs (not filled)
- A leaf outline with an open center (no shading)
- A geometric shape with a small cut-out center
Negative space makes your design feel modern, crisp, and intentional—especially when you’re working with limited space.
Step 5: Respect Line Weight + Spacing (Tiny Tattoos Need Air)
This is where many “cute” designs become blurry later: the lines are too thin, or the details are too close together.
Tiny tattoo clarity rules
- Keep line weight consistent (clean uniform strokes heal better)
- Avoid tiny textures and micro shading (it turns muddy fast)
- Leave extra spacing between elements so they don’t merge
- Choose strong shapes over complicated detail
Quick spacing check
If two lines or dots are very close in your design, ask:
- “Will this still be distinct in a year?”
- “What if it softens slightly as it heals?”
Small tattoos should be designed for “Year 5,” not just day one.
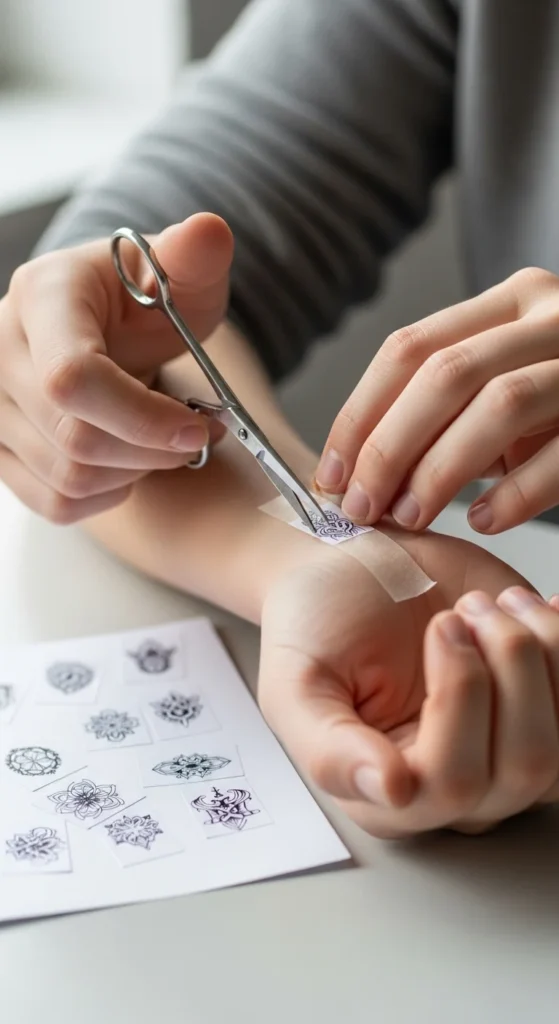
Step 6: Do the Print-and-Shrink Test (Your Best Friend)
Before you commit, test the design in real life.
Print & Shrink Method
- Print your design at 2 inches
- Print again at 1.5 inches
- Print again at 1 inch
- Tape it on your chosen placement
- Stand back and check readability
Then do one more test: look at it quickly in the mirror like you’re walking past.
If you can’t recognize it instantly, it needs simplifying (or a slightly larger size).
Step 7: Keep Meaning With a “Signature Detail”
Want it to feel personal even if the symbol is simple? Add one tiny signature detail that only you understand.
Signature detail ideas (small but powerful)
- A hidden initial inside the linework
- A specific number of dots/petals (family members, milestones)
- A tiny break in the line (intentional, symbolic)
- A subtle second star or tiny accent mark
- A micro date element (only if it stays readable)
This is how a common motif becomes a custom tattoo.
Final Takeaway: Small Tattoos Aren’t Smaller Designs—They’re Better Translations
To turn any tattoo idea into a small tattoo without losing meaning:
- Find the meaning core
- Reduce it to a clean silhouette
- Use symbol swaps when needed
- Let negative space do the heavy lifting
- Protect clarity with line weight + spacing
- Always print-and-shrink test
- Add one signature detail for “custom” energy
If you want, tell me your tattoo idea in one sentence (the meaning core), and I’ll give you 3–5 tiny-design translation options that stay readable at 1–2 inches.