Small back tattoos are perfect when you want something personal without a huge commitment. They’re easy to hide under work clothes, and they still feel special when you catch them in the mirror. The best part is you can keep the design simple, pick a flattering spot like the shoulder blade or spine, and finish the whole thing in one short session. Below are subtle, beautiful ideas with practical tips so you can choose a design that ages well, stays readable, and fits your budget.
1. Tiny Heart on the Shoulder Blade
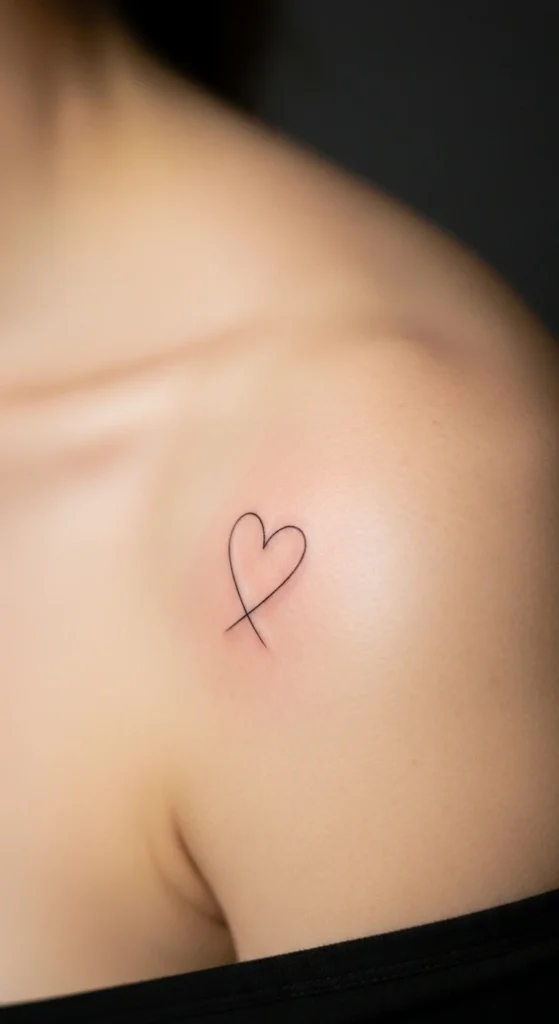
A tiny heart is simple and sweet. It works well on the shoulder blade because that area moves less than the waistline. That helps the lines stay clean.
If you want the tattoo to last, keep the heart slightly larger than a coin. Super tiny lines can blur faster over time.
Budget tip: ask for single-needle fine line with no shading. It’s quick. Most artists can finish this in minutes.
DIY planning idea: print a paper heart the exact size you want. Tape it to your shoulder blade and take a mirror photo. You’ll know right away if it feels too small.
You can keep it plain or add a tiny sparkle dot nearby later. That turns it into a mini “story” without adding much cost.
It’s also easy to cover with straps. Perfect for a first tattoo.
2. Single Star Behind the Shoulder
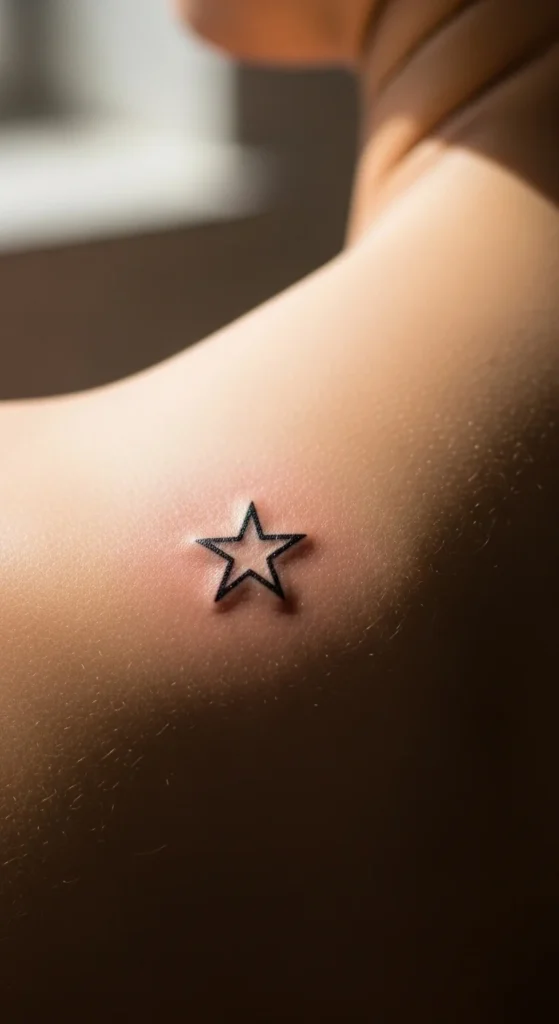
A single star feels subtle but meaningful. It’s one of the easiest designs to keep clean and readable.
Place it slightly off-center near the upper back. It peeks out with certain tops but stays hidden most days.
Budget tip: keep the star solid black with simple points. Shading adds time.
DIY idea: draw a star with eyeliner in a few different spots. Take photos in different outfits. Pick the one that looks best.
To help it age well, avoid super thin points. A slightly thicker outline holds shape longer.
You can add more stars later into a small cluster if you want to grow the design.
3. Mini Arrow Pointing Down the Spine
A tiny arrow feels focused and clean. Down the spine, it looks sleek and balanced.
Keep it simple. Just an arrowhead and a short line. That keeps the session fast and affordable.
Spine spots can sting, even for small tattoos. If you’re nervous, place it slightly off the center line near the spine instead.
DIY tip: cut a paper arrow and tape it to your upper back. Try two sizes. The slightly bigger one usually looks better.
If you want extra meaning, add two small dots above it later. It still stays minimal.
4. Fine-Line Rose Bud at the Nape
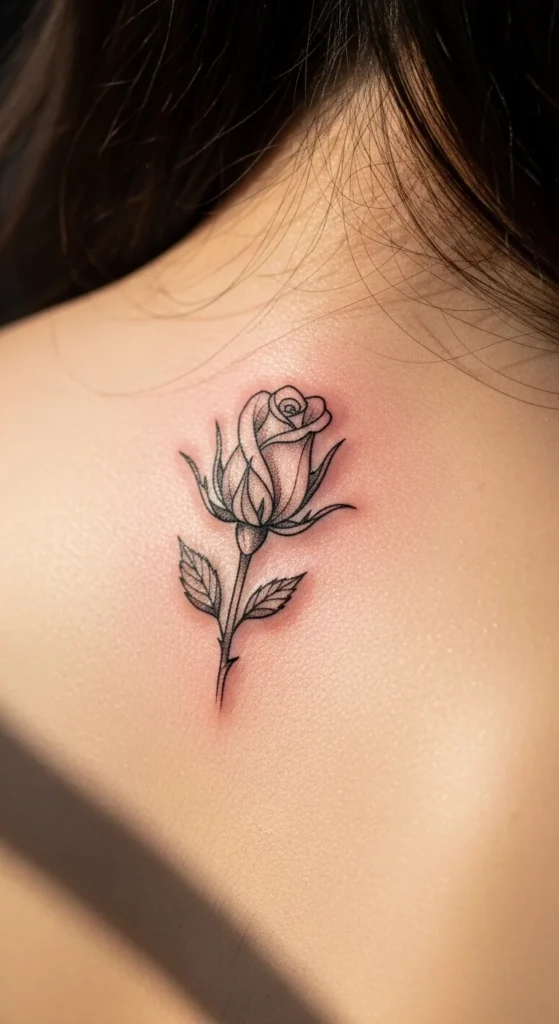
A rose bud at the nape looks delicate and stylish. It’s easy to hide with hair, and it looks great with open-back tops.
To keep costs low, choose outline-only petals. Skip heavy shading.
Ask for a simple stem and one leaf. Too many leaves can make it look busy at a small size.
DIY idea: find one rose bud photo you love and print it. Don’t bring ten references. Clear direction saves time.
This tattoo works well as a starting point for a future floral spine trail.
5. Tiny Lotus Outline Mid-Back
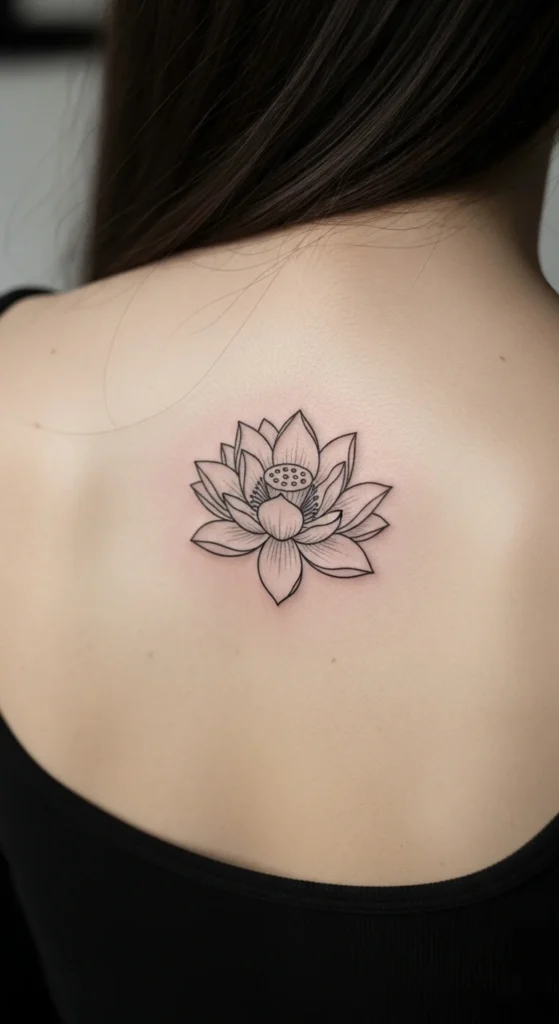
A lotus outline looks calm and balanced. It’s great if you want a spiritual vibe without a large piece.
Keep the petals simple and open. Tight petal detail can blur.
Budget tip: outline-only keeps the session short. If you ever want more, add dot shading later.
DIY planning: place a temporary tattoo in the middle of your back for a day. See if you like how it sits with different bras and tops.
A lotus also pairs well with small moon phases above it if you want to expand later.
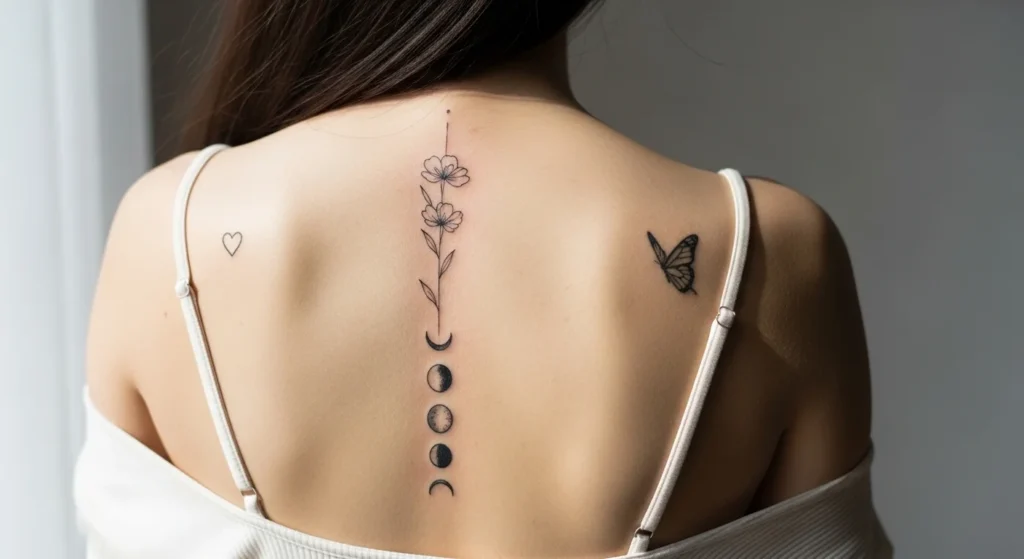
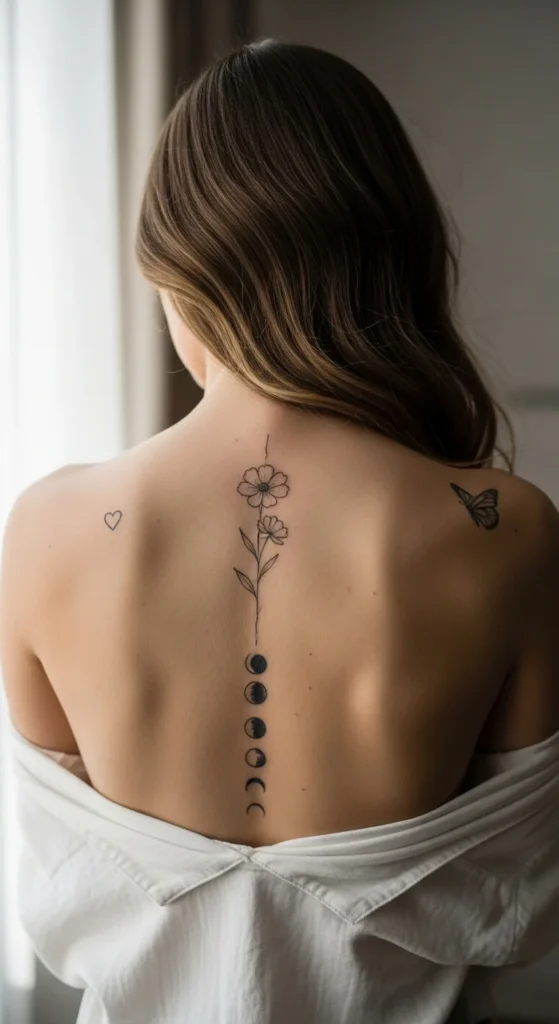
6. Moon Phase Mini Line

Moon phases are popular because they’re clean and symbolic. They also fit narrow spaces like the spine.
Keep the moons slightly spaced out. Crowding makes it harder to read.
Budget tip: use thin outlines and small filled crescents only. No heavy shading.
DIY tip: draw five small dots in a line on paper. That’s the spacing. Show it to the artist so it matches your vision.
This design grows easily. You can add a tiny star at the top later.
7. Minimal Constellation Dots
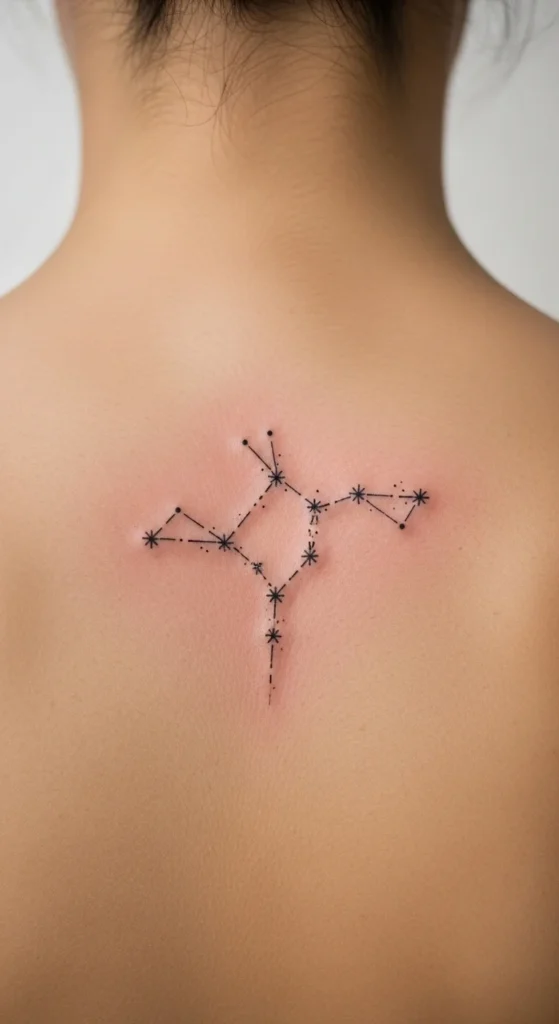
Constellation tattoos look personal and light. Dots and short lines keep it subtle.
Choose a simple constellation with 5–7 points. Too many points can look messy.
Budget tip: dotwork is fast. Keep lines short.
DIY idea: pick a constellation that matters to you. Print it at the exact size you want.
This placement works great near the shoulder blade or upper spine.
8. Tiny Butterfly Near the Shoulder

A tiny butterfly can look airy and sweet. It’s perfect if you like “transformation” symbolism.
Keep wing details simple. Too many lines make it blur faster.
Budget tip: outline-only butterfly is quick.
DIY planning: try the butterfly a little tilted. Straight wings can look stiff.
You can add a second smaller butterfly later to create a gentle “flight” effect.
9. Three Small Birds in Flight

Bird silhouettes look elegant and light. Three birds feels balanced without being busy.
Silhouettes are easier to tattoo than detailed birds, so they cost less.
DIY tip: place the birds in a slight curve, not a straight line. It looks more natural.
This tattoo also hides well under straps.
10. Tiny Infinity Loop
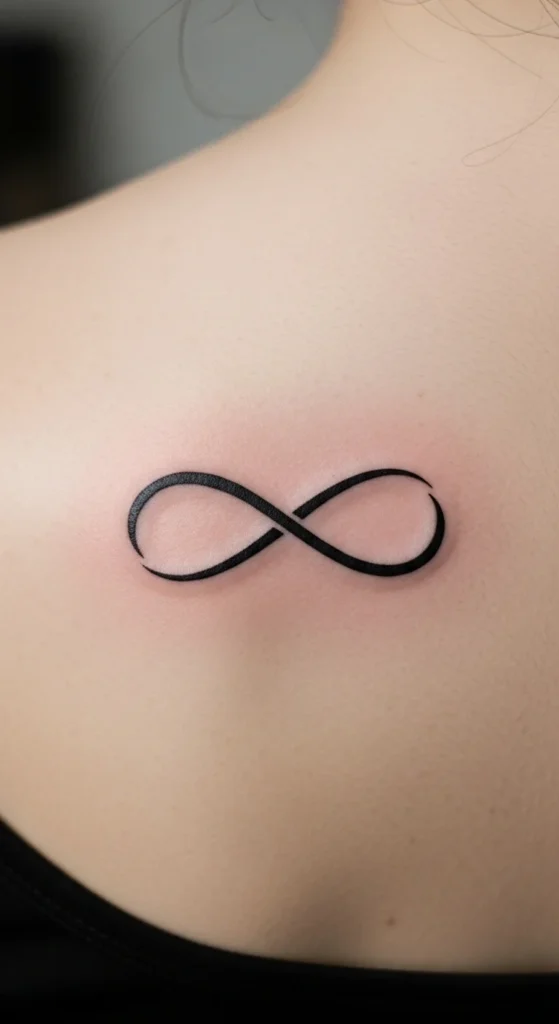
Infinity loops are classic and simple. They’re fast to tattoo and easy to keep neat.
Avoid super thin lines. A slightly thicker line holds shape longer.
DIY idea: test placement with a pen drawing near your shoulder blade or mid-back.
If you want a personal touch, add a tiny dot on one side later.
11. Minimal Geometric Triangle Pair
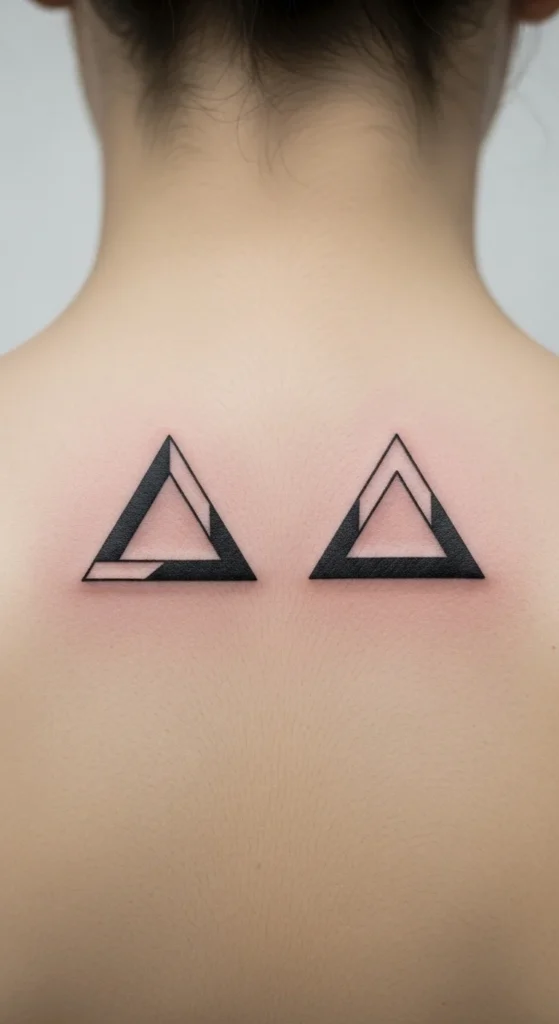
Two triangles can symbolize balance. They also look modern.
Keep them medium-small for readability.
Budget tip: linework only.
DIY planning: try them stacked or side by side. Take a mirror photo.
This design is low maintenance and ages well.
12. Tiny Dots and Line Spine Accent
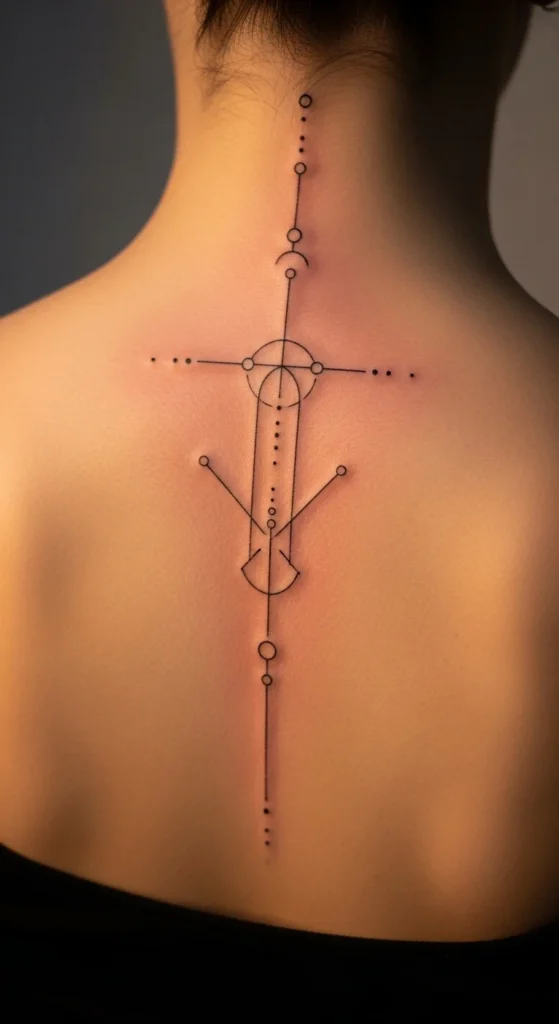
Dots and lines feel clean and stylish. It’s a good choice if you want something subtle.
Ask for evenly spaced dots. Consistency is everything.
Budget tip: this is one of the quickest tattoos on the list.
DIY idea: tape three small beads in a line to preview the look.
13. Mini Dreamcatcher
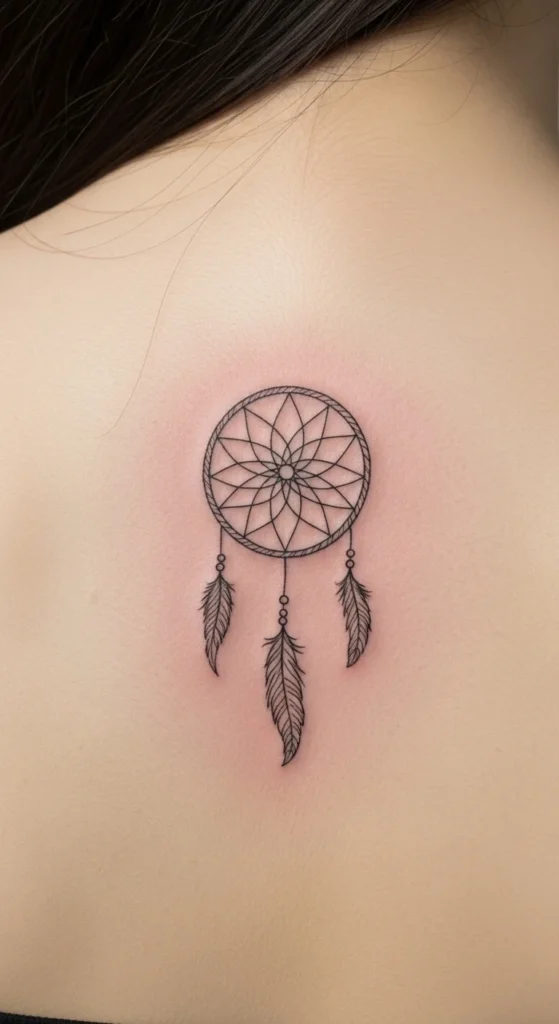
A dreamcatcher looks sweet and protective. Keep it simple at a small scale.
Skip heavy shading.
Ask for fewer hanging feathers so it stays readable.
DIY tip: keep the circle larger than a coin for clean web lines.
14. Single Feather Outline
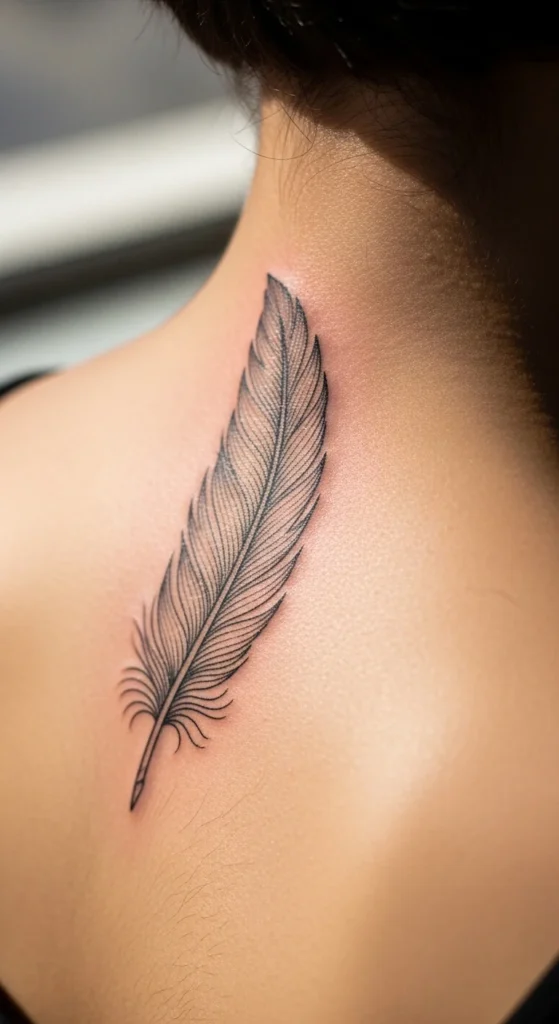
A feather looks soft and elegant. It’s also easy to place.
Outline-only keeps cost low.
Avoid tiny barbs. Simple feather texture ages better.
DIY idea: angle it slightly, like it’s falling.
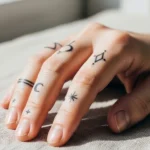
15. Tiny Initial in Cursive
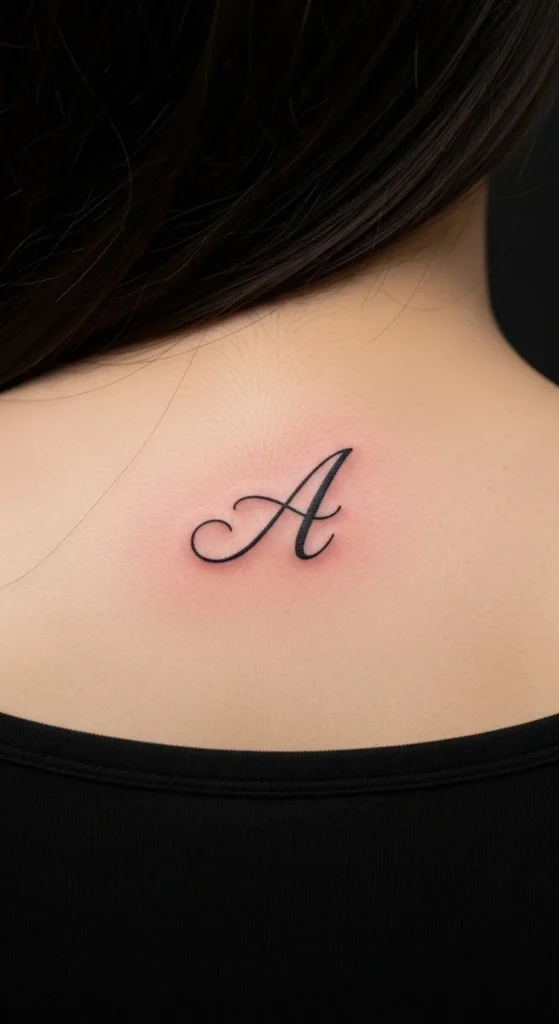
An initial feels personal without being obvious.
Choose a simple script font.
Keep it larger than you think. Tiny cursive can blur.
DIY tip: print the initial at two sizes. Pick the bigger one if you’re unsure.
16. Mini Sun Outline
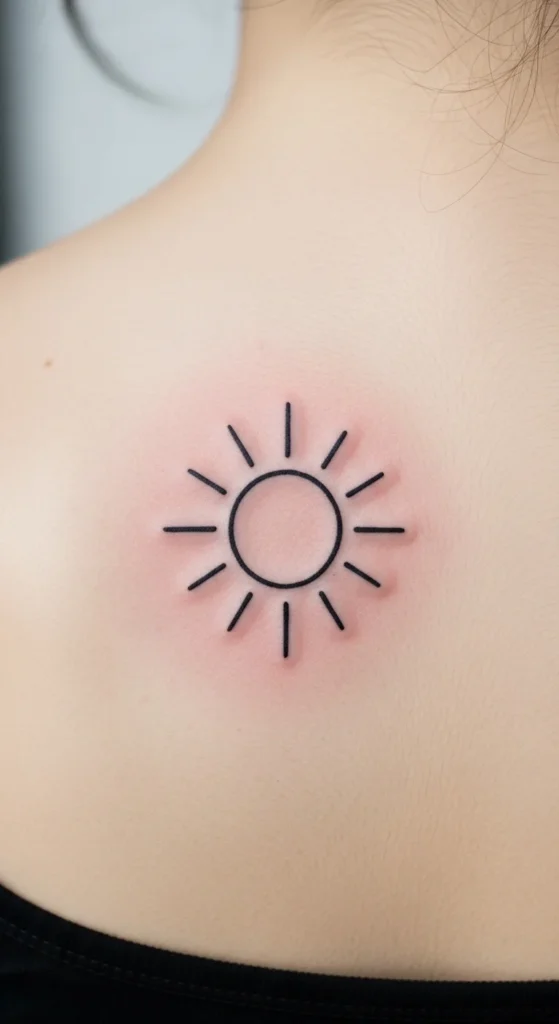
A sun outline looks cheerful and clean.
Keep rays thick enough to hold shape.
Budget tip: outline only.
DIY idea: place it near the shoulder blade for a subtle peek.
17. Tiny Wave Line

A wave is simple and calming. It’s perfect if you want something tiny.
One-line wave tattoos are quick.
DIY tip: keep the curve smooth, not sharp.
Great for first-timers.
18. Small Vine Curl at the Spine Base
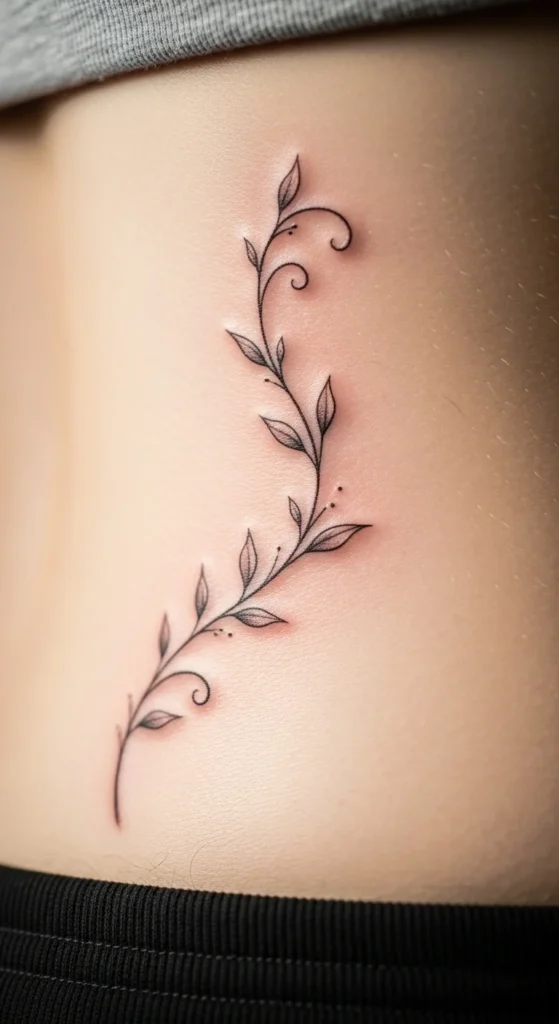
A small vine near the spine base looks soft and feminine. It also hides well.
Start with just a curl and two leaves.
Add more leaves later if you want it longer.
DIY tip: choose a placement that doesn’t rub on waistbands.
19. Lower Back Tiny Heart Pair
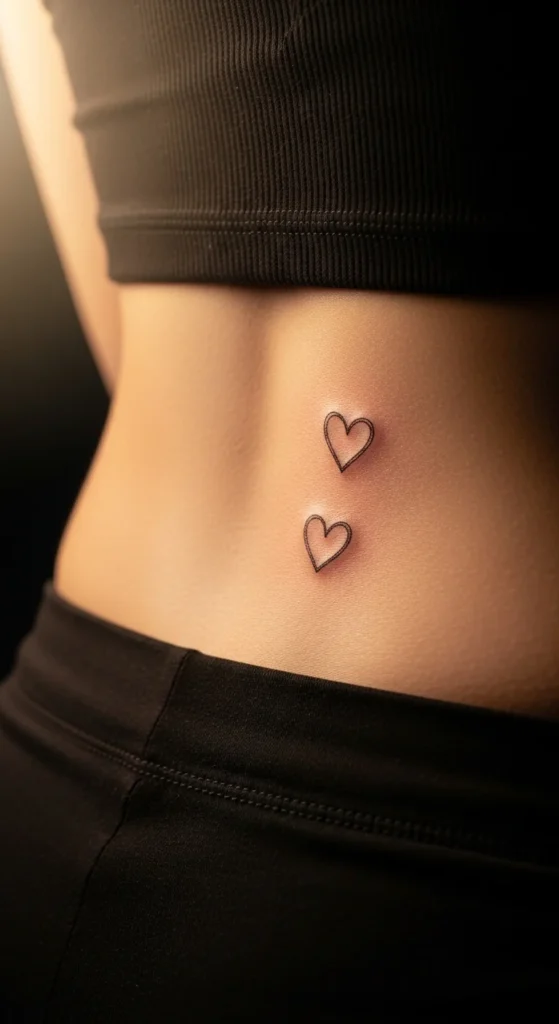
Two tiny hearts on the lower back feel playful and easy to hide.
Keep them slightly above the waistband line so friction doesn’t irritate healing.
Budget tip: very quick session.
DIY idea: wear your favorite jeans and mark the spot with a washable dot before the appointment.
20. Mini Starburst Sparkle
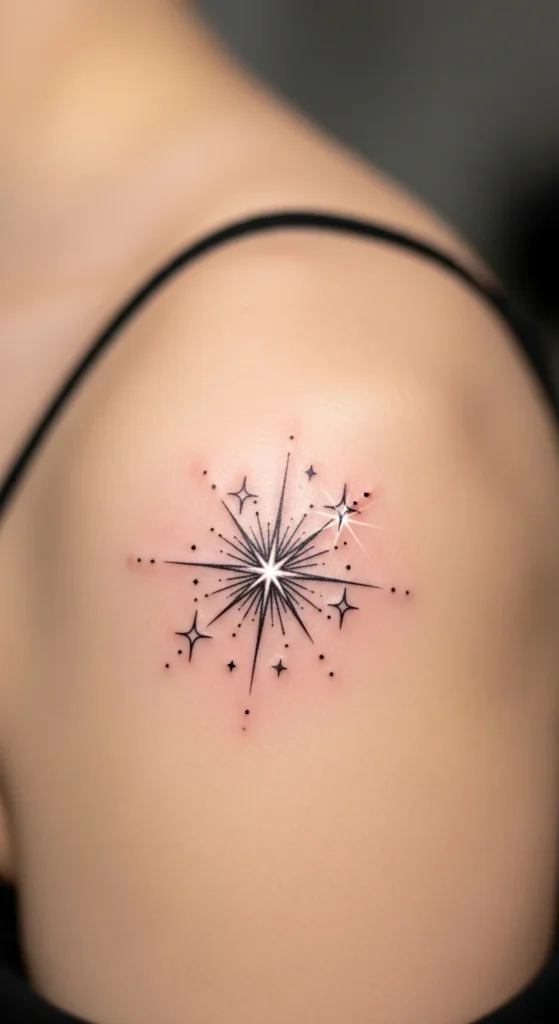
A sparkle starburst looks cute and trendy but still subtle.
Keep it simple with 6–8 points.
Avoid ultra-thin spikes.
Great for a tiny “shine” moment.
21. Tiny Phoenix Outline
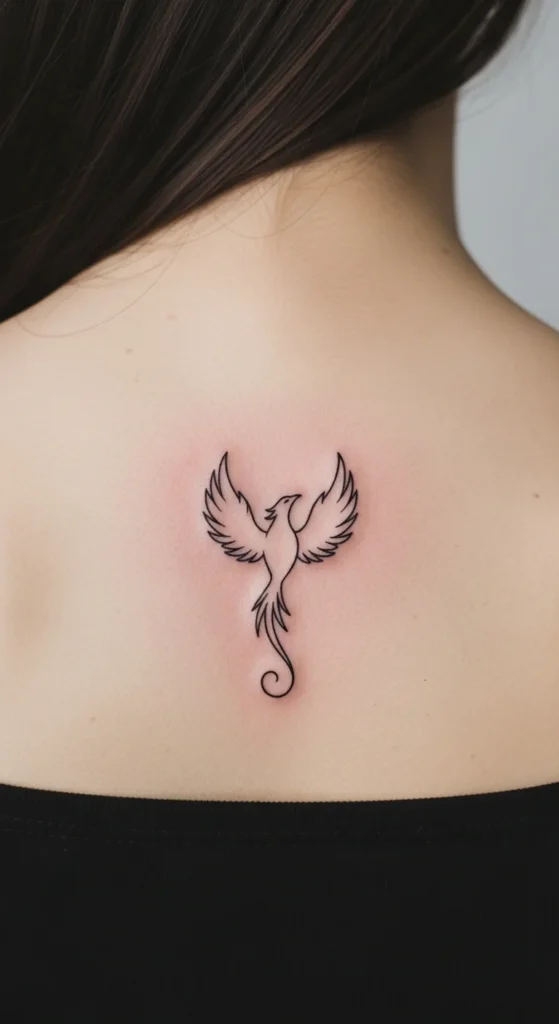
A phoenix in outline form symbolizes renewal but stays minimal.
Keep wings simple.
Add shading later if you want more depth.
Good small statement piece.
22. Mini Koi Fish Silhouette
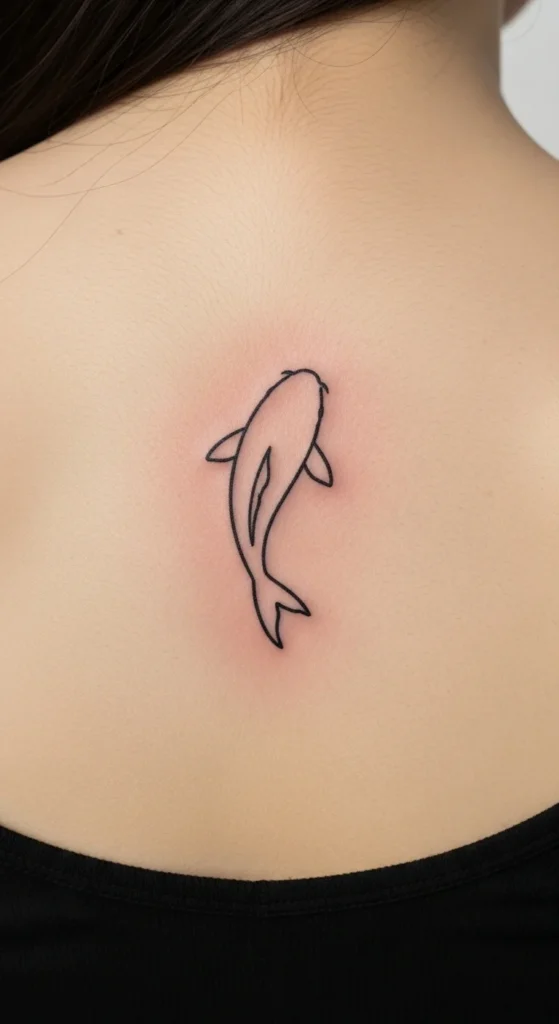
A koi silhouette looks unique and calm.
Silhouette style keeps it readable.
Place it slightly diagonal for movement.
Budget tip: outline only.
23. Tiny Watercolor Dot Accent
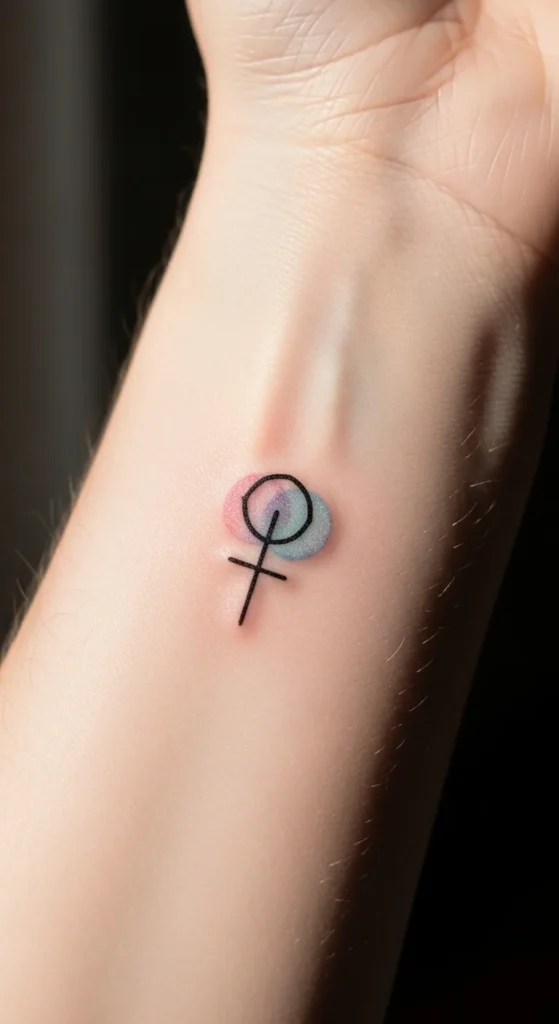
A tiny watercolor dot adds personality without turning into a full-color tattoo.
Keep the color spot small.
Pick one color only.
Budget tip: most of the work is still linework, so it stays fast.
24. Small Mandala Micro Circle
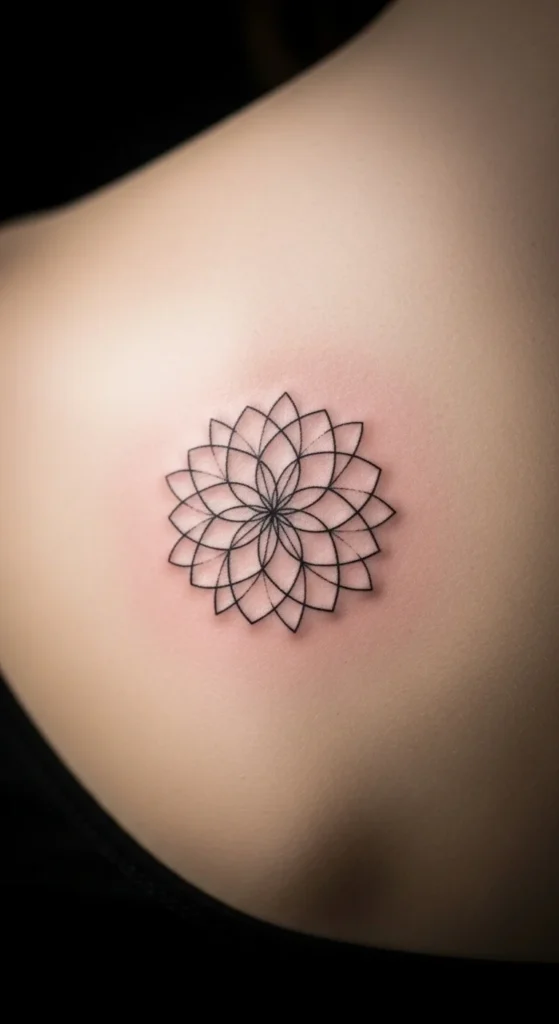
A micro mandala feels calm and balanced in a small size.
Keep petal count low so it doesn’t blur.
Ask for slightly thicker lines.
DIY tip: place it on the shoulder blade area for less movement.
It’s subtle, pretty, and easy to maintain.
Conclusion
Small back tattoos look best when the design stays simple and the placement is planned around movement and clothing. Pick a size that stays readable, choose clean linework, and preview the spot with paper cutouts or temporary tattoos before your appointment. With a little planning, you’ll get a subtle piece that heals well, fits your style, and still feels special every time you see it.