23 Honest Behind-the-Ear Tattoo Pain Tips That Make It Less Scary
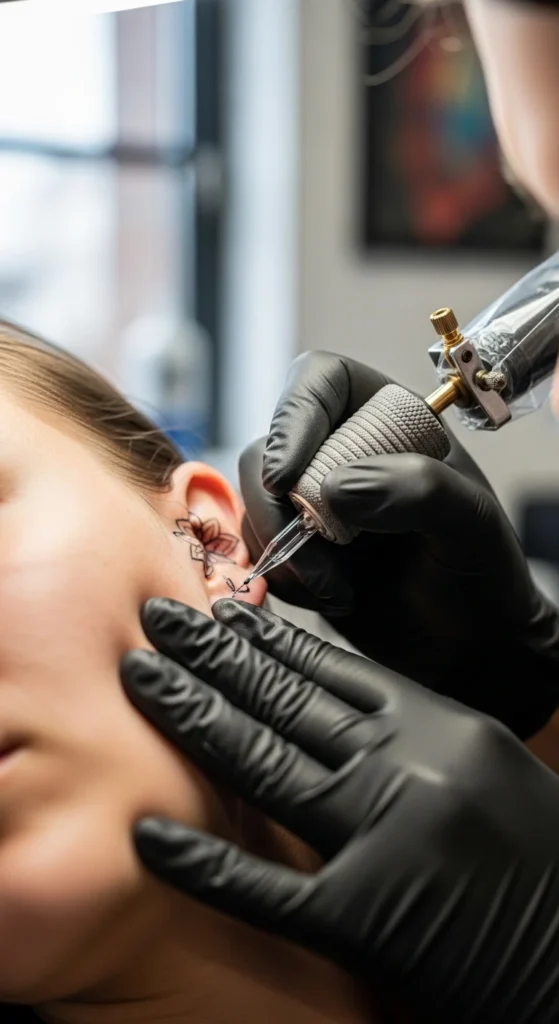
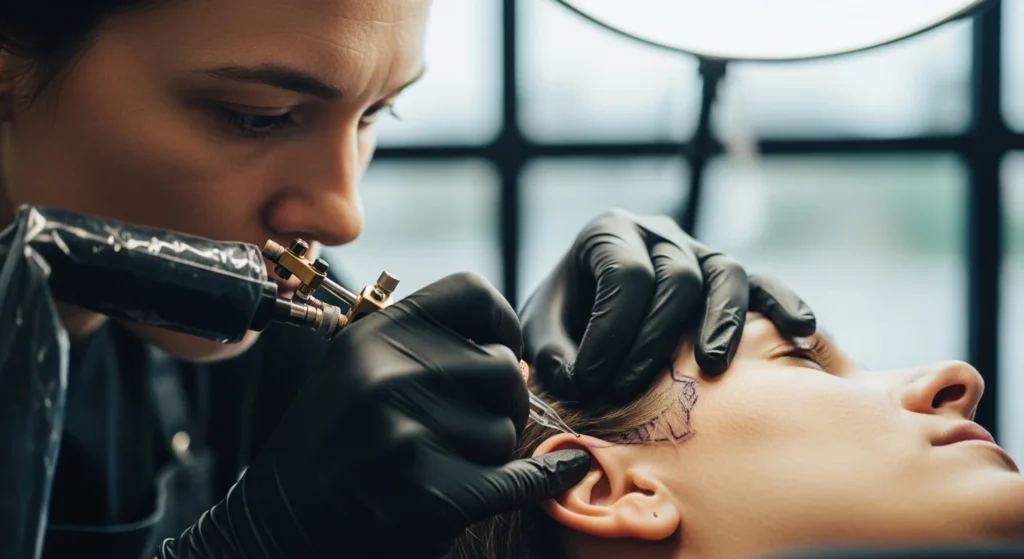
Behind-the-ear tattoos look small, but the pain doesn’t match the size. This area combines thin skin, nerve endings, and bone vibration that can catch you off guard if you walk in unprepared. Most people don’t struggle because of the tattoo itself—they struggle because they didn’t prepare their body or mindset. The good news is you don’t need expensive tricks or extreme tolerance. With the right approach, you can handle the experience without turning it into a nightmare. These tips focus on simple, realistic actions that actually make a difference.
1. Accept That This Spot Hurts More Than You Think

This isn’t a low-pain area. The skin behind the ear is thin and sits close to bone. That means the vibration travels deeper than you expect. If you walk in thinking it will be easy, your body reacts badly when the first needle hits. That reaction makes everything feel worse.
Set your expectations properly. It will sting. It will feel sharp at times. But it won’t last forever. Most sessions here are short. Remind yourself that the discomfort has a time limit.
People who handle this well don’t pretend it’s painless. They accept the reality and stay calm. That alone reduces how intense it feels.
2. Keep the Design Small on Purpose
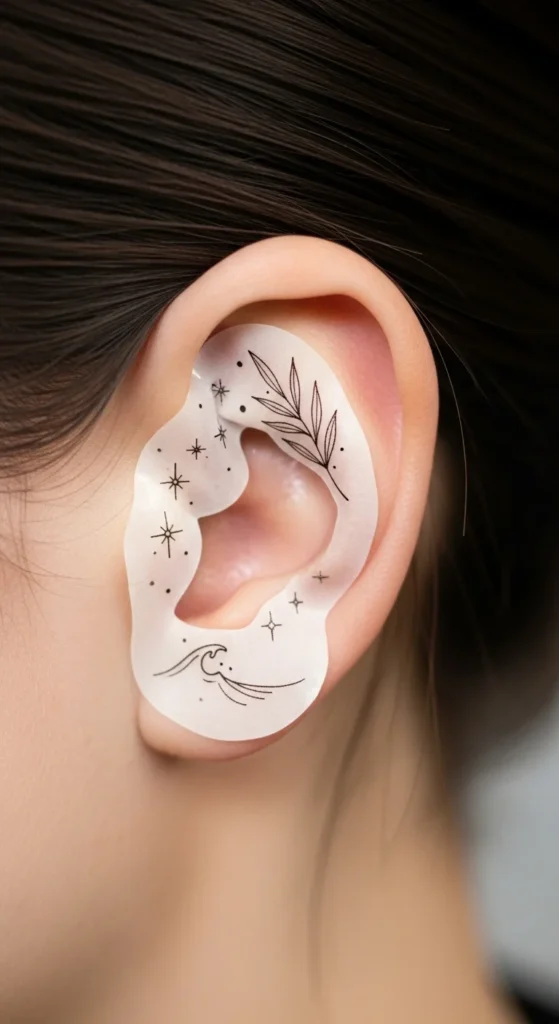
Small designs are easier to sit through. Longer sessions mean repeated needle passes, which increases irritation. Behind the ear, that builds quickly.
If your design idea is large, reduce it. This spot rewards simplicity. A clean, small design heals faster and hurts less.
You also save money. Fewer minutes mean lower cost. That’s a practical win.
Don’t try to turn this into a statement piece. That decision usually backfires during the session.
3. Choose Fine Lines Instead of Heavy Shading

Fine-line tattoos require fewer passes. That means less trauma to the skin. Heavy shading, on the other hand, involves going over the same area again and again.
More passes mean more pain.
If you want detail, keep it light. Avoid dense fill. Your skin will thank you during and after the session.
Many people regret choosing heavy styles here because they didn’t think about pain during execution.
4. Apply Numbing Cream the Right Way
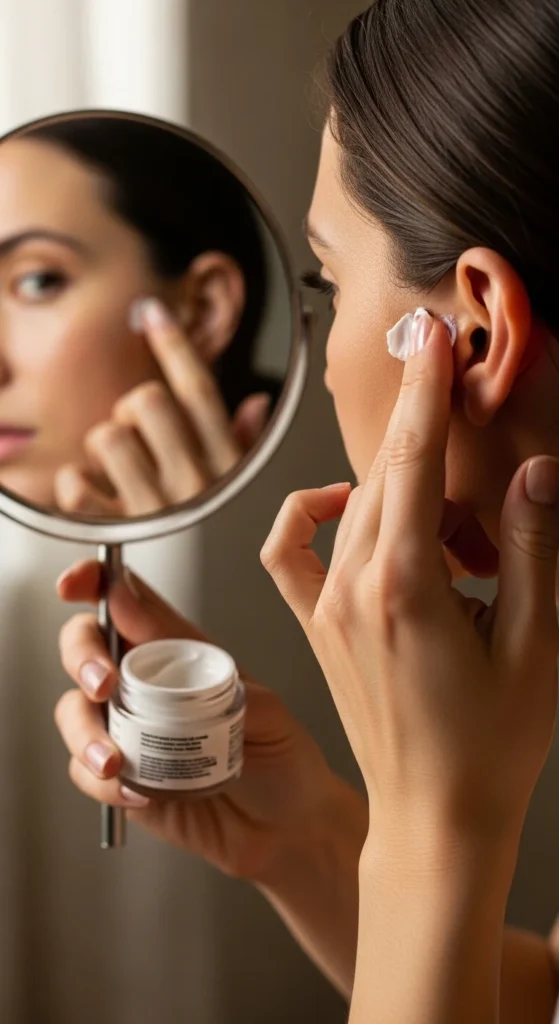
Numbing cream works only if used correctly. Apply it 30–45 minutes before your session. Cover it with plastic wrap so it absorbs properly.
Used correctly, it reduces pain noticeably. Used poorly, it does almost nothing.
You don’t need expensive brands. Proper timing matters more than price.
Tell your artist if you’re using it. Some adjust their approach based on that.
5. Avoid Coffee Before the Session
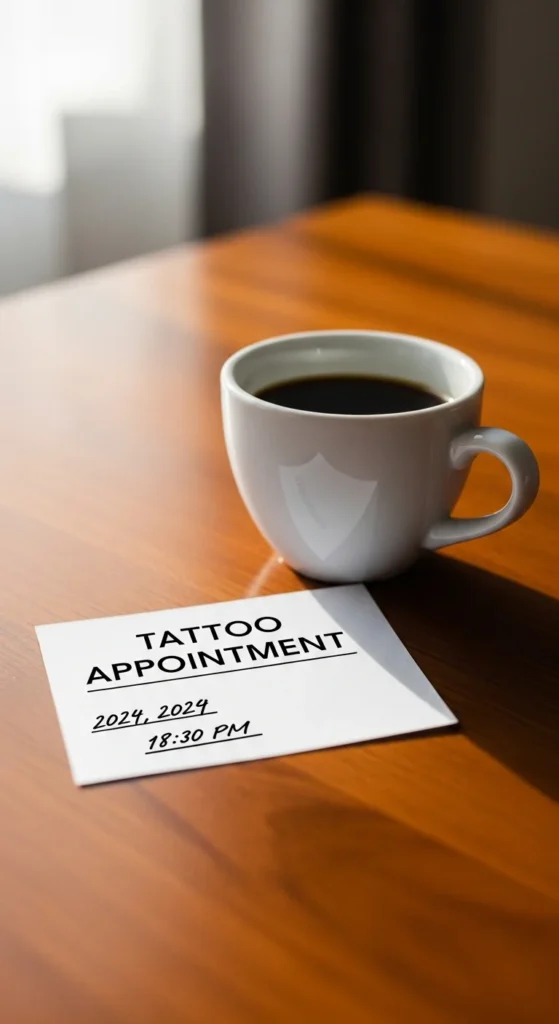
Caffeine increases sensitivity. It makes your body more reactive. That turns normal discomfort into something sharper.
Skip coffee for a few hours before your appointment. Drink water instead.
This is a simple change that makes a real difference.
6. Eat Before You Go
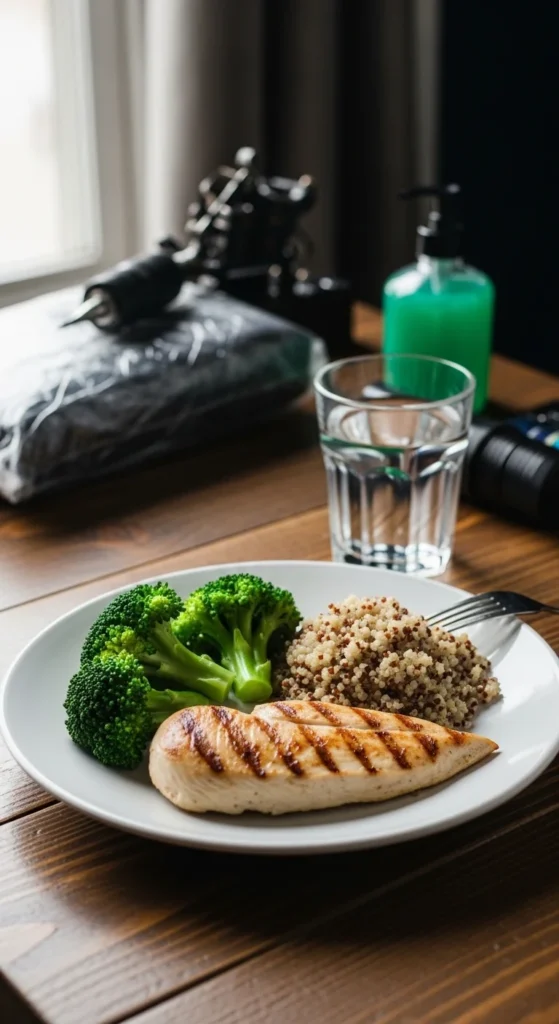
Low energy makes pain harder to handle. If you show up hungry, your body struggles faster.
Eat a basic meal. Nothing heavy. Just enough to keep your energy stable.
This prevents dizziness and helps you stay calm.
7. Control Your Breathing
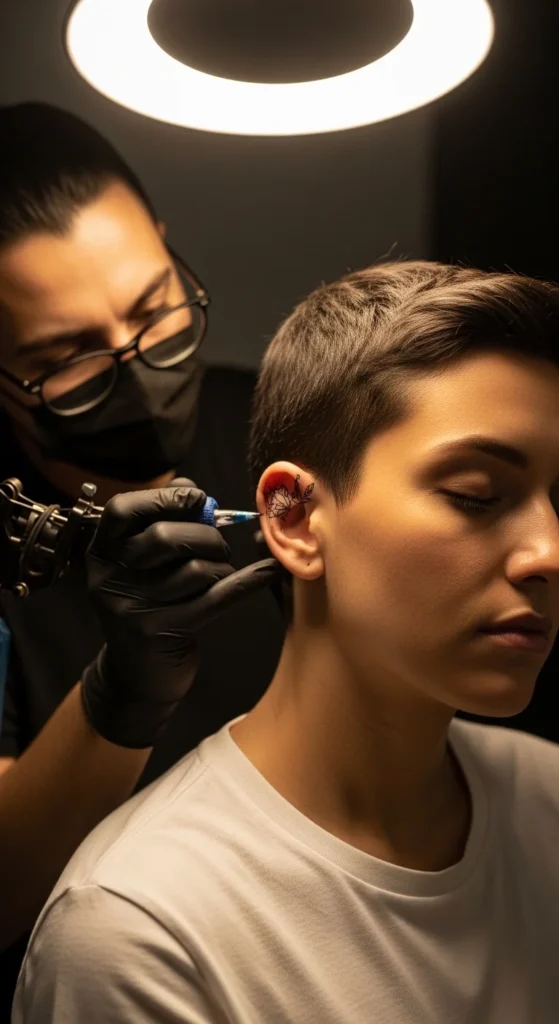
Holding your breath increases tension. That tension increases pain.
Use a simple breathing pattern. Slow inhale. Hold briefly. Slow exhale.
It gives your brain something to focus on and keeps your body relaxed.
This works better than trying to “tough it out.”
8. Bring Headphones for Distraction
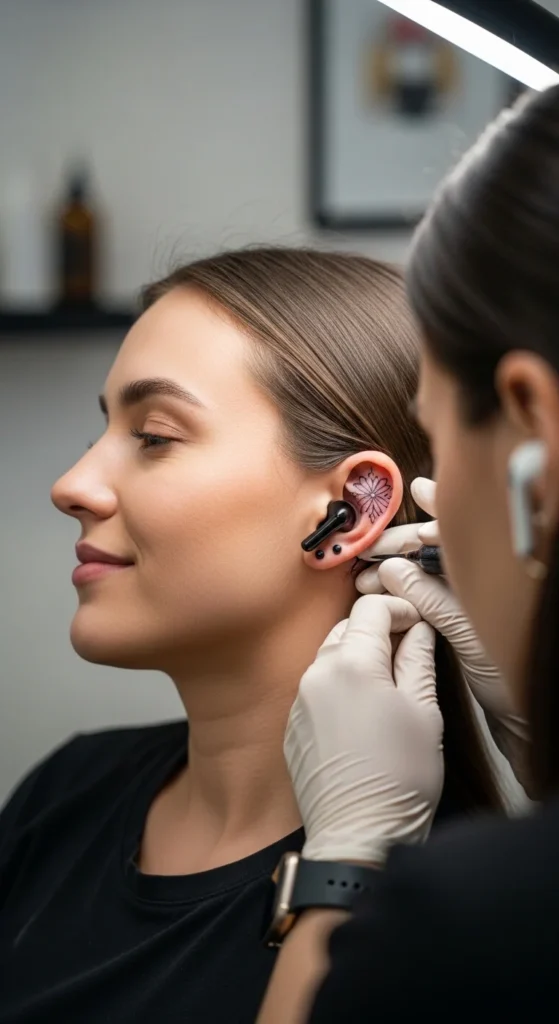
The buzzing sound near your ear feels louder than normal. It can make you anxious.
Use music or a podcast to shift your focus.
This reduces how much attention you give to the sensation.
9. Stay Completely Still
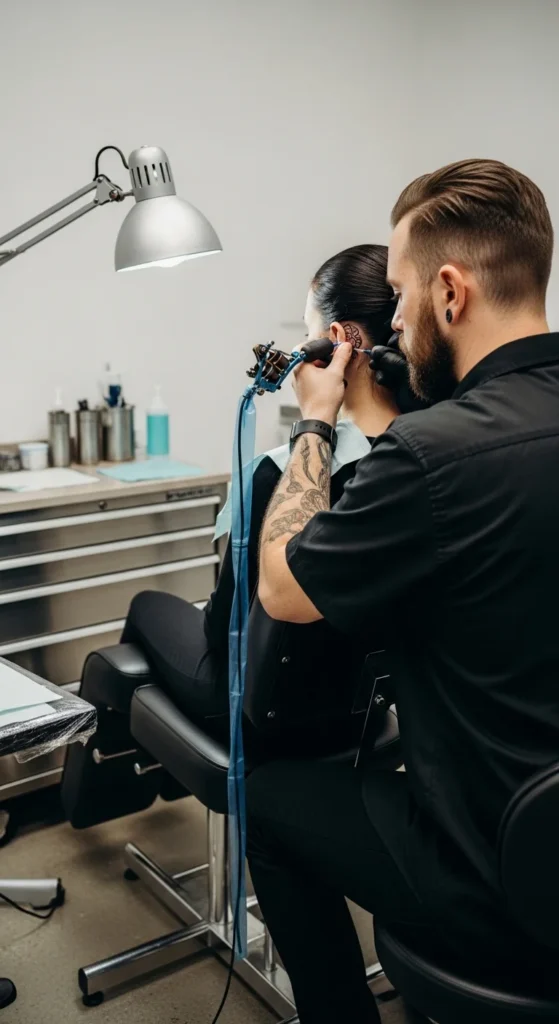
Movement slows everything down. It forces the artist to stop and adjust repeatedly.
That extends your session and increases discomfort.
Keep your head steady. Relax your neck.
Shorter session = less pain.
10. Schedule a Short Session Time
Long sessions drain your tolerance. Even if you can handle pain, fatigue changes everything.
Keep it under an hour if possible.
If your design takes longer, break it into sessions.
11. Avoid Alcohol Beforehand
Alcohol thins your blood. That leads to more bleeding and slower work.
More time under the needle means more discomfort.
Stay sober before your appointment.
12. Wear Comfortable Clothing
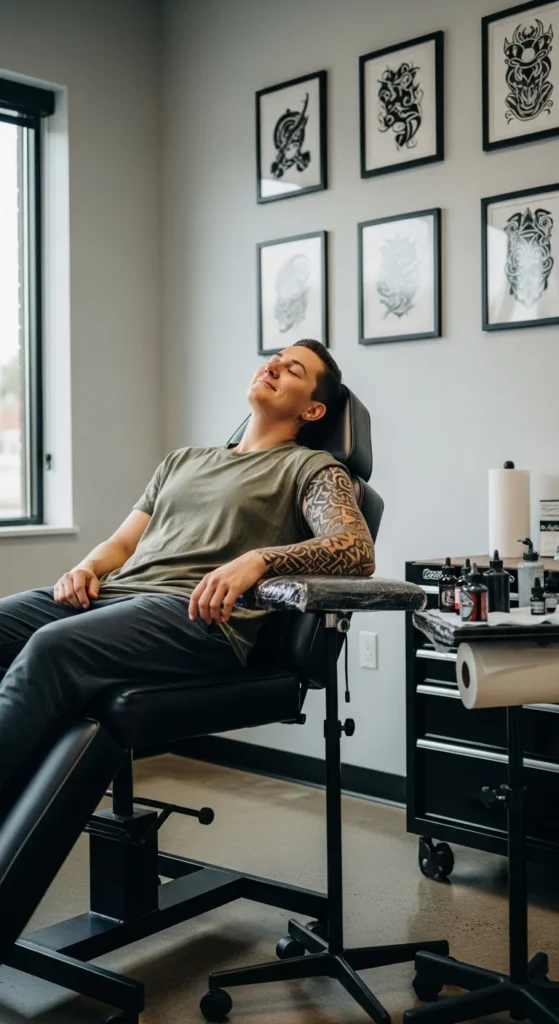
Tight clothing adds stress. You want your body relaxed, not restricted.
Choose something loose and breathable.
Comfort helps you stay still longer.
13. Use Ice Before and After

Cold reduces swelling. It also slightly numbs the area.
Use a wrapped ice pack briefly before and after the session.
Never apply ice directly to skin.
14. Avoid Hair Products During Healing
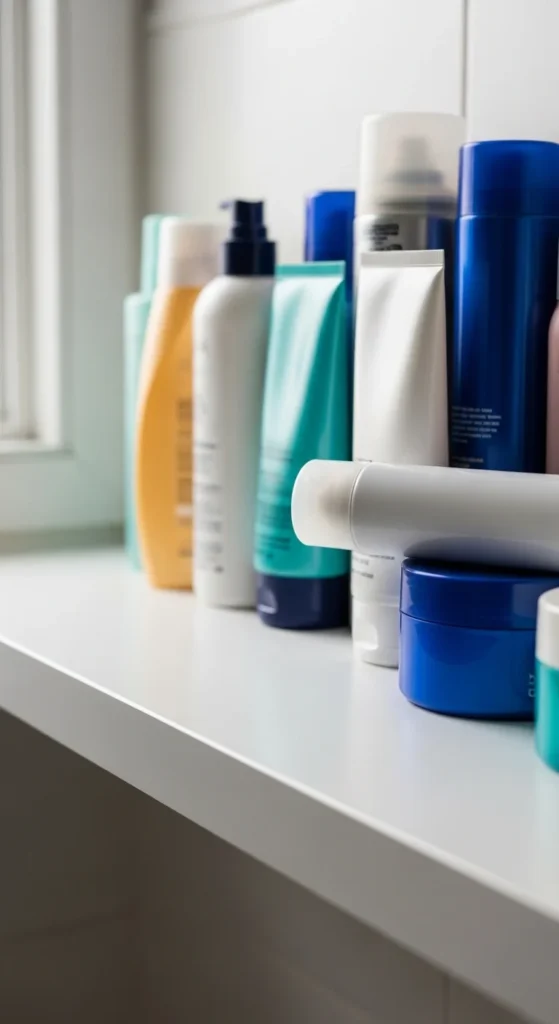
Hair sprays and gels irritate fresh tattoos. That increases discomfort and risk of infection.
Keep the area clean and simple.
Skip styling products for several days.
15. Sleep on the Opposite Side
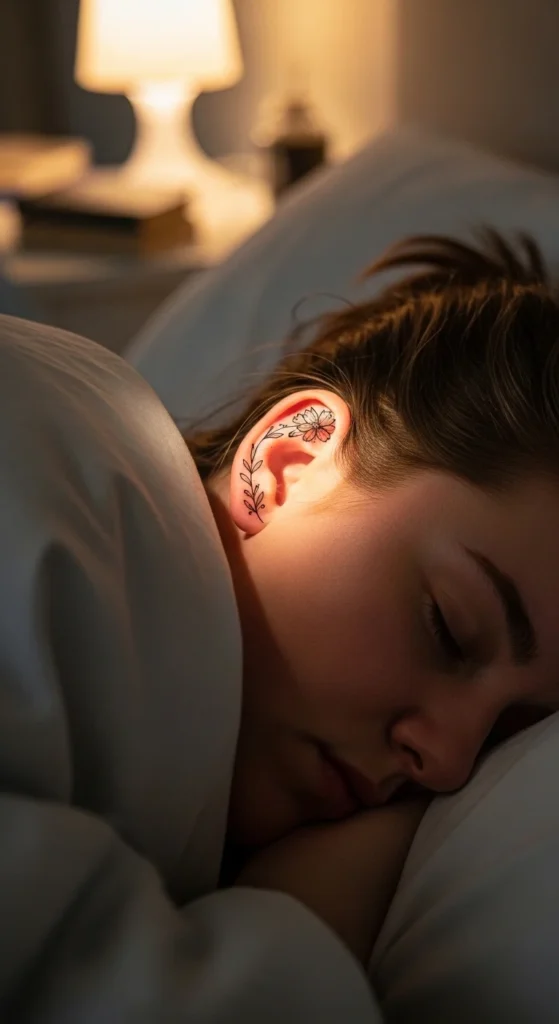
Pressure on the tattoo slows healing and increases soreness.
Sleep on the opposite side. Keep your head slightly elevated.
This reduces irritation overnight.
16. Expect Soreness for a Few Days
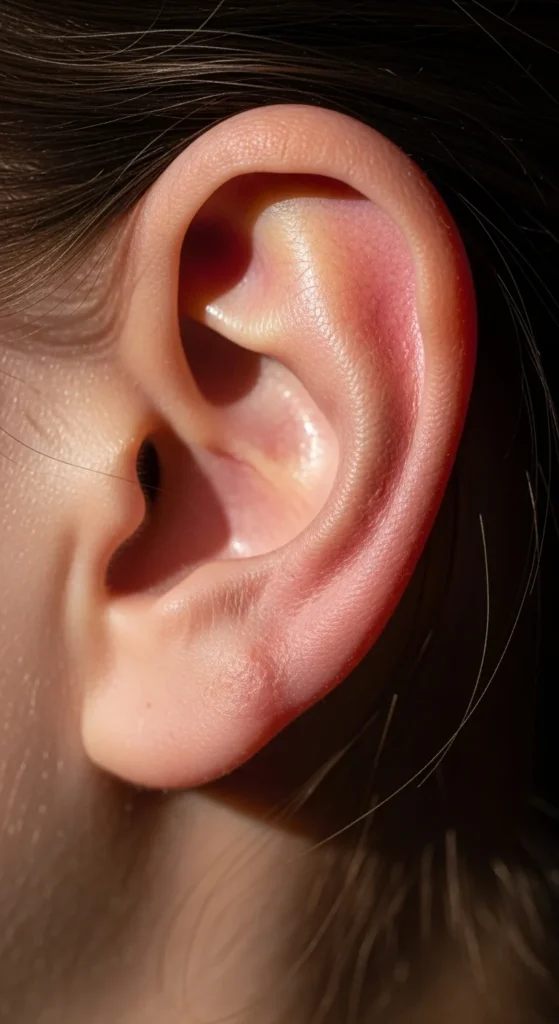
Pain doesn’t stop immediately after the session. Mild soreness can last several days.
This is normal.
Don’t panic unless it gets worse instead of better.
17. Watch for Infection Signs
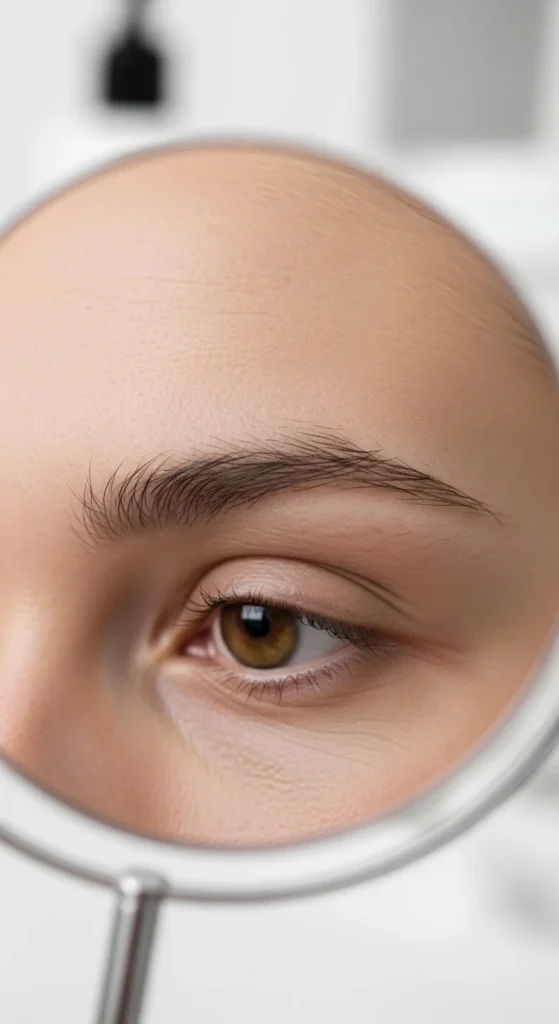
If symptoms worsen after a few days, get it checked.
Ignoring early signs makes things worse.
18. Avoid Touching the Tattoo
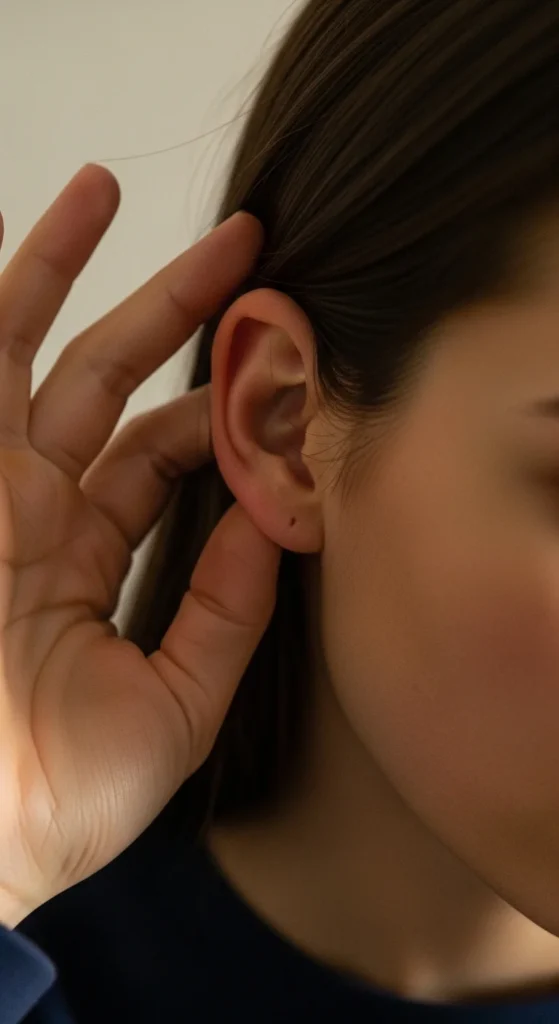
Touching introduces bacteria. It also irritates healing skin.
Keep your hands off unless cleaning.
This is basic but often ignored.
19. Stay Hydrated
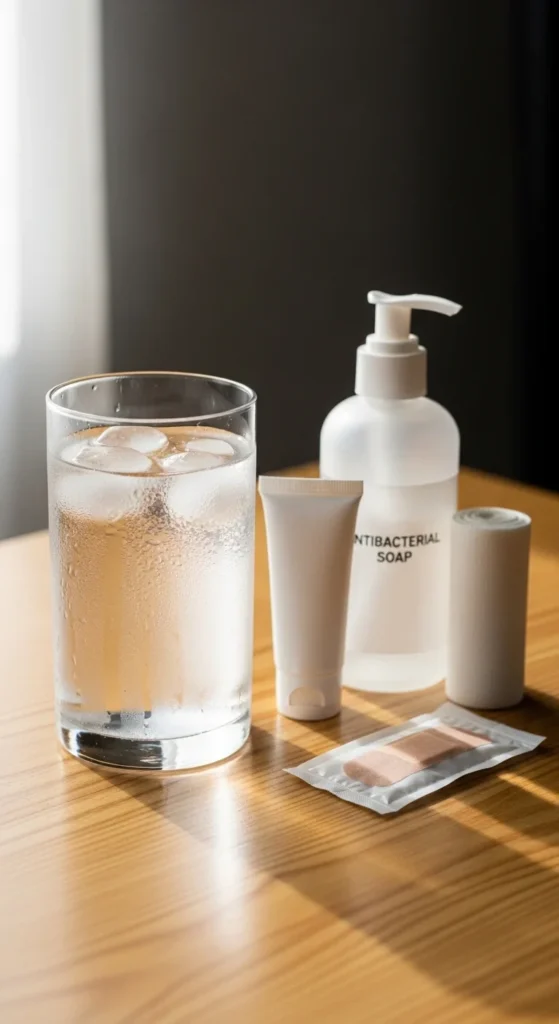
Hydration helps your body recover faster.
Drink water regularly before and after your session.
It supports healing and keeps your skin in better condition.
20. Choose an Experienced Artist
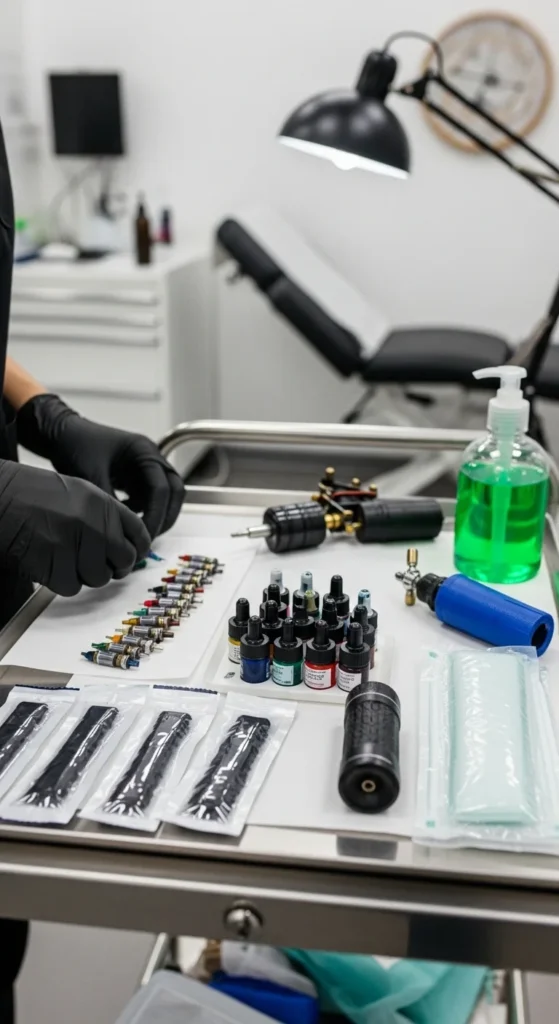
Skill matters more in sensitive areas. A steady hand reduces unnecessary passes.
Fewer mistakes mean less pain.
Don’t choose based on price alone.
21. Avoid Overthinking During the Session
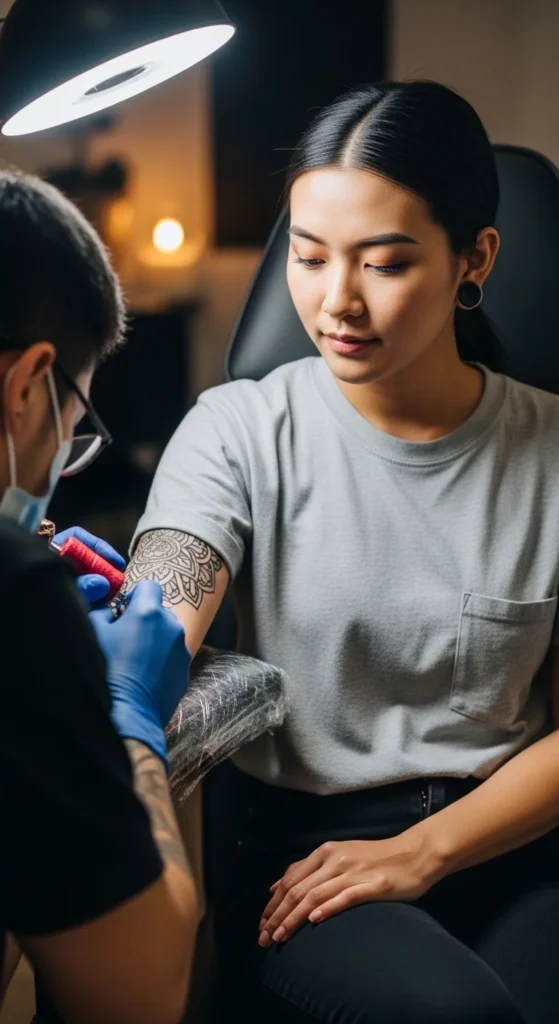
Overthinking increases anxiety. Anxiety increases pain perception.
Focus on breathing or music.
Stay present instead of imagining worst-case scenarios.
22. Prepare Mentally Before You Go
Mental preparation matters more than people admit.
If you go in nervous and unprepared, your body reacts strongly.
Spend a few minutes calming yourself before the session.
23. Remember It’s Temporary
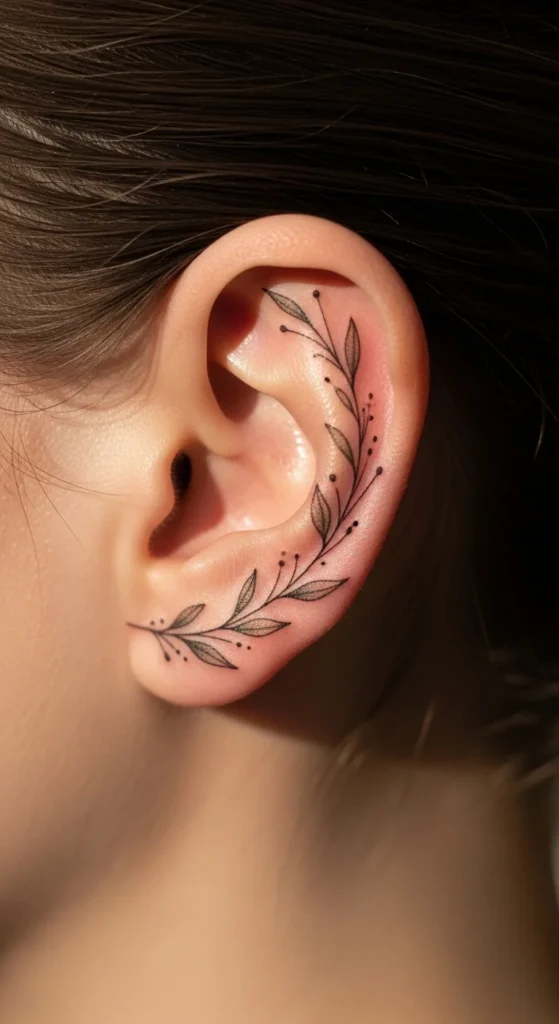
Most sessions here are quick.
Remind yourself why you wanted the tattoo.
That perspective makes the process easier to handle.
Conclusion
Behind-the-ear tattoos aren’t easy, but they’re manageable if you stop pretending they’re supposed to be painless. Most problems come from poor preparation, not the tattoo itself. Keep the design small, control your body, and follow basic aftercare. That’s it. You don’t need extreme tolerance or expensive solutions. Just make smarter choices before, during, and after the session.