A fine line wrist tattoo is the ultimate “permanent jewelry” moment—delicate, personal, and always within view. It’s the kind of tattoo that feels like a tiny secret… until you move your hand and it catches the light.
But wrist tattoos come with a reality check: this area fades faster than most because it’s high-friction, high-movement, and constantly exposed. The trick is choosing the right wrist zone, sizing it smartly, and treating aftercare like a daily ritual.
If you want your wrist tattoo to stay crisp, here’s how to do it the right way—from placement to aftercare.
Choose the Right “Wrist Zone” First
Not all wrist placements age the same. A few millimeters can make a big difference.
The 3 main wrist areas (and what they’re best for)
1) Inner wrist (palmar/volar side)
- Most visible (you’ll see it constantly)
- Great for tiny symbols, initials, micro florals
- Higher fade risk because it rubs more and sees more sun
2) Outer wrist (ulnar side / pinky side)
- Often a little more durable than inner wrist
- Easier to hide with a watch or bracelet
- Great for small line art, mini motifs, short words
3) Back of wrist (dorsal side)
- Good for small icons and simple shapes
- Still exposed, but usually less rubbing than inner wrist
Quick rule: If you want maximum “show-off” visibility, go inner wrist. If you want a better shot at longevity, consider the outer wrist.
Pick a Design That Won’t Blur Into a Smudge
Fine line + wrist = keep it simple.
The wrist is small, curved, and constantly moving. Micro-details can merge together over time—especially if your lines are too close.
Wrist-friendly fine line ideas
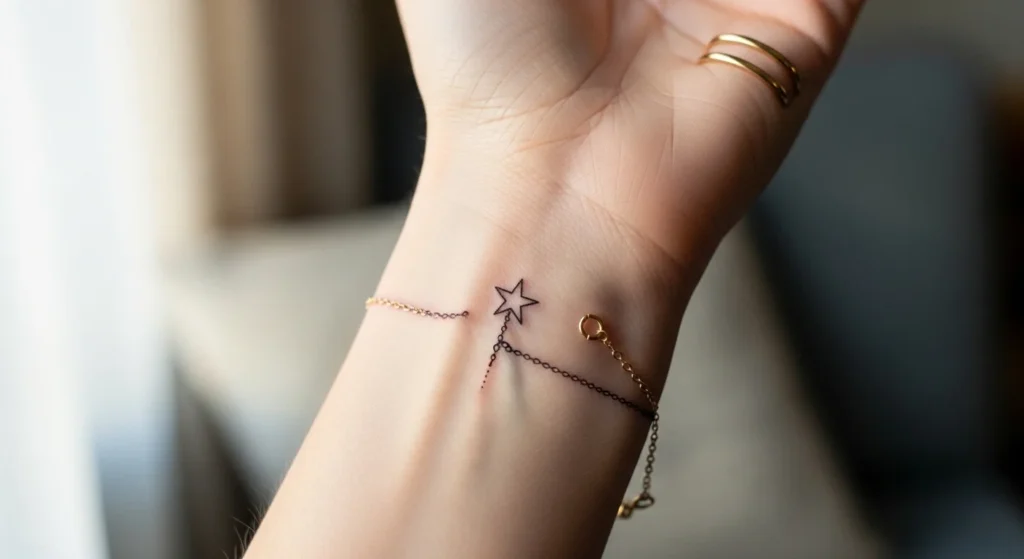
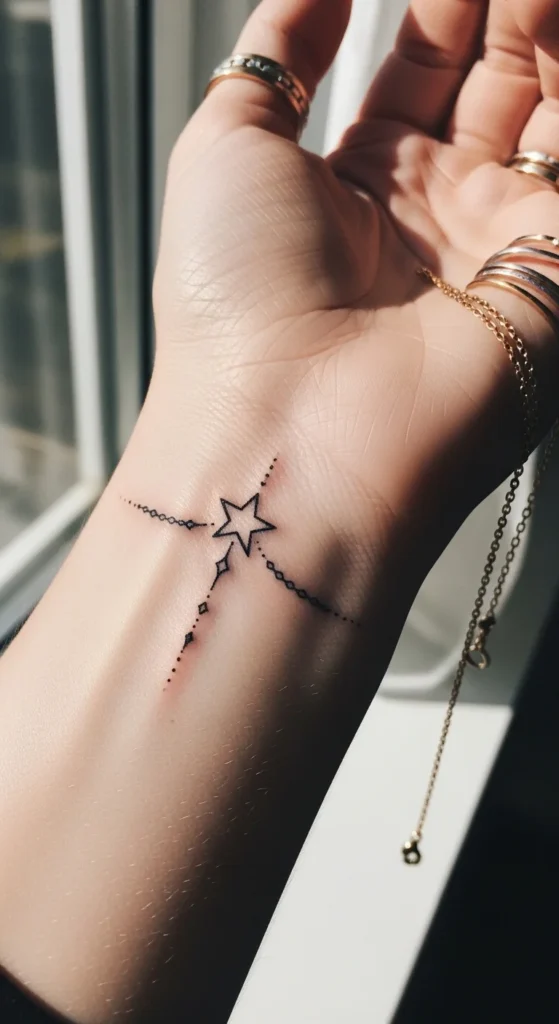
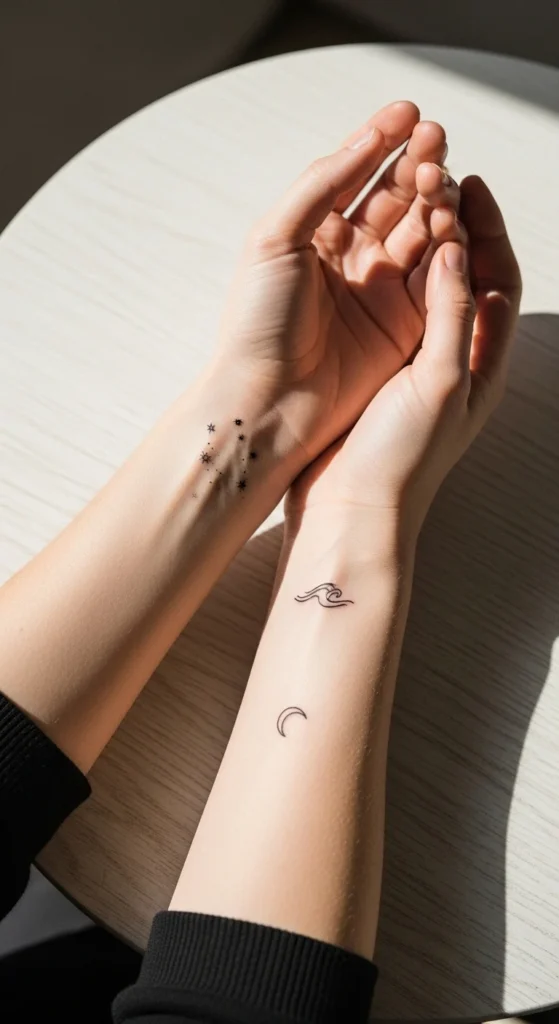
- A tiny heart, star, moon, or wave
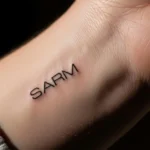
- Initials or a short word (2–6 letters)
- Micro flower with open spacing
- A minimalist symbol (arrow, spark, tiny sun)
- Bracelet-style ornaments (thin chain motif, dotted line)
Design tips that help it age better
- Leave breathing room between elements
- Avoid ultra-tiny shading dots packed tightly together
- Choose slightly thicker fine lines (still delicate, just not hair-thin)
- Scale up a little if you want it readable in 5 years
If you’re torn between “micro” and “small,” choose small.
Do a Wrist-Specific Stencil Test (Don’t Skip This)
The wrist is sneaky. A design that looks perfect on paper can distort when you rotate your hand.
Before your artist tattoos anything, test the stencil by:
- Turning your palm up and down
- Bending your wrist gently
- Mimicking your daily movements (typing, driving, holding your phone)
What you’re checking for
- Does it sit nicely on the curve of the wrist bones?
- Does it stretch weirdly when you flex?
- Is it too close to the crease line?
- Will jewelry or a watch rub it daily?

Pro tip: For script, let the words follow the natural line of your wrist (along the radius/ulna) instead of cutting across the crease.
Prepare for the Appointment Like a Pro
Wrist tattoos are often quick, but preparation makes healing easier.
The day before
- Hydrate well
- Moisturize your skin (but don’t show up oily)
- Avoid alcohol
- Sleep properly
The day of
- Eat a solid meal
- Wear loose sleeves you can roll up comfortably
- Bring a sweater (studios can be chilly)
- Plan to keep the wrist clean and uncovered afterward
Pain-wise, many people find fine line wrist tattoos manageable—but the bone proximity can feel sharp. Slow breathing helps more than you think.
Follow a “No-Rub” Aftercare Routine (The Wrist Edition)
This is where wrist tattoos win or lose their crispness.
First 2–4 weeks: protect it like it’s fragile
- Wash gently 2x/day with fragrance-free soap
- Pat dry (no rubbing)
- Apply a thin layer of fragrance-free lotion 2–3x/day
- Avoid tight sleeves, watches, bracelets, and hair ties on that wrist
- No pools, hot tubs, or long baths
The friction problem (and how to beat it)
Wrist tattoos fade faster because they’re constantly bumped, washed, and moved.
So for at least 2 weeks:
- Skip watches and bracelets
- Avoid carrying heavy bags on that wrist
- Be mindful during workouts (wrist wraps can rub)

Long-Term Maintenance: Keep It Looking Like “New Ink”
Once it’s healed, your job isn’t over—this is a high-exposure area.
Your long-term wrist tattoo routine
- SPF 30–50 daily on the tattoo whenever it’s exposed
- Moisturize after showers (dry skin makes lines look dull)
- Avoid harsh exfoliants directly over the tattoo
- Expect touch-ups every 1–3 years if you want it ultra-crisp
If you love the “permanent jewelry” look, sunscreen is your best friend.
Final Takeaway
A fine line wrist tattoo can be unbelievably pretty—minimal, meaningful, and always within reach. But it’s also one of the placements that demands the most care.
Choose a smart wrist zone, keep the design simple, nail your stencil test, and treat aftercare like a daily habit. Do that, and you’ll keep your lines clean for way longer.
Save this guide for later before you book your appointment—your future wrist tattoo will thank you.