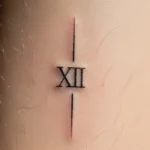
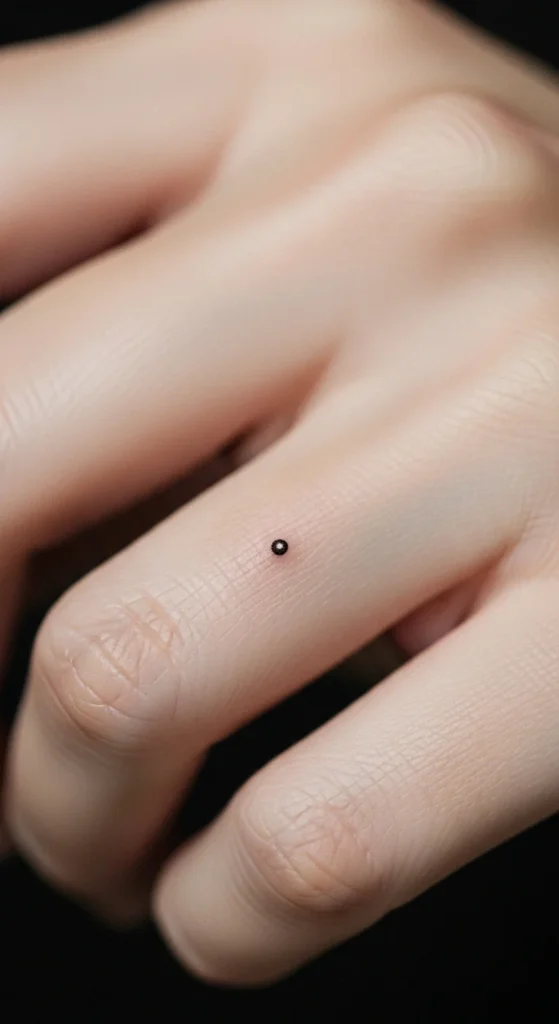
Tiny. Minimal. Impossible to ignore.
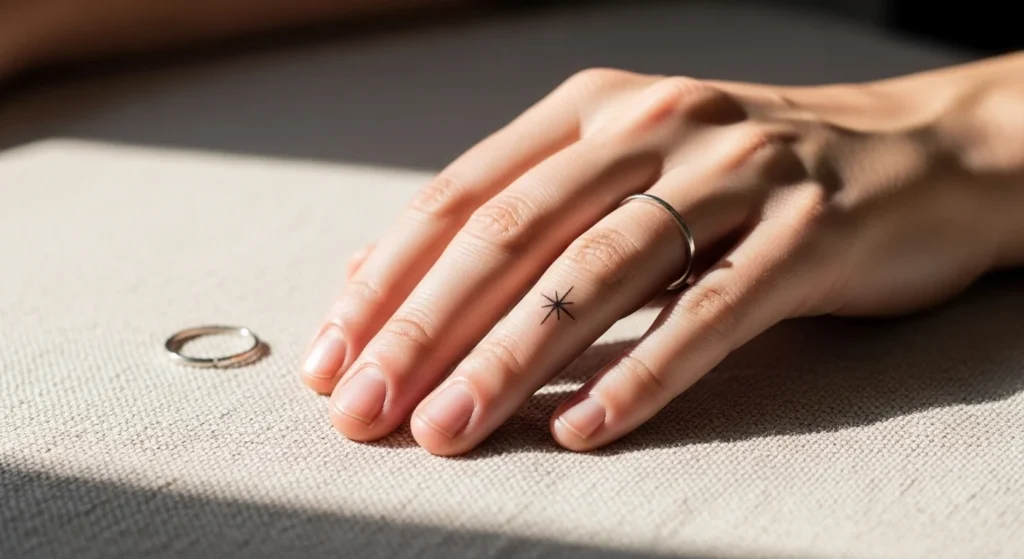
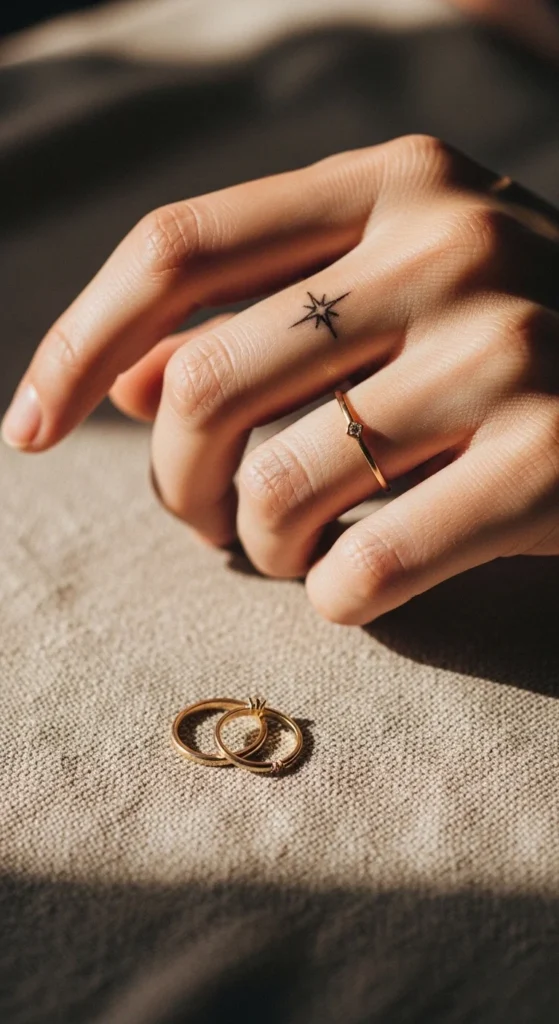
Fine line finger tattoos are like permanent jewelry — delicate dots, micro stars, thin bands, or little symbols that feel subtle but still make a statement every time you move your hands.
But here’s the reality most artists won’t sugarcoat:
Finger tattoos are the fastest-fading tattoos you can get.
Constant washing. Friction. Thin skin. Oil. Sun.
All of it works against your ink.
That doesn’t mean you shouldn’t get one — it just means you need to plan smarter than you would for an arm or shoulder tattoo.
If you want a finger tattoo that stays crisp longer (not gone in 3 months), here’s exactly how to do it.
First: Set Realistic Expectations
Before we talk placement or designs, let’s be honest.
Finger fine line tattoos typically:
- Fade 70–90% within a year
- Need touch-ups every 6–12 months
- Require daily maintenance
Compared to an upper arm tattoo that can last 5–10+ years untouched, fingers are high-maintenance.
Think of it like:
👉 Nails or hair color — you’ll refresh it.
If you’re okay with that, you’ll love the look.
If you want “one and done,” pick another placement.
Step 1: Choose the Safest Finger Spot
Where you place the tattoo on your finger makes a huge difference.
Best placement (most durable)
- Side of the finger (between joints)
- Less friction
- Less direct sun
- Fewer creases
- Better ink retention
Risky zones to avoid
- Knuckles (constant bending/distortion)
- Finger tips (constant contact)
- Palm side (almost zero retention)
Side placement is the sweet spot for longevity.
A few millimeters can double your tattoo’s lifespan — placement really matters here.
Step 2: Keep the Design Ultra Simple
On fingers, simple always wins.
Tiny details blur. Thin scripts distort. Close lines merge together.
Designs that hold best
- Single dots
- Tiny stars or moons
- Minimal symbols
- Thin bands (ring-style lines)
- Small geometric shapes
- Simple outlines
Designs to skip
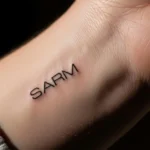
- Script/text
- Complex florals
- Shading
- Dense detail
- Anything under 1 mm spacing
Rule of thumb:
If it looks too delicate on paper, it will disappear on your finger.
Go slightly bolder than you think.
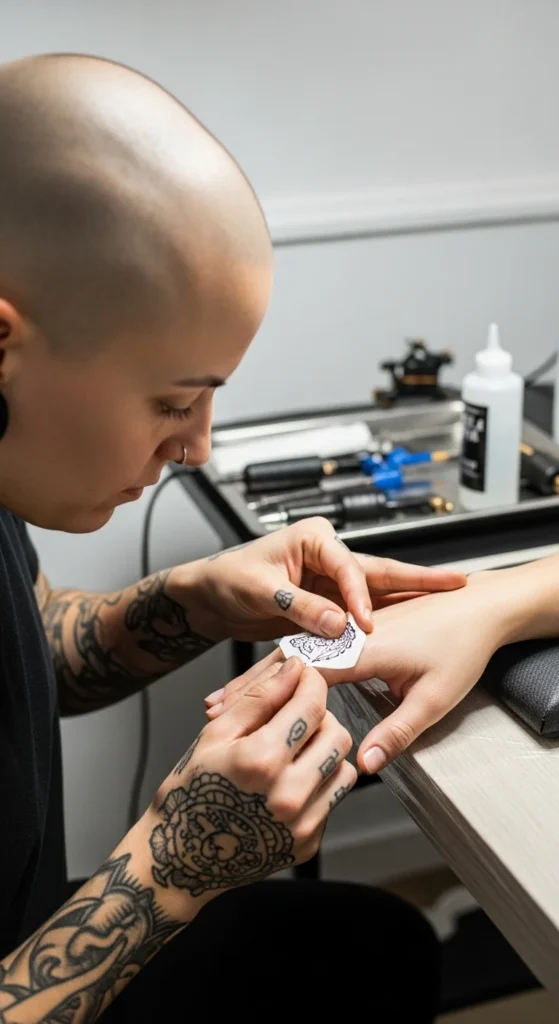
Step 3: Test the Stencil (Seriously)
Finger joints stretch and twist constantly.
What looks straight when your hand is flat may warp when you bend.
Before committing:
- Wear the stencil for 48–72 hours
- Type, text, wash dishes, work out
- Watch how it moves and creases
This preview shows:
- Distortion
- Rubbing points
- Size issues
This one step can save you from a tattoo that looks crooked after a week.
Step 4: Choose an Artist Who Shows Healed Work
Fresh fine line tattoos always look perfect.
Healed ones tell the truth.
Finger tattoos especially require:
- Correct depth
- Steady line work
- Experience with thin skin
Ask your artist:
- “Can I see healed finger tattoos you’ve done?”
- “Do you adjust line weight for fingers?”
- “How often do clients need touch-ups?”
If they only show fresh photos — that’s a red flag.
Step 5: Follow a Strict Healing Routine (First 10 Days Are Critical)
Finger tattoos get irritated faster than any other placement.
So healing needs extra care.
Daily routine
- Wash gently 2x/day
- Pat dry only (no rubbing)
- Thin layer of fragrance-free moisturizer
- Repeat 4–5x daily
Extra protection tips
- Avoid hand sanitizer early (alcohol dries skin)
- Wear light gloves when cleaning
- Keep it out of the sun
- No rings for at least 3–4 weeks

Friction is your enemy. Less rubbing = better retention.
Step 6: Protect It Long-Term (This Is the Secret)
Once healed, maintenance determines everything.
Daily habits that extend life
- SPF 50+ every time you go outside
- Reapply after washing hands
- Moisturize frequently
- Avoid harsh exfoliants
- Expect touch-ups yearly
One unprotected summer can dramatically fade finger tattoos.
Sunscreen is non-negotiable.
Bonus Tips Most People Miss
Little details = big difference:
- Blot oily skin before sessions
- Slightly increase line thickness
- Choose mature skin zones if possible (slower turnover)
- Budget for touch-ups ahead of time
- Plan symmetrical or matching designs carefully
Finger tattoos are more about maintenance strategy than design.
Final Takeaway
Fine line finger tattoos look stunning — minimal, chic, and always visible. But they’re also the most high-maintenance placement you can choose.
If you:
✔ Pick the side of the finger
✔ Keep the design simple
✔ Choose an experienced artist
✔ Protect it from friction and sun
✔ Plan for touch-ups
You’ll keep it looking sharp much longer.
Finger tattoos aren’t “forever perfect.”
They’re forever cared for.
Save this guide before your appointment so you can walk in prepared — and keep your tiny ink looking fresh.